To get the best results, you should thoroughly wash your resin prints to remove uncured resin, then cure them properly with UV light for strength and detail. If surfaces remain sticky or cloudy, repeat the washing or curing process. Light sanding and smoothing can improve finish, but do so carefully to avoid damage. Proper post-processing guarantees durability and quality—keep exploring to master each step for professional-looking results.
Key Takeaways
- Properly wash prints with isopropyl alcohol and dry thoroughly to remove uncured resin and prevent surface defects.
- Cure models in UV light or sunlight following manufacturer guidelines for even, full hardening.
- Sand surfaces gently with fine-grit paper, keeping areas wet to smooth imperfections and enhance detail.
- Repeat washing and curing cycles if surfaces remain sticky, cloudy, or show signs of incomplete curing.
- Inspect and troubleshoot layer separation or surface issues by adjusting print orientation, curing time, and post-processing steps.

WoldoClean Isopropyl Alcohol 99.9% Pure IPA 33.8 fl oz – High Purity Rubbing Alcohol for Cleaning Electronics, Glass, Tools & Household Surfaces, Fast Evaporating, Residue-Free
Isopropyl Alcohol High-purity IPA (2-propanol), free from colorants & fragrances. Fast-evaporating, residue-free rubbing alcohol for cleaning, disinfecting &…
As an affiliate, we earn on qualifying purchases.
As an affiliate, we earn on qualifying purchases.
Why Proper Post-Processing Matters for Your Resin Prints
Proper post-processing is essential because it guarantees your resin prints reach their full potential in quality and durability. Understanding resin chemistry helps you choose the right cleaning and curing methods, preventing damage and ensuring ideal results. Proper post-processing also involves adhering to post processing safety guidelines, such as wearing gloves and working in well-ventilated areas, to protect yourself from harmful chemicals. Neglecting these steps can lead to weak or brittle prints that don’t last, or worse, health risks. When you carefully follow post processing safety measures and consider resin chemistry, you enhance the strength, detail, and overall finish of your models. This not only improves aesthetics but also extends the lifespan of your prints, making your efforts truly worthwhile. Additionally, being aware of household safety tips helps create a safer environment during the entire post-processing process. Being familiar with resin chemistry also allows you to troubleshoot common issues and optimize your workflow for better results. Proper ventilation and careful handling of chemicals can also prevent health hazards during resin post-processing. Developing a thorough understanding of chemical reactions involved in resin curing can further improve your post-processing techniques and outcomes. Incorporating proper cleaning techniques can significantly impact the quality and longevity of your prints.

FUNGDO 3D Printer Resin Curing Station DIY Curing Enclosure with UV Light UV Lamp Solar Turntable for 405nm UV Resin SLA DLP LCD 3D Printer Solidify Model
1: Big Curing SizeUpdate to 8.27"x8.67"x10.24"(21*22*26CM), enough for model from 10.1 inch or small LCD Printer to use.
As an affiliate, we earn on qualifying purchases.
As an affiliate, we earn on qualifying purchases.
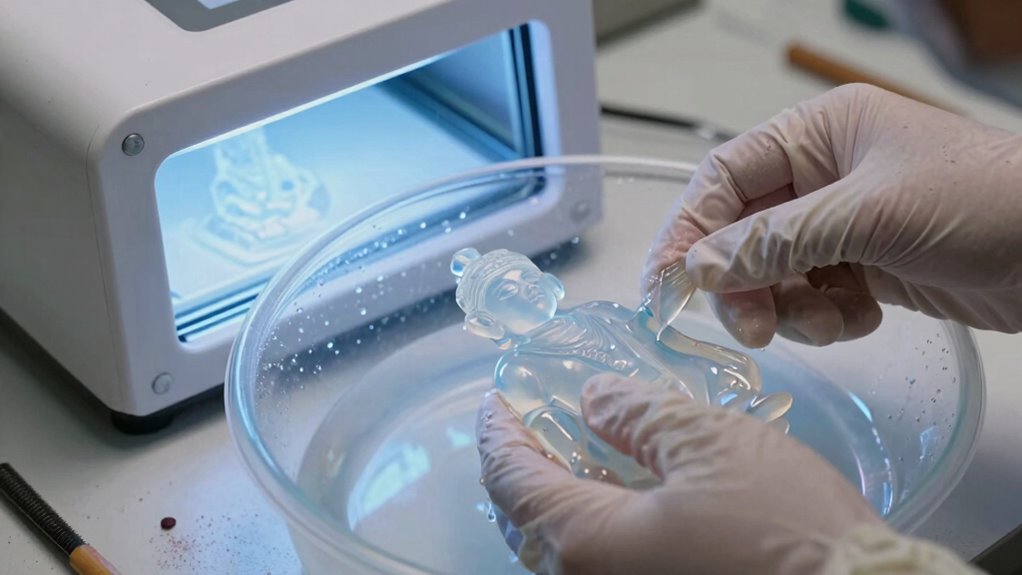
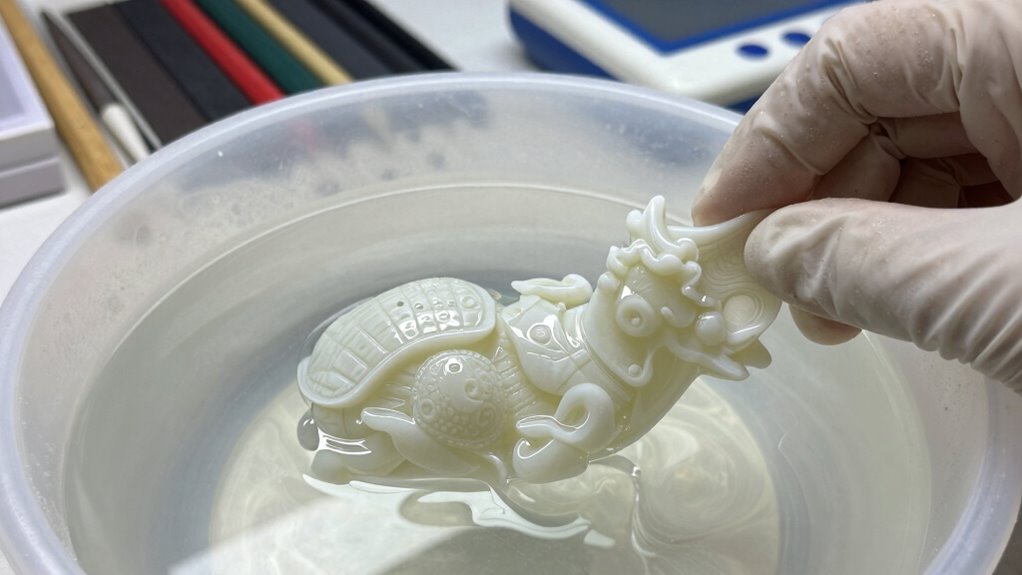
How to Safely Wash Your Resin Models for Best Results
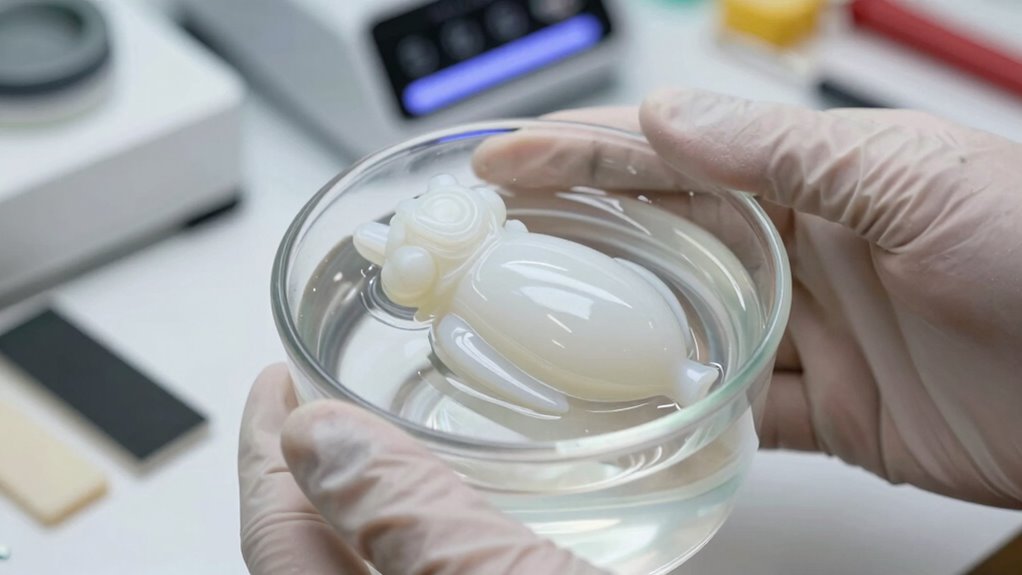
To achieve the best results when washing your resin models, it’s vital to use the right cleaning method while prioritizing safety. Always wear gloves and eye protection to avoid contact with uncured resin or cleaning solvents. Use isopropyl alcohol (preferably 90% or higher) in a well-ventilated area, and never pour it down the drain. Proper resin storage is essential; keep unused resin in sealed containers away from heat and sunlight. When washing, submerge your model gently, avoiding excessive agitation that could damage delicate features. After cleaning, dry the model thoroughly to prevent residue buildup. Additionally, understanding contrast ratio helps in assessing how well your resin model will look under different lighting conditions, ensuring optimal visual quality. Recognizing resin safety precautions is crucial for maintaining a safe workspace and preventing health risks. Implementing proper chemical handling procedures and safety precautions consistently is vital to protect yourself and your workspace. Proper washing techniques ensure your resin models are clean and ready for the next post-processing steps.

Sand Paper, 48 PCS Sandpaper, 120 to 5000 Assorted Grit Sandpaper Sheets, 9 x 3.6 Inch Premium Wet Dry Sandpaper for Wood Furniture Finishing, Metal Sanding, Automotive Polishing
Meets All Your Needs: 48 pcs sand paper kit, 16 grits sandpaper assortment, including 3 sheets of each…
As an affiliate, we earn on qualifying purchases.
As an affiliate, we earn on qualifying purchases.
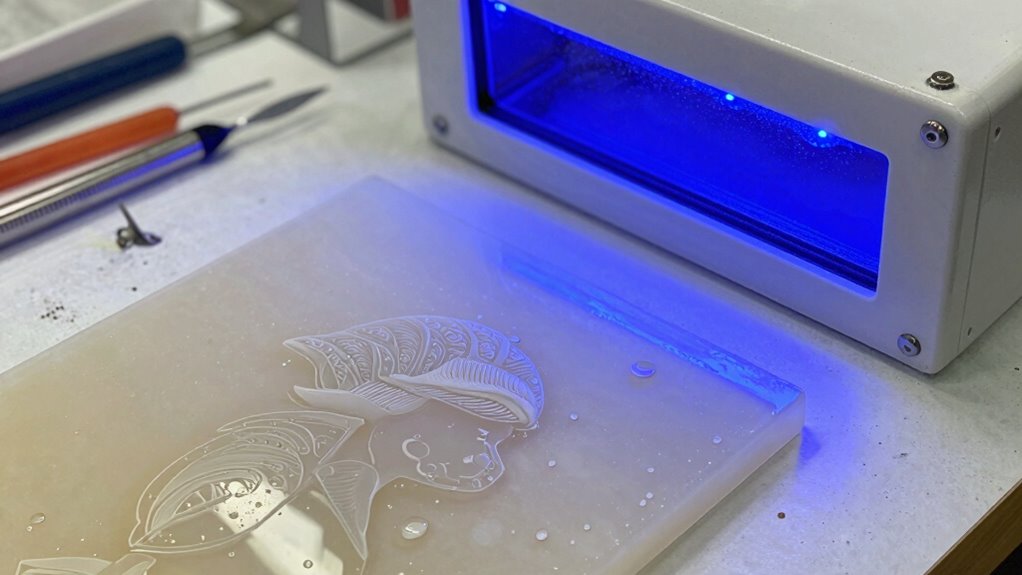
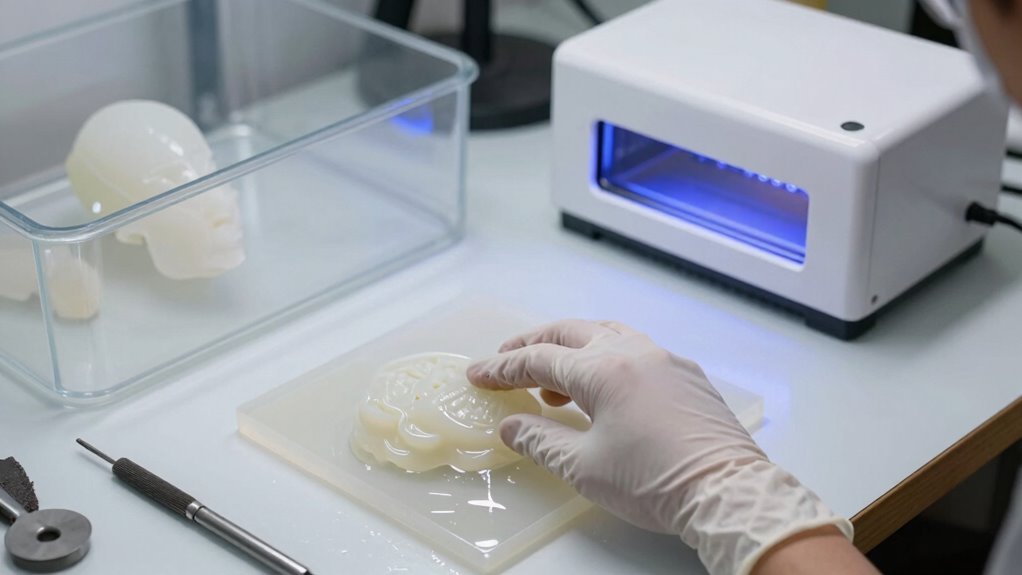
The Best Way to Cure Resin Prints for Strength and Detail
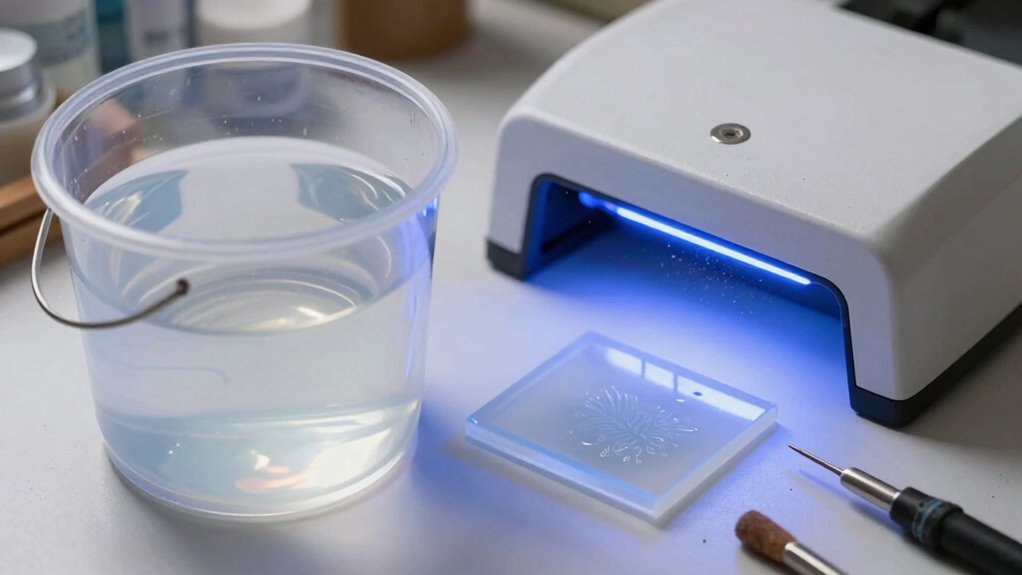
Curing your resin prints correctly is essential for maximizing their strength and capturing fine details. Proper curing reduces resin toxicity by fully solidifying the material, making it safer to handle. Use high-quality curing equipment, such as UV curing stations or sunlight, to guarantee even exposure. Follow the manufacturer’s recommended curing times and angles for ideal results. Over-curing can cause brittleness, while under-curing leaves resin toxicity and softness. Keep the print in a dust-free environment during curing to avoid surface imperfections. For best results, rotate or move the print during curing to achieve uniform strength and detail. Investing in reliable curing equipment helps streamline this process, ensuring your prints are both safe and visually impressive. Additionally, understanding the material properties of your resin can help you optimize curing times for different types of prints. Regularly testing and recording your curing parameters can help you develop consistent results tailored to your specific resin and print design. Paying attention to curing environment conditions, such as temperature and humidity, can also further improve the quality and safety of your finished prints. Maintaining proper post-curing techniques, like using controlled environments, can significantly enhance the durability and appearance of your resin models. Incorporating proper post-processing techniques like washing and sanding can further enhance the final appearance and durability of your resin prints.

vodvob reusable silicone gloves, finger protectors for epoxy resin casting DIY crafts, household cleaning gloves, dishwashing and cleaning tasks, flexible, durable and non slip,blue
✅Material: These household gloves are made of soft and skin friendly food grade silicone material, free of latex…
As an affiliate, we earn on qualifying purchases.
As an affiliate, we earn on qualifying purchases.
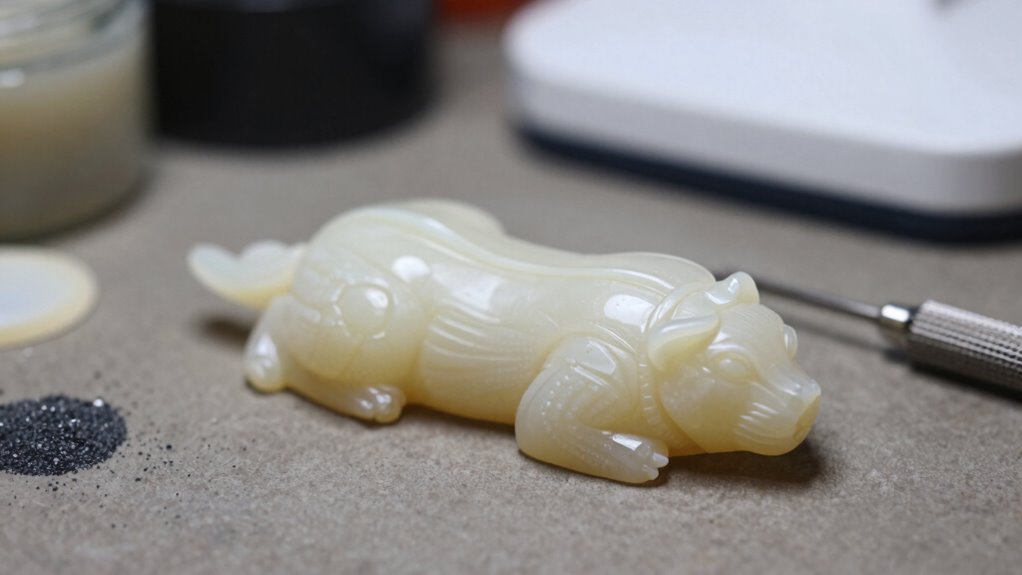
How to Sand and Smooth Resin Prints Without Causing Damage
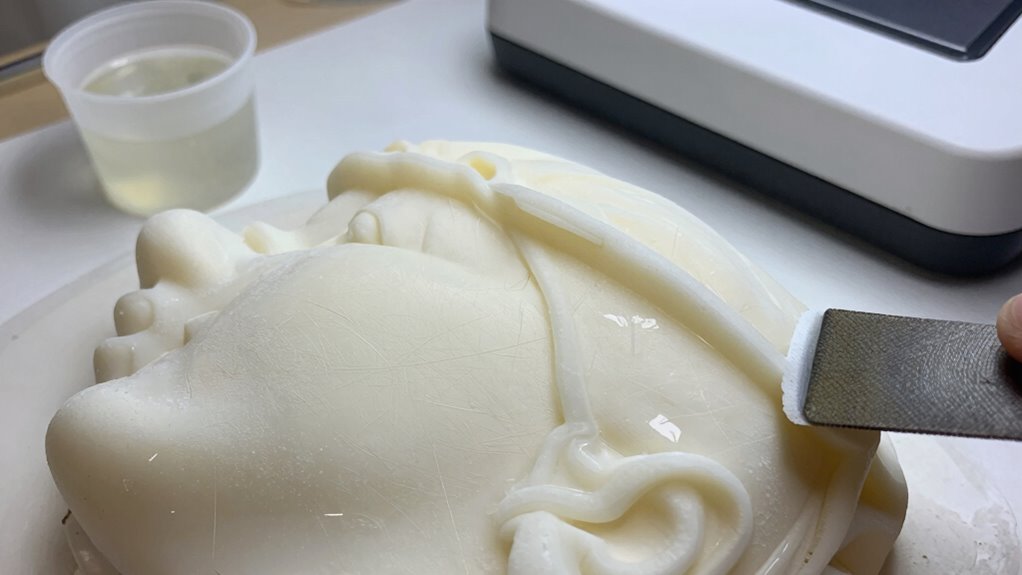
After curing your resin prints, smoothing their surfaces without causing damage can considerably improve their appearance and functionality. To achieve this, use gentle abrasion techniques like fine-grit sandpaper or micro-mesh files, progressing gradually. Incorporate polishing compounds to refine the surface, avoiding harsh abrasives that can mar details. When sanding, keep the surface wet to minimize heat and friction. For best results, alternate between light sanding and polishing. Here’s a quick guide:
| Step | Technique | Tool/Material |
|---|---|---|
| 1 | Light sanding | Fine-grit sandpaper |
| 2 | Wet sanding | Micro-mesh files |
| 3 | Polishing | Polishing compounds |
| 4 | Final smoothing | Soft cloth or buffing pad |
| 5 | Inspection | Magnifying glass |
These methods ensure a smooth, professional finish without compromising detail. Incorporating proper post-processing techniques can enhance the quality of your resin prints and prevent damage during finishing. Additionally, understanding measurement tools can help monitor the effectiveness of your surface treatments and ensure consistent quality. Being mindful of support removal techniques is also crucial to avoid surface damage during the cleaning process. Using appropriate tools for support removal can reduce the risk of scratches and imperfections on your print surface.
Common Mistakes in Resin Post-Processing and How to Avoid Them
Are you aware of the common pitfalls that can ruin a perfectly good resin print? One mistake is neglecting resin safety, such as skipping gloves or masks, which risks exposure to harmful chemicals. Another is rushing the curing process; improper curing techniques can leave your print brittle or tacky. Overexposing resin to UV light can cause warping or discoloration, while under-curing leaves the print weak and unclean. Failing to follow recommended curing times or angles can also result in uneven finishes. Additionally, ignoring post-curing instructions may compromise the model’s strength and detail. Always prioritize resin safety by working in well-ventilated areas and using protective gear. Proper curing techniques ensure your print achieves ideal strength, appearance, and durability. Proper post-processing practices are essential for achieving high-quality results and prolonging the life of your prints. Understanding the importance of resin safety helps prevent health risks and ensures a safer workflow. Being aware of proper handling procedures can significantly reduce the risk of accidents and resin waste. Incorporating professional advice can further improve your post-processing outcomes and avoid common mistakes.
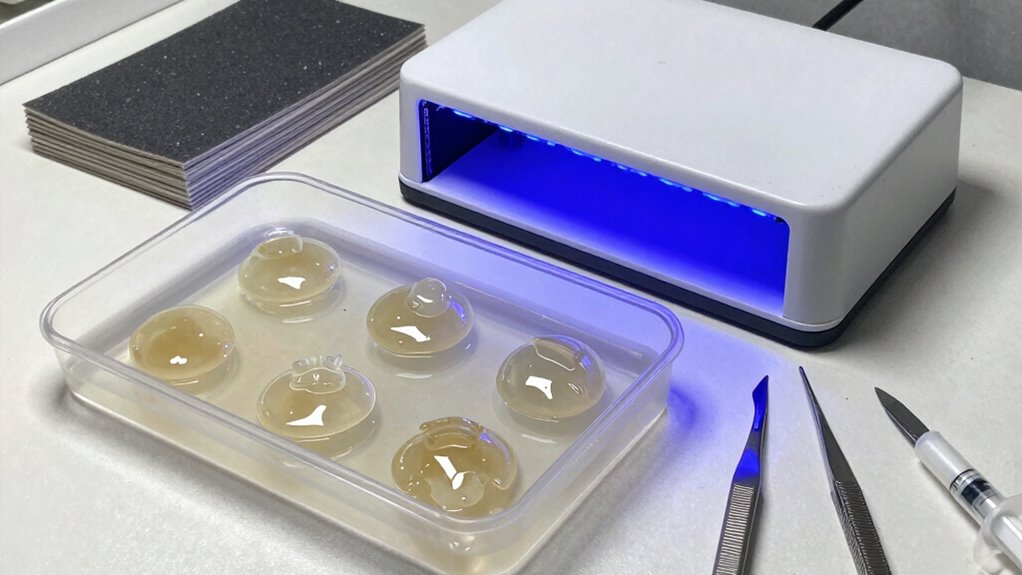
When and Why to Repeat Washing and Curing Cycles in Resin Printing
In resin printing, repeating washing and curing cycles is essential when your print shows signs of residual uncured resin or uneven finishings. Different resin types may require additional cycles to fully cure, especially with thicker or more complex models. If you notice sticky surfaces or cloudy areas, it’s a sign to repeat the washing process. Similarly, inconsistent curing schedules can leave parts of your print undercured, leading to brittleness or surface imperfections. Repeating the curing cycle guarantees uniform hardening and maximum strength. Properly executing post-processing techniques can significantly improve your print quality and durability. Always monitor your print’s appearance and feel, adjusting your post-processing accordingly. Properly executed, this repetition guarantees a smoother, more durable finish, regardless of resin type, and helps you avoid issues caused by incomplete curing or residual resin. Additionally, understanding the resin curing process can help you optimize your post-processing routine for the best results.
Essential Tools and Materials for Effective Resin Post-Processing
To achieve professional-quality resin prints, having the right tools and materials is essential for efficient and safe post-processing. Understanding resin chemistry helps you select appropriate solvents and curing setups, while safety precautions protect you from harmful fumes and chemicals. Key tools include nitrile gloves, safety goggles, and a well-ventilated workspace. You’ll also need a plastic or glass container for washing, a curing station, and fine sandpaper for finishing touches. Use the following table to quickly identify essential items:
| Tool/Material | Purpose | Safety Precautions |
|---|---|---|
| Nitrile gloves | Protect skin from resin | Avoid contact with skin |
| Isopropyl alcohol | Cleaning and washing | Use in ventilated areas |
| UV curing station | Proper curing | Keep away from direct eyes |
These tools ensure safe handling and ideal results in your resin post-processing.
Troubleshooting Finish Problems in Resin Prints
When your resin print’s finish isn’t perfect, it’s important to identify the root cause. Common surface defects, layer separation issues, and post-curing problems can all impact the final quality. Understanding these common issues helps you troubleshoot effectively and improve your results.
Common Surface Defects
Have you noticed rough or uneven surfaces on your resin prints? These common surface defects can result from incomplete curing, excess resin, or improper washing. Such issues not only affect the appearance but may also compromise resin safety, as residual uncured resin can be harmful to your skin and environment. To minimize these defects, ensure thorough cleaning during the wash step and proper curing. Sanding can smooth out rough areas but should be done carefully to avoid removing detail. Always wear gloves and handle resin with care to reduce health and environmental impact. Proper post-processing methods help improve surface quality and promote safer resin use, reducing waste and exposure. Addressing these issues keeps your prints looking professional and supports responsible resin handling.
Layer Separation Issues
Layer separation is a common finish problem that can undermine the strength and appearance of your resin prints. It occurs when layers fail to stick together properly, resulting in weak spots or complete delamination. Causes often include poor layer adhesion, uneven curing, or print warping during the process. Visualize your print as a fragile stack of cards, where any instability causes the entire structure to falter.
- Cracks forming between layers, like a fissure spreading across a glacier
- Warping causing layers to lift or peel away from the build plate
- Gaps or bubbles that weaken the overall integrity of the model
Addressing layer separation involves ensuring proper print orientation, stabilizing the build plate, and controlling resin temperature. By maintaining ideal layer adhesion, you minimize the risk of print warping and achieve stronger, more durable results.
Post-Cainting Troubleshooting
Post-processing resin prints can introduce new challenges that affect their final appearance and durability. One common issue is uneven or mismatched colors after painting. To fix this, guarantee proper color calibration before painting, matching your paints to the resin’s base hue. Poor resin storage can also cause finish problems, as exposure to light or temperature fluctuations may alter the resin’s properties, leading to inconsistent paint adhesion or color shifts. Always store resin in a cool, dark place and shake or stir thoroughly before use. When troubleshooting finish issues, check your resin’s condition, confirm your color calibration, and consider re-priming or sanding the surface for better paint adherence. Proper storage and preparation are key to achieving a smooth, professional finish.
Final Tips for Achieving Professional Resin Models
To achieve professional-quality resin models, attention to detail during the final finishing stages is essential. Proper cleanup guarantees your model looks polished and safe to handle. Always prioritize resin disposal by following local regulations to prevent environmental harm. Use UV safety gear when curing to avoid skin and eye damage from exposure. To elevate your finish, consider precise sanding to smooth surfaces, followed by meticulous painting for realistic detail. Keep your workspace organized to avoid accidental spills. Remember, consistent safety practices and careful disposal are key to maintaining a safe environment. With patience and precision, you’ll produce models that look professional and durable.
Prioritize careful cleanup, safety, and organization to produce durable, professional-looking resin models.
- Visualize your model with sharp edges and smooth surfaces
- Imagine the glow of a perfectly cured piece in natural light
- Feel confident knowing safety measures protect you and the environment
Frequently Asked Questions
How Can I Properly Dispose of Leftover Resin and Wash Water?
You should dispose of leftover resin and wash water responsibly by avoiding direct release into the environment. Use environmentally friendly solvents for cleaning, then collect and store leftover resin for recycling if possible. Never pour excess wash water down the drain; instead, let solids settle and dispose of them according to local hazardous waste regulations. This approach helps protect the environment and promotes safe resin handling.
What Safety Precautions Should I Take During Post-Processing?
Think of post-processing like maneuvering a minefield—you must stay alert. Always wear protective gear like gloves, masks, and goggles to avoid resin contact. Make sure your workspace is well-ventilated to prevent fumes from building up. I once ignored ventilation, and the fumes gave me a headache. Prioritizing safety keeps you protected and makes the process smoother. Never skip these precautions—they’re your best defense against potential hazards.
Can Post-Processing Affect the Accuracy of Detailed Prints?
Post-processing can affect the accuracy of detailed prints, especially if you don’t handle it carefully. Resin shrinkage during curing might slightly distort fine features, and improper sanding or curing can dull surface detail preservation. To minimize these issues, follow recommended curing times and gentle sanding techniques. This helps maintain your print’s precision and detail, ensuring you get the best results without compromising accuracy.
How Do I Prevent Fogging or Clouding After Curing?
Think of your resin print as a mirror, reflecting clarity after proper care. To prevent fogging or curing clouding, make certain you wash your print thoroughly to remove residual resin, then cure it in a dust-free environment. Avoid excessive curing times, which can cause clouding. Additionally, handle your print with gloves to prevent fingerprints or oils that contribute to resin fogging. Proper post-curing techniques keep your print crystal clear and stunning.
Are There Eco-Friendly Options for Resin Post-Processing Materials?
Yes, you can choose eco-friendly options for resin post-processing. Use biodegradable solvents like plant-based cleaners to reduce environmental impact. Additionally, explore recycled resin options, which minimize waste and promote sustainability. Always check that these eco-friendly materials are compatible with your resin type to guarantee effective cleaning and curing. By making these choices, you help protect the environment while maintaining high-quality results in your resin printing projects.
Conclusion
Just like Da Vinci’s meticulous craftsmanship, your attention to post-processing transforms raw resin into art. By washing, curing, sanding, and repeating thoughtfully, you reveal the full potential of your prints. Remember, patience and precision are your greatest tools—avoid shortcuts, and your models will stand as masterpieces. Keep honing your skills, and soon you’ll create resin pieces that rival those from the masters themselves. Your next great work is just a careful step away.