
To succeed at metal engraving, choose the right tools like sharp carbide or steel burins and guarantee your surface is clean and prepared. Hand tools give you fine control, while power tools boost speed but require careful handling. Avoid rushing, skipping safety steps, or neglecting proper technique, as these can ruin your results. Proper adjustments, practice, and understanding metal properties are key—stay tuned to learn more about mastering your technique.
Key Takeaways
- Sharp, high-quality tools like carbide or steel burins produce cleaner, more precise engravings on metal surfaces.
- Proper surface preparation—cleaning and removing oxidation—ensures better tool contact and clearer designs.
- Traditional hand engraving offers detailed control, while powered tools or lasers increase speed but may require skill adjustments.
- Adjusting speed and power settings based on metal type and design detail is crucial for consistent, high-quality results.
- Avoid rushing or skipping safety steps; proper technique and patience are essential for effective and safe metal engraving.
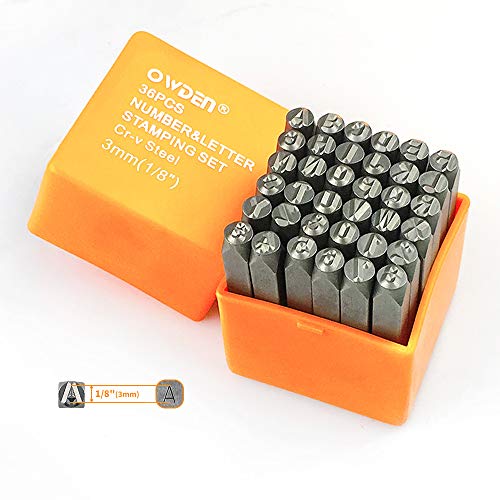
OWDEN Professional 36Pcs. Steel Metal Stamping Tool Set,(1/8”) 3mm,Steel Number and Letter Punch Set,Alloy Steel Made HRC 58-62 for Jewelry Craft Stamping.
Owden Professional 36Pcs. Steel metal stamping set,number and letter punch set (1/8”) 3mm (Pls check if the dimensions…
As an affiliate, we earn on qualifying purchases.
As an affiliate, we earn on qualifying purchases.
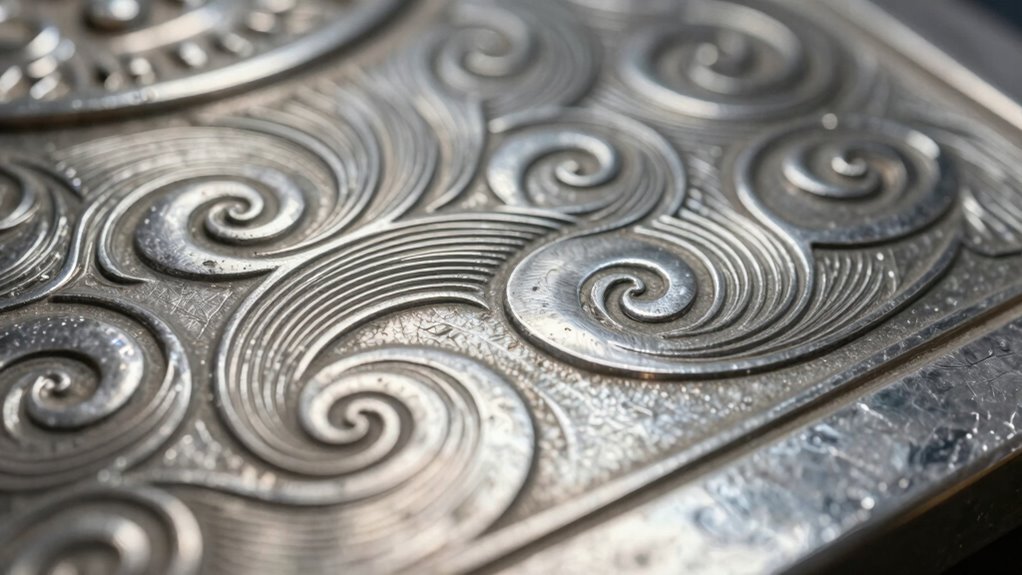
Metal Engraving Basics: What You Need to Know
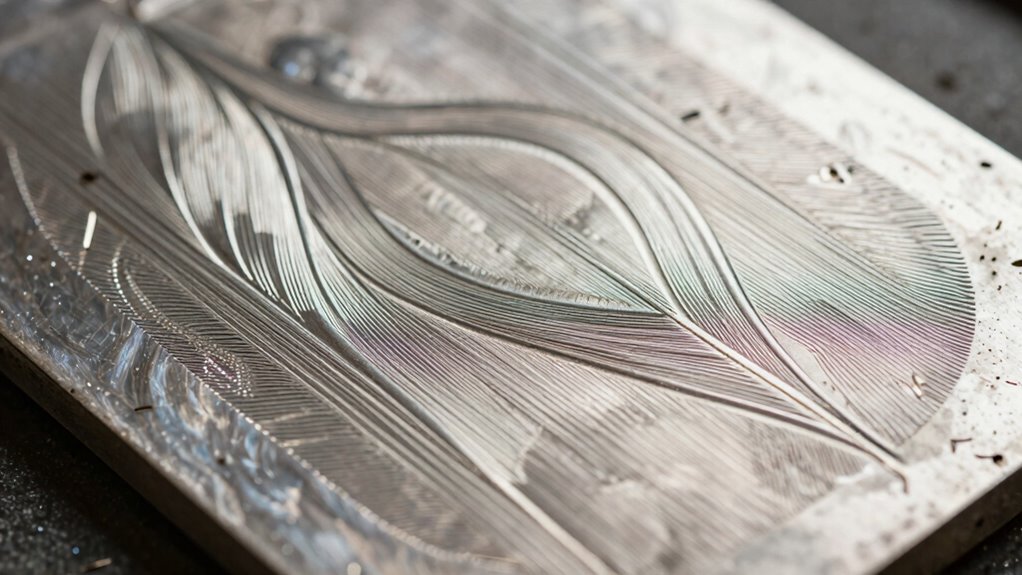
Metal engraving is a craft that involves carving or etching designs directly onto metal surfaces. To understand the basics, it helps to know about metal etching and engraving history. Metal etching, dating back thousands of years, originally used acids to create patterns on metal, while engraving has evolved through the ages, from hand tools used by ancient artisans to modern techniques. Today, engraving combines both tradition and innovation, allowing you to craft detailed images or text on various metals. The process requires precision and patience, whether you’re working on jewelry, firearms, or decorative items. By learning the history behind engraving, you gain appreciation for its artistry and develop a foundation that helps you succeed in your projects. Understanding historical techniques also provides insight into how modern methods have improved accuracy and efficiency in metal engraving. Exploring traditional craftsmanship can inspire techniques that enhance your work and connect you with centuries of artisanship, as well as the importance of metalworking innovations in advancing the craft. Additionally, the importance of affiliate disclosure in sharing honest information about tools and supplies used in the craft. Recognizing the technological advances in engraving tools can help you choose the most suitable equipment for your projects.

GRS Tools 022-616 C-Max Carbide Graver 75
As an affiliate, we earn on qualifying purchases.
As an affiliate, we earn on qualifying purchases.
Choosing the Right Tools and Materials for Your Project
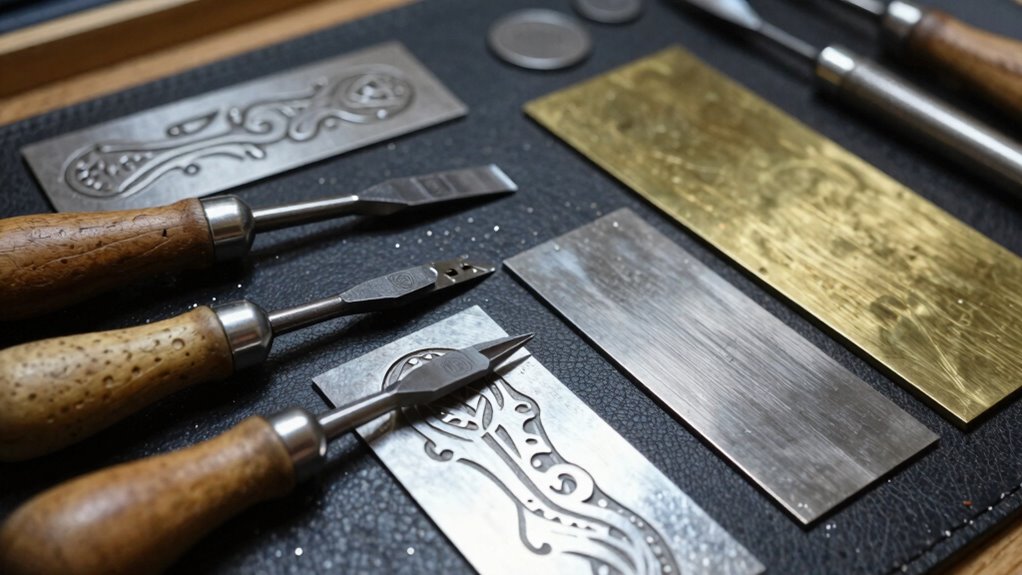
Selecting the appropriate tools and materials is essential to achieve precise, professional-looking engravings. Your choice of metal and tools impacts the quality and durability of your work. Consider metal joint techniques; different joints influence how well the material holds up during engraving and how clean your lines appear. Use high-quality engraving tools suited for the specific metal you’re working with, such as carbide or steel burins. Always follow engraving safety measures—wear protective gear, work in a well-ventilated area, and handle sharp tools carefully. Properly choosing materials and tools minimizes mistakes, reduces damage, and ensures a smoother engraving process. Investing in the right equipment and understanding joint techniques will help you produce consistent, high-quality results that last. Additionally, understanding metal properties can guide you in selecting the most suitable materials for your project.
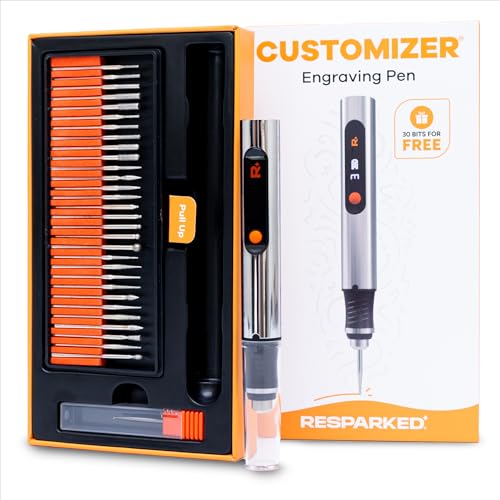
Resparked Customizer Engraving Pen Ultimate Cordless Portable Tool for Artists & DIYers – Engrave 50+ Surfaces – Beginner Friendly – Rechargeable – Free 30 Bits & Mastery Guide
Unleash Endless Creativity on 50+ Surfaces – From wood, metal, glass, and plastic to ceramics, the Customizer Engraving…
As an affiliate, we earn on qualifying purchases.
As an affiliate, we earn on qualifying purchases.
Hand vs. Power Tools: Which Is Better for Metal Engraving?
When choosing between hand and power tools for metal engraving, you need to contemplate precision and control versus speed and power. Hand tools offer more detailed control, but power tools can complete work faster with more force. Understanding which benefits suit your project will help you make the best choice. Additionally, considering regional flavor influences can inspire unique design elements and engravings that reflect specific cultural aesthetics. Incorporating ergonomic tool design can also enhance comfort and reduce fatigue during extended engraving sessions. Selecting tools with customizable settings allows for better adaptation to various materials and design intricacies, ultimately improving your engraving outcomes. Using tools with comfortable grips can further improve handling and ergonomic efficiency over long periods.
Precision and Control
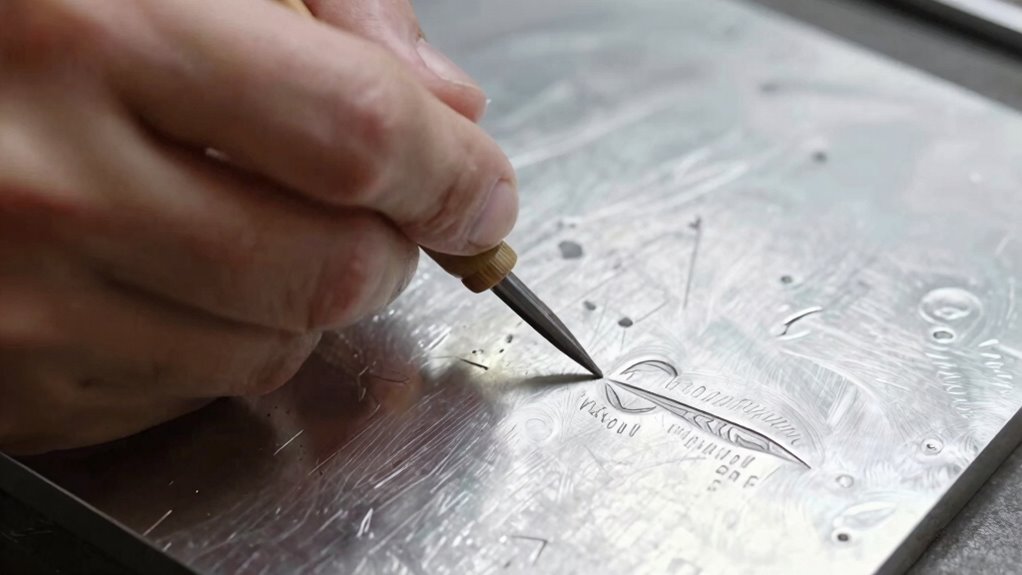
Have you ever wondered which tool offers better precision and control for metal engraving—hand tools or power tools? When it comes to engraving accuracy, hand tools give you finer control, allowing for delicate adjustments and detailed work. Your control techniques, such as steady hand positioning and consistent pressure, are vital for achieving clean, precise lines. Power tools can provide more consistent pressure but may feel less intuitive for detailed work, especially for beginners. If you prioritize meticulous control and intricate designs, hand tools might be your best choice. However, for larger, less detailed projects, power tools can help maintain steadiness and speed. Ultimately, mastering control techniques with either tool determines the quality of your engraving results.
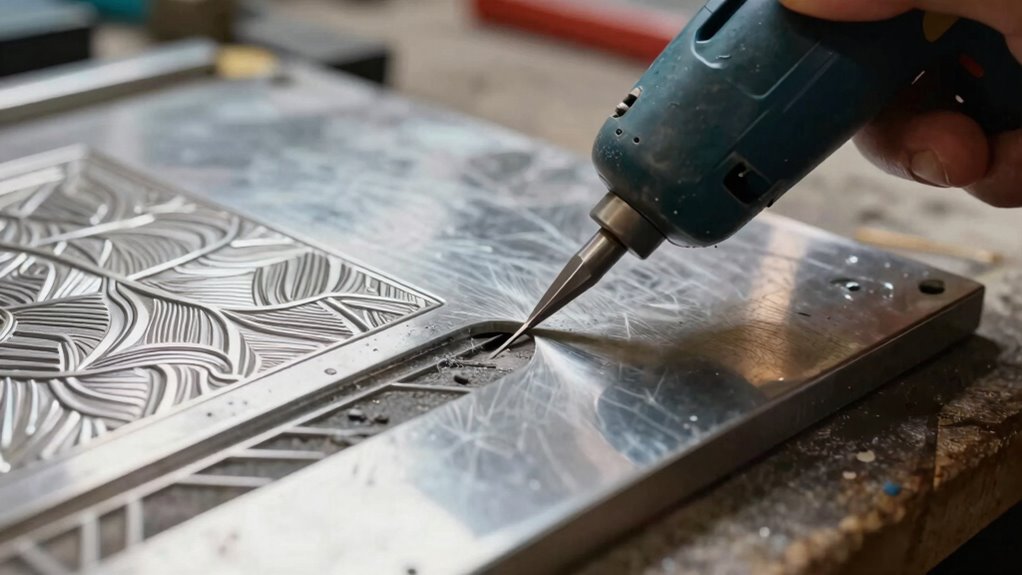
Speed and Power
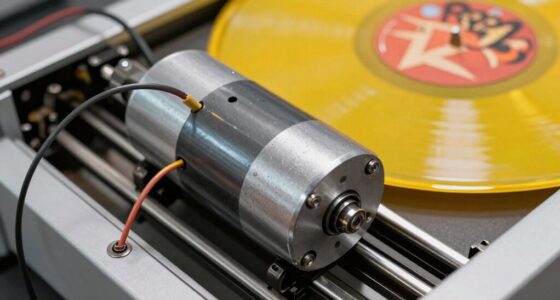
Choosing the right tool for speed and power can considerably impact your engraving process. With laser engraving, adjusting the laser speed and power settings is essential. Higher laser speeds allow for quicker work but may sacrifice detail and depth, making them suitable for shallow or broad designs. Conversely, lower speeds increase precision and allow more power to etch deeper into the metal. Power settings determine how much energy the laser delivers, affecting the depth and contrast of your engraving. For delicate detail, use lower power with moderate speed; for bold, deep marks, increase the power and slow down the laser. Hand tools rely on manual control, which can be slower but offers nuanced adjustments, while power tools automate speed and power settings for consistency. Choose based on your project needs. Additionally, understanding the history of metal engraving can help you appreciate traditional techniques that still influence modern methods.
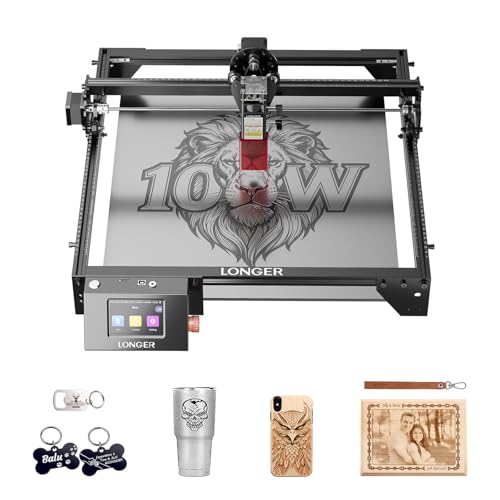
LONGER Ray5 10W Laser Engraver with 3.5" Touch Screen, Offline Use, 24000mm/min, 0.06mm Laser Spot, CNC DIY Engraving Machine for Wood, Metal, Acrylic & Glass
【High-Speed & High-Performance · Dual-Beam Precision Engraving】Longer Ray5 10W Laser Engraver is equipped with a powerful 10W laser…
As an affiliate, we earn on qualifying purchases.
As an affiliate, we earn on qualifying purchases.
Tips for Achieving Crisp, Precise Engravings
To achieve crisp, precise engravings, start by using sharp tools that cut cleanly through the metal. Make sure to adjust your engraving settings for the right depth and speed, so your lines stay consistent. Additionally, proper surface preparation, like cleaning and smoothing, helps your tools work more effectively and results in better detail. When working on detailed designs, understanding the metal properties can help you choose the appropriate tools and techniques. Incorporating hidden foodie spots into your project can inspire unique design elements that resonate with local culture. Using the right painting equipment, such as suitable tips and filters, can also improve the quality and precision of your engravings. Paying attention to comogenic ratings of materials can prevent skin issues and ensure safety during your engraving process. Ensuring you have the proper DIY safety tips in place is essential to avoid accidents and maintain a safe workspace.
Use Sharp Tools
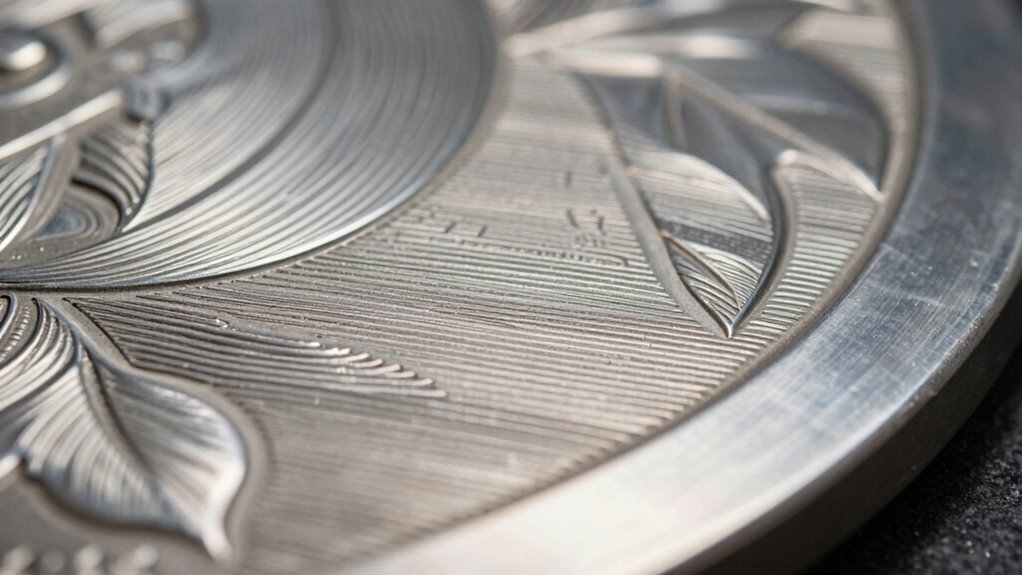
Using sharp tools is essential for achieving crisp, precise engravings on metal surfaces. When your tools are sharp, you can create fine detail with greater control and accuracy. Dull tools tend to slip or cause uneven lines, compromising the overall sharpness of your design. Always keep your engraving tools well-maintained and sharpened regularly. This ensures clean cuts and clear lines, making your artwork stand out. Sharp tools allow you to work with finesse, capturing intricate patterns and delicate features effortlessly. Remember, precision starts with the right equipment. Using the proper sharpness level not only improves the quality of your engraving but also reduces fatigue, giving you better control over your work. Prioritize sharp tools to achieve professional, crisp results every time.
Adjust Engraving Settings
Adjusting your engraving settings is key to producing crisp, precise lines on metal. Start by fine-tuning the engraving depth; a shallow depth creates delicate, detailed lines, while a deeper setting adds boldness but risks over-engraving. Find a balance that matches your design. Contrast adjustment also plays a crucial role—boosting contrast makes your lines stand out more sharply against the metal surface. Use your machine’s contrast settings to enhance clarity without losing details. Test on scrap metal first to dial in the right combination of engraving depth and contrast. Precise adjustments prevent bleed-through or missed lines, ensuring your design looks professional. Small tweaks can make a big difference in achieving clean, crisp engravings every time. Proper material handling is essential for long-lasting results and to avoid damage to your workpiece.
Proper Surface Preparation
Have you prepared the metal surface properly? Achieving crisp, precise engravings depends on thorough surface preparation. First, ensure surface cleanliness by removing dirt, oils, and debris that can blur your design. Next, focus on corrosion removal—rust or oxidation can interfere with engraving accuracy. Properly cleaned and corrosion-free surfaces help your tools cut smoothly and detail stay sharp. Additionally, incorporating surface conditions about surface conditions can improve your overall results. Considering the horsepower of electric dirt bikes can also be relevant if your engraving involves powered tools or equipment, ensuring you select the right motor power for efficient operation. Understanding filter maintenance and its importance can also be useful if you’re using equipment that requires air filtration during your engraving process, as it helps maintain a clean workspace and prevent dust from affecting your work. Lastly, understanding tableware and its proper handling can also be useful if you’re engraving on dishes or utensils, as it helps maintain the integrity of the items during customization.
Common Mistakes That Ruin Your Metal Engraving Results
One of the most common mistakes that can ruin your metal engraving results is rushing the process. When you hurry, you might overlook essential steps like proper surface preparation or fail to follow laser safety protocols, increasing risks and decreasing quality. Poor planning of your engraving design can lead to confusing or uneven results. Skimping on safety measures not only risks injury but can also cause damage to your equipment. Additionally, rushing through the setup may result in misaligned or inconsistent engraving. Take your time to carefully plan your design and ensure your workspace is safe. Remember, patience improves precision, and adhering to laser safety guidelines protects you and your project, ultimately producing cleaner, more professional outcomes. Being aware of the best gear and knife roundups for smart shopping can help you choose the right tools to improve your engraving projects.
Troubleshooting Tips and When to Seek Expert Help

When troubleshooting metal engraving issues, you should start by carefully identifying the specific problem, such as uneven lines, incomplete cuts, or excessive heat marks. Recognizing these signs helps determine whether the issue stems from equipment, technique, or safety concerns. For troubleshooting common issues, make certain you’re following proper metal engraving safety protocols to prevent accidents. If problems persist, consider these tips:
Start by identifying specific issues to determine if equipment, technique, or safety are involved.
- Check your engraving settings and adjust speed or power.
- Inspect your tools for wear or damage.
- Ensure your metal surface is clean and properly prepared.
- Avoid rushing, which can cause errors or safety hazards.
If issues continue despite adjustments, it’s time to seek expert help. Professionals can diagnose deeper problems, recommend advanced techniques, and ensure safe, high-quality results.
Frequently Asked Questions
Can I Engrave on All Types of Metals Equally Effectively?
Not all metals respond equally to engraving, so your material compatibility varies. Softer metals like aluminum or brass are easier to engrave and offer greater engraving versatility, while harder metals like stainless steel or titanium require specialized tools and techniques. You’ll find some metals more suitable for your project, but understanding each material’s properties assists you in achieving better results. Tailoring your approach ensures successful engraving across different types of metals.
How Do Temperature and Humidity Affect Metal Engraving Results?
Temperature and humidity substantially impact your metal engraving results. High humidity can cause moisture buildup, leading to uneven engraving or surface corrosion, while low humidity helps achieve cleaner lines. Temperature effects include expansion or contraction of the metal, which can distort your design or affect engraving depth. To get the best results, work in a controlled environment, monitor humidity levels, and avoid extreme temperatures that could compromise your engraving quality.
Is It Possible to Engrave Intricate Designs Manually?
Yes, you can manually engrave intricate designs on metal. Hand engraving allows you to create detailed, complex patterns with precision, especially if you have steady hands and experience. Although it requires patience and skill, this approach gives you control over design complexity. You might find it challenging at first, but practicing will improve your craftsmanship, enabling you to produce stunning, intricate metal engravings that machine methods might struggle to replicate.
What Safety Precautions Should I Take During Engraving?
You should wear protective gear, guarantee good ventilation, and keep your workspace clean. Protective gear like safety goggles and gloves shields your eyes and skin from sparks and debris. Proper ventilation systems help clear fumes and dust, reducing inhalation risks. Always work in a well-ventilated area, avoid loose clothing, and stay focused. These safety precautions keep you safe, allowing you to enjoy engraving without unnecessary hazards.
How Long Does a Typical Metal Engraving Project Usually Take?
A typical metal engraving project takes anywhere from a few hours to several days, depending on your project planning and material selection. If you choose softer metals like aluminum, it’s quicker, but harder metals like stainless steel may take longer. Efficient planning helps you allocate time accordingly, ensuring you have enough patience and precision. Always prepare your materials and tools in advance to streamline the process and avoid unnecessary delays.
Conclusion
Just like a master craftsman shaping a timeless keepsake, your careful choice of tools and patience will carve your vision into metal. Remember, every scratch and line tells a story—so don’t rush the process. With practice and persistence, you’ll turn raw metal into a shining masterpiece, echoing the artistry of history’s great engravers. Keep honing your skills, and soon your work will sparkle with the timeless beauty of engraved metal.