To dial in clean cuts, find the right balance between laser power and speed based on your material’s thickness and density. Increase power for thicker or denser materials, but keep speed slow enough to guarantee complete cuts without scorching. For thinner materials, lower power and higher speed work best. It’s essential to test and adjust incrementally, paying close attention to edge quality. Keep exploring these tips to perfect your settings and achieve flawless results.
Key Takeaways
- Adjust laser power to match material thickness, increasing for thicker materials and decreasing for thinner ones to prevent burn marks.
- Set the laser speed high enough for efficient cuts but low enough to ensure complete penetration without melting or charring.
- Conduct test cuts on scrap material to find the optimal balance between power and speed for clean, precise edges.
- Ensure proper focus and alignment to maximize energy efficiency and cut quality at different power and speed settings.
- Fine-tune settings incrementally, observing cut edges for defects, and record successful combinations for future use.

Laser Cutter Job Notebook (Dark Edition): Power/Speed/Frequency, Kerf & Material Log: High-contrast shop log for CO₂ & diode lasers — job sheets, … settings, kerf tests, yield & safety notes
As an affiliate, we earn on qualifying purchases.
As an affiliate, we earn on qualifying purchases.
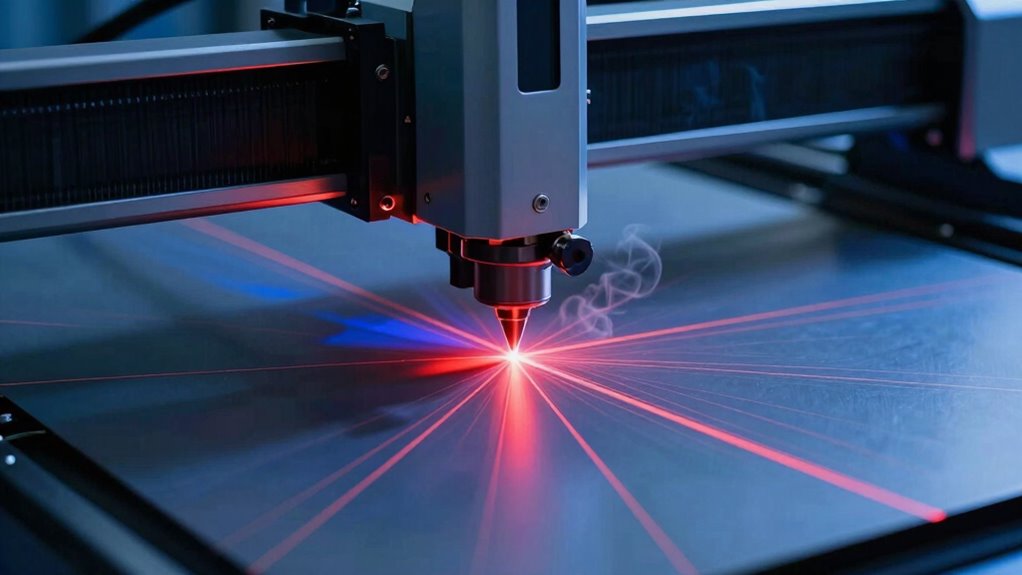
How Laser Power and Speed Affect Your Cuts

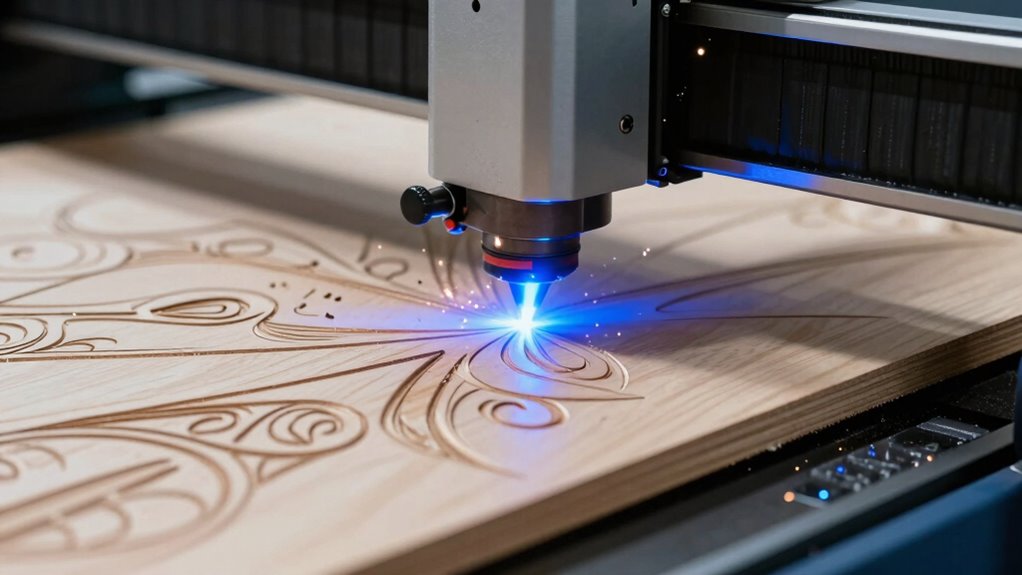
Understanding how laser power and speed influence your cuts is essential for achieving high-quality results. The beam focus plays a vital role, as a tightly focused beam concentrates energy for cleaner cuts, especially on different material properties. When you increase laser power, you deliver more energy, which can cut thicker or denser materials more effectively, but too much power might cause burn marks or warping. Conversely, adjusting speed impacts how long the laser interacts with the material; moving too fast might result in incomplete cuts, while moving too slow can cause excessive heat buildup. Recognizing how beam focus and material properties respond to these adjustments helps you fine-tune your settings for precise, smooth cuts without damaging your material. Additionally, understanding the contrast ratio of your projector can enhance visual clarity when reviewing detailed cut designs or patterns. Properly balancing laser power and speed ensures efficient operation and optimal quality, especially when considering the material’s properties and their response to different settings. Furthermore, being aware of the laser beam focus and its impact can significantly improve your cutting precision across various materials. Paying attention to the piercing process can also prevent unnecessary damage during initial cuts, ensuring a cleaner overall result. Adjusting cutting parameters carefully can help you avoid common issues like charring or incomplete cuts.
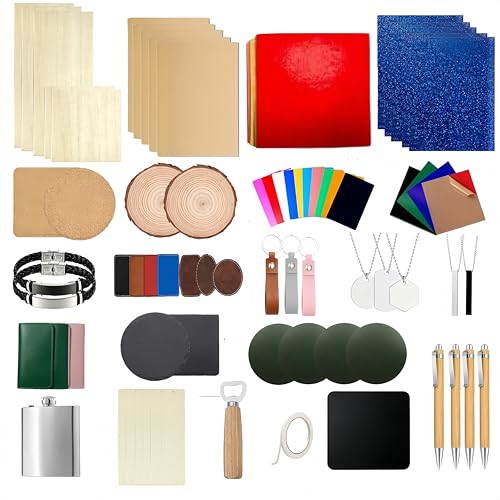
Laser Engraving Material Kit, 136 PCS 22 Types Wood Acrylic Metal Leather Blanks for Beginner, DIY Gifts, Laser Cutter Engraver Testing
Complete Variety Pack: Get 136 pieces of premium laser engraver blanks in 22 types, including wood, acrylic, metal,…
As an affiliate, we earn on qualifying purchases.
As an affiliate, we earn on qualifying purchases.
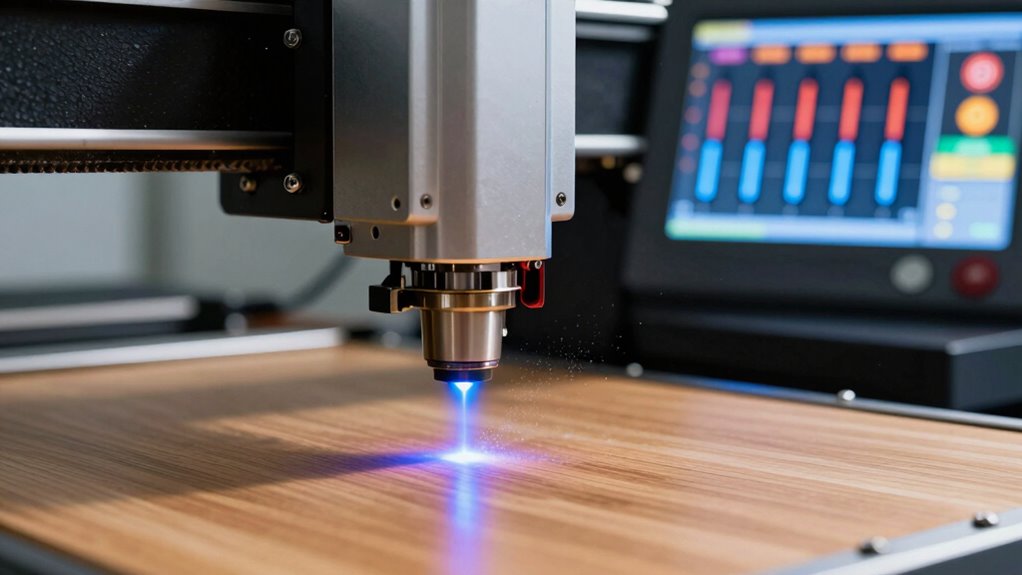
How to Find the Perfect Laser Power and Speed Balance
Finding the perfect balance between laser power and speed is essential to get clean, precise cuts without damaging your material. Start by considering your material selection, as different materials require varying settings to achieve ideal results. Thinner materials may need lower power and higher speeds, while thicker or denser materials often need more power and slower speeds. Always follow safety precautions, such as wearing appropriate eye protection and ensuring proper ventilation, to prevent accidents during testing. Begin with conservative settings and gradually adjust based on your test cuts, observing how the material responds. This process helps you dial in the right combination, avoiding burn marks or incomplete cuts. Patience and careful adjustments are key to mastering your laser cutter’s balance. Additionally, understanding the regional flavors and textures of your materials can guide you in choosing the appropriate settings for different types of wood or acrylic. Recognizing the material composition can also influence your approach to achieve cleaner cuts efficiently. Moreover, paying attention to laser focus can significantly improve cut quality and precision across different materials. To optimize your results, consider experimenting with test runs on scrap pieces to fine-tune your settings before working on the final piece. Also, monitoring the cutting environment, such as ambient temperature and humidity, can help maintain consistent results.

Laser Alignment Tool, Used to Measure and diagnose the Displacement of BDS
Unique Design: The compact size and eye-catching red color ensure that the laser alignment tool is not easily…
As an affiliate, we earn on qualifying purchases.
As an affiliate, we earn on qualifying purchases.
Step-by-Step Guide to Testing and Calibrating Your Laser Cutter
To start testing your laser cutter, first gather suitable materials and prepare them for consistent results. Next, adjust your power settings incrementally and run test cuts, carefully observing how each affects the output. Finally, analyze the cut results to fine-tune your settings for peak performance.
Preparing Test Materials
Before you begin testing your laser cutter, selecting the right materials is essential to guarantee accurate results. Proper material selection impacts cut quality and safety precautions. Use materials that are consistent and free of coatings or contaminants. Test on sample pieces similar to your final project to ensure reliable calibration. Always wear safety gear and work in a well-ventilated area when handling test materials.
| Material Type | Best Practice |
|---|---|
| Wood | Use untreated, smooth plywood or hardwood |
| Acrylic | Clear, cast acrylic for predictable cuts |
| Cardboard | Thick, sturdy cardboard for initial tests |
| Fabric | Natural fibers, avoid synthetic blends |
Adjusting Power Settings
Adjusting the power settings on your laser cutter is a crucial step to achieve clean, precise cuts and avoid material damage. Start by setting the power low and gradually increasing it during test runs, watching for smooth cuts without charring or melting. Always prioritize laser safety—wear protective eyewear and ensure proper ventilation during adjustments. Regular maintenance routines, like cleaning lenses and mirrors, help maintain consistent power output. Keep a record of your settings for different materials to streamline future calibrations. Proper calibration ensures your laser operates at peak efficiency, producing high-quality results. Remember, tweaking power settings without attention can lead to unsafe conditions or poor cuts, so take your time and verify each change carefully. Properly adjusted power settings are key to mastering your laser cutter’s performance.
Analyzing Cut Results
Analyzing your cut results is essential for identifying whether your laser settings are ideal. Carefully examine the edges of your cut for signs of charring, melting, or incomplete cuts, which indicate issues with material compatibility or incorrect settings. Take note of the depth, smoothness, and overall quality to determine if adjustments are needed. Always prioritize safety precautions by wearing protective gear and working in a well-ventilated area when inspecting the results. Document your findings to track improvements and identify patterns. This process helps you fine-tune your laser power and speed, ensuring cleaner cuts and minimizing material waste. Regularly analyzing your results is key to achieving consistent, high-quality outcomes tailored to your specific materials. Understanding the material properties and how they respond to different settings can further enhance your calibration process.

LP-LaserPair Laser Safety Window Shield for 800nm-1100nm (12"x12"x0.2")
Advanced Wavelength Protection: Elevate your safety standards with our Laser Safety Window Shield, meticulously designed to protect against…
As an affiliate, we earn on qualifying purchases.
As an affiliate, we earn on qualifying purchases.
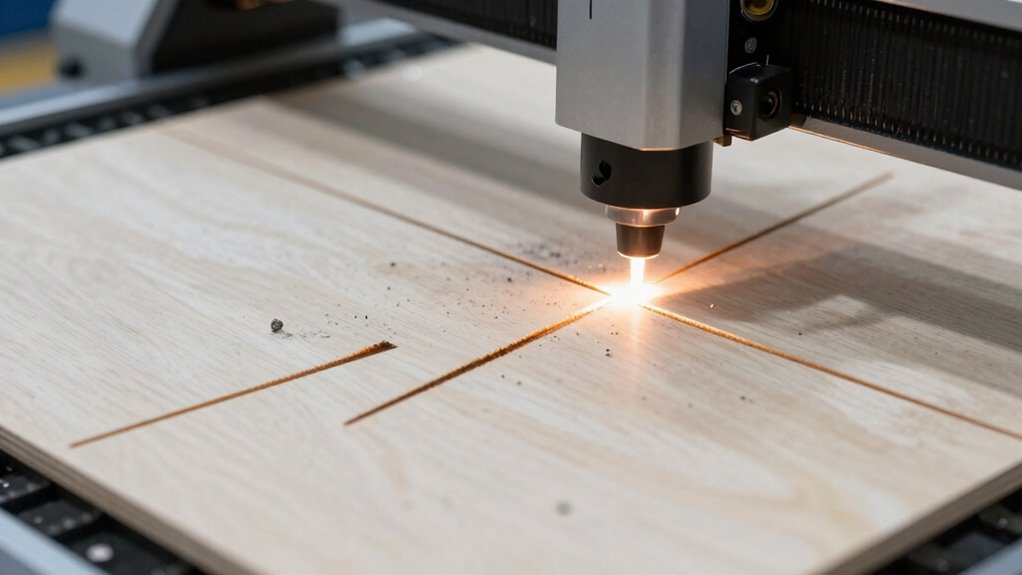
Troubleshooting Common Cutting Problems and Edge Issues

When your cuts have rough or uneven edges, it’s time to check your laser settings. Adjusting power and speed can often fix these issues and improve edge quality. Understanding common defects helps you make quick, effective tweaks to get cleaner cuts every time. Additionally, monitoring the measurement accuracy of your laser system ensures consistent results and prevents recurring problems. Regularly inspecting your laser optics can also prevent edge irregularities caused by dirt or misalignment. Incorporating proper maintenance routines enhances overall system performance and longevity. Maintaining accurate system calibration is essential for achieving optimal cut quality and reducing waste. Keeping an eye on filtration and suction systems can also prevent debris buildup that affects cut precision.
Common Edge Defects
Common edge defects often occur when laser cutting parameters are not optimized, leading to issues like rough, burnt, or uneven edges. These problems directly impact edge quality and can be traced to specific defect causes. To troubleshoot, consider these common issues:
- Inadequate power or speed settings can cause incomplete cuts or excessive burning. Adjusting these parameters based on material type can significantly improve results.
- Improper focus or alignment may produce rough or jagged edges.
- Poor material support or contamination can result in uneven edges or charring. Utilizing landscape design principles can help improve material placement and support, reducing edge defects.
- Understanding anime culture and the intricacies of different materials can help in selecting optimal laser settings for various substrates. Additionally, being aware of laser safety protocols ensures safe and effective operation, which indirectly contributes to better cut quality. Maintaining proper machine calibration is also essential for consistent, clean cuts and minimizing defects. Regular calibration and maintenance can help prevent machine drift, which often causes inconsistent edge quality.
Adjusting Power and Speed
Adjusting laser power and cutting speed is essential for achieving clean, precise edges and preventing defects. Different material types require specific settings to optimize cut quality while ensuring safety procedures are followed. Too much power can cause burn marks, while too little may result in incomplete cuts. Similarly, increasing speed reduces heat buildup but can lead to rough edges. Use this table as a guide:
| Material Type | Recommended Power & Speed |
|---|---|
| Wood | Moderate power, slower speed |
| Acrylic | High power, moderate speed |
| Leather | Low power, higher speed |
| Metal | High power, slow speed |
| Fabric | Low power, fast speed |
Always verify settings for each material and prioritize safety procedures to prevent accidents. Proper calibration of your laser equipment can significantly improve cut consistency and quality. Additionally, understanding the material properties helps in fine-tuning the settings for optimal results. For example, being aware of how different materials respond to heat can help prevent edge charring or melting issues during cutting.
Adjusting Laser Settings for Different Materials and Thicknesses

To effectively cut or engrave different materials and thicknesses, you need to fine-tune your laser settings accordingly. Material density and laser wavelength directly impact your adjustments. Here’s how to approach it:
Adjust laser settings carefully based on material density, wavelength, and thickness for optimal results.
- Assess material density—denser materials require higher power and slower speeds to ensure a clean cut without burning.
- Match laser wavelength—certain wavelengths penetrate specific materials better, influencing your choice of power and speed.
- Adjust based on thickness—thicker materials need increased power and decreased speed, while thinner materials can be cut with less power at higher speeds.
- Consider material properties—understanding how different materials respond to laser settings can help optimize your results effectively.
Preventing Burn Marks, Charring, and Inconsistent Edges

When fine-tuning your laser settings for different materials and thicknesses, it’s important to take into account the potential for burn marks, charring, and uneven edges. Proper laser safety practices help prevent accidents, while understanding material compatibility minimizes defects. Adjust your power and speed carefully: too high power causes charring, too slow increases burn marks. Using the right focal length and test cuts can improve edge consistency. Here’s a quick guide:
| Material | Recommended Power | Ideal Speed |
|---|---|---|
| Wood | Low to medium | Fast |
| Acrylic | Medium | Moderate |
| Leather | Low | Fast |
| Fabric | Low to medium | Fast |
| Paper | Very low | Very fast |
Consistent testing ensures clean results and safe operation.
Tips for Fine-Tuning Your Laser for Better Precision and Efficiency
Fine-tuning your laser for better precision and efficiency starts with careful calibration of your settings. First, always prioritize laser safety by wearing proper protective gear and ensuring your workspace is secure. Next, test material compatibility by running small samples—different materials respond uniquely to laser power and speed. To optimize your settings:
Prioritize safety, test materials, and fine-tune laser settings for optimal precision and efficiency.
- Adjust laser power gradually to prevent scorch marks or incomplete cuts.
- Fine-tune your speed to match material thickness and type for cleaner edges.
- Consistently verify calibration to maintain accuracy over time.
Using Software Controls to Optimize Laser Power and Speed Settings
Using software controls allows you to precisely adjust laser power and speed settings beyond manual calibration. With dedicated software, you can fine-tune parameters like fiber focus to improve cut quality. Many laser machines feature software calibration tools that help you set exact power levels and speeds based on material type and thickness. This guarantees consistent results and reduces trial-and-error adjustments. By inputting specific values, you avoid over- or under-cutting, saving time and material. Additionally, software controls enable you to create profiles for different materials, streamlining future projects. Adjustments made through software ensure the laser operates at ideal power and speed, delivering clean, precise cuts every time. This level of control is essential for achieving professional results efficiently.
Frequently Asked Questions
How Does Material Type Influence Optimal Laser Power and Speed Settings?
Material type greatly impacts your ideal laser power and speed settings because of its properties and laser absorption. Denser materials like steel require higher power and slower speeds for a clean cut, while lighter materials like acrylic need less power and faster movement. Understanding these material properties helps you adjust settings effectively, ensuring efficient cuts without burning or melting. Always test with small sections to fine-tune your parameters for each material type.
Can Adjusting Laser Focus Impact Cut Quality More Than Power or Speed?
Adjusting the laser focus can impact cut quality more than power or speed because focusing techniques directly influence the laser beam profile. When you fine-tune the focus, you sharpen the beam’s intensity, resulting in cleaner, more precise cuts. Proper focus guarantees the laser’s energy concentrates effectively on the material, reducing burn marks and achieving smoother edges—often more noticeably than just tweaking power or speed settings.
What Safety Precautions Should I Follow When Calibrating Laser Settings?
When calibrating laser settings, you should always wear eye protection to prevent damage, and guarantee proper ventilation to avoid inhaling fumes. Keep your workspace clear of unnecessary personnel and flammable materials. Follow manufacturer guidelines for safe operation, and double-check safety switches before starting. Regularly inspect and maintain equipment to prevent malfunctions. These precautions help keep you safe while achieving precise, clean cuts with your laser.
How Do Ambient Conditions Affect Laser Cutting Performance?
Ambient conditions can make or break your laser cutting. When the humidity’s high, moisture can cause inconsistent cuts or fogging on the lens, like trying to cut through a fog bank. Airflow effects, such as drafts or insufficient ventilation, can also disrupt the laser’s focus and precision. To keep your cuts clean, monitor ambient humidity and airflow, and adjust your settings accordingly—otherwise, you’re fighting a losing battle.
Are There Industry Standards for Laser Power and Speed for Specific Materials?
Yes, industry benchmarks help you set guidelines for laser power and speed tailored to specific materials. These standards guarantee consistent, high-quality cuts and optimize your machine’s performance. While benchmarks provide a solid starting point, you should fine-tune your settings based on your equipment, material thickness, and desired cut quality. Regularly consulting manufacturer recommendations and industry forums can help you stay updated and achieve the best results.
Conclusion
By mastering the balance between laser power and speed, you’ll find yourself effortlessly creating clean, precise cuts. Think of it like tuning a musical instrument—you’ll get a harmonious result that’s both efficient and flawless. As you experiment and fine-tune your settings, each cut becomes smoother, and your confidence grows. Soon, your laser will feel like an extension of your craft, turning every project into a perfect harmony of light, speed, and skill.