
Contour cutting errors often happen due to improperly set blades, material misalignment, or dull blades. To fix these issues, ensure your blade is sharp, properly adjusted, and compatible with your material. Verify the material is securely aligned and clamped, and calibrate your equipment regularly. Adjust cutting speed and pressure to suit your material. Addressing these common problems can markedly improve your results—keep going to find out how precise your cuts can become.
Key Takeaways
- Ensure material is properly aligned and secured to prevent shifting during cutting.
- Regularly inspect and sharpen blades to avoid jagged or uneven edges.
- Calibrate equipment and software settings to match material type and thickness precisely.
- Adjust blade depth and cutting parameters to optimize for material density and flexibility.
- Use precise origin points and alignment guides to maintain contour accuracy throughout the process.

Excel Blades Fit Grip Craft Knife With #11 Ultra-Sharp Carbon Steel Angled Blade – Precision Hobby Knife with Contoured Rubberized Grip for DIY, Art Crafts, and Model Projects – Pink, Made in the USA
ERGONOMIC FITGRIP HANDLE: Soft, contoured rubber grip provides comfort and control, reducing hand fatigue during long crafting sessions—perfect…
As an affiliate, we earn on qualifying purchases.
As an affiliate, we earn on qualifying purchases.
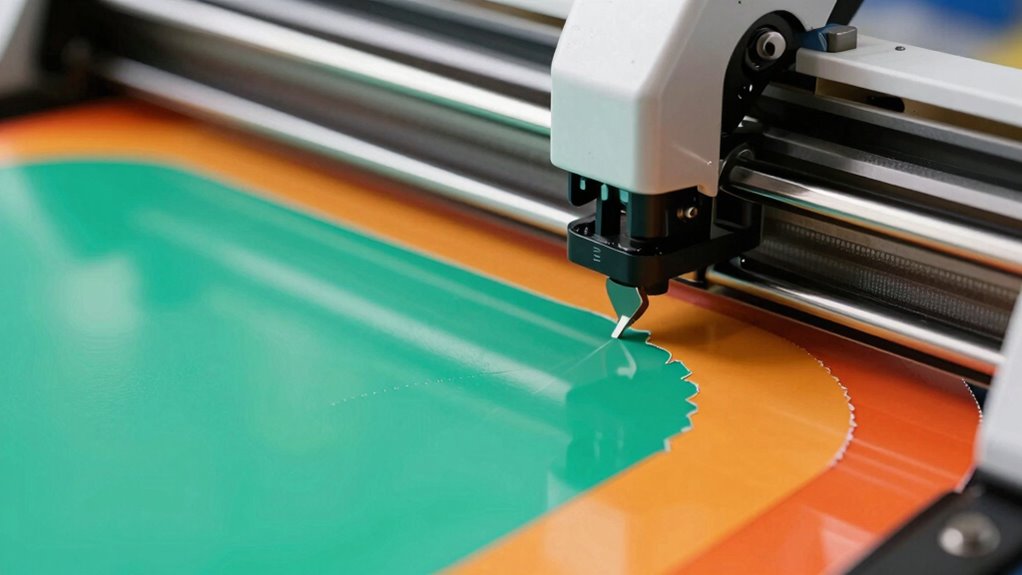
Understanding Common Contour Cutting Errors

Contour cutting errors often occur when the cutter misreads the design or encounters issues with the material, leading to inaccurate or jagged edges. One common mistake is poor color matching, which can cause the cutter to misinterpret lines or design boundaries, resulting in inconsistent cuts. This affects branding consistency, making logos and graphics look unprofessional. If the cutter struggles to distinguish between colors or shades, it can lead to jagged or uneven edges, ruining the overall appearance. Additionally, uneven color matching can cause the cutter to skip or double-cut sections, compromising the precision needed for clean contours. Recognizing these issues helps you understand that maintaining consistent color profiles and high-quality materials is essential for achieving accurate, professional-looking cuts that uphold your branding standards. Proper calibration and understanding of effective storytelling can also help in diagnosing and fixing these common errors more efficiently. Paying attention to color calibration ensures your equipment operates smoothly and reduces the likelihood of these errors occurring. Incorporating advanced technology like high-resolution sensors can further improve accuracy and minimize cutting mistakes. Regularly inspecting and updating your cutting software settings can also prevent many of these issues before they happen.

Haosie Vinyl Cutter Blades,15pcs (30/45/60 Degree) Cutting Knife Tungsten Steel Plotter Blade with Holder Base for Cutting
High Quality: The vinyl cutter blades is made of tungsten carbide material with high hardness, and is equipped…
As an affiliate, we earn on qualifying purchases.
As an affiliate, we earn on qualifying purchases.
How to Set Your Blade Correctly for Precise Cuts

Setting your blade correctly is essential for achieving clean, precise cuts. Start by ensuring your blade is sharp; dull blades cause jagged edges and inaccurate cuts. Check the blade’s sharpness regularly and replace it when needed. Proper blade depth is crucial: set it just enough to cut through the material without excess exposure that can lead to errors. Material selection also impacts blade settings—thicker or denser materials require a different setup than thin, delicate ones. Always adjust the blade height according to your material’s thickness to avoid incomplete cuts or tearing. Proper calibration of your machine for each project, considering these factors, helps ensure consistent results. Correctly setting your blade not only improves cut quality but also extends the lifespan of your equipment. Additionally, using appropriate storage solutions can keep your blades in optimal condition, ensuring consistent performance over time. Regular maintenance and calibration procedures are key to preventing contouring errors, and maintaining proper blade alignment can further enhance cutting accuracy, saving you time and material costs.

WORKLION Cutting Mat 12×12 Compatible with Maker/Maker 3/Maker 4/Air 2/Explore 3/4, Variety Sticky(Standard,Light,Strong) Vinyl Mat(3Pack) Accessories
WORKLION Cutting Mats 12×12 inch Compatible with Explore One/Air/Air 2/Maker. Cutting mat variety pack include 3 different levels…
As an affiliate, we earn on qualifying purchases.
As an affiliate, we earn on qualifying purchases.
How Material Type and Thickness Affect Cutting Accuracy
Your material’s density and flexibility directly impact how accurately your cutter can follow the design. Using the wrong blade or settings for thicker or more rigid materials can lead to errors. Choosing the right blade compatibility and adjusting settings accordingly guarantees cleaner, more precise cuts. Additionally, understanding the material properties can help you select the optimal cutting parameters for different types of materials. For example, being aware of the material’s flexibility can inform adjustments that prevent tearing or distortion during cutting. Recognizing how material thickness influences cutting difficulty can also help you tailor your approach for better results. Properly maintaining your cutting equipment and ensuring your tools are correctly configured can further enhance cutting precision and reduce errors.
Material Density and Flexibility
Material density and flexibility play a crucial role in determining cutting accuracy, as they directly influence how smoothly the material responds to the cutting process. High material density can cause blade resistance, leading to miscuts or incomplete cuts. Conversely, flexible materials may bend or shift during cutting, affecting precision. To understand this better, consider the following factors:
| Material Type | Effect on Cutting Accuracy |
|---|---|
| Dense materials | Require higher blade force, risk of tearing or misalignment |
| Flexible materials | May shift or deform, causing inaccuracies |
| Thin materials | Prone to curling or tearing |
| Thick materials | Need slower speeds for clean cuts |
| Moderate density | Balance flexibility and rigidity for best results |
Adjusting your settings based on material density and flexibility can considerably improve your contour cutting accuracy.
Blade Compatibility and Settings
Choosing the right blade and adjusting its settings are essential steps to guarantee accurate contour cutting, especially since material type and thickness directly impact how the blade interacts with your material. Using a blade that’s incompatible can cause jagged edges or incomplete cuts. Regular blade sharpening ensures clean cuts and prolongs blade life, while timely blade replacement prevents dullness that hampers accuracy. Proper surface preparation and understanding of the wall material are also crucial for achieving precise results. Additionally, selecting the correct paint sprayer tip size can influence the overall quality of the cut, especially when working with various materials. Consider these tips: – Match blade type to material (e.g., standard or deep-cut blades) – Adjust blade depth for material thickness – Keep blades sharp for cutting precision – Replace dull blades promptly – Test cut on scrap material before final cuts. Ensuring your blades are compatible with the specific material properties can significantly improve your contour cutting results. Proper blade maintenance also plays a vital role in maintaining cutting accuracy over time.

1.000 Class X Probe Calibration Ring for CNC Milling and Lathe Machines
Made in the USA
As an affiliate, we earn on qualifying purchases.
As an affiliate, we earn on qualifying purchases.
How to Fix Material Misalignment for Better Results

To improve your cut accuracy, start by ensuring your material is positioned precisely on the cutting surface. Use secure clamping techniques to keep the material steady and prevent shifting during the process. Properly securing your materials reduces misalignment and results in cleaner, more accurate cuts. Additionally, selecting the right precision equipment designed for precise performance can significantly enhance your results. Incorporating AI-powered tools in your setup can further assist in achieving consistent, high-quality cuts. Remember that understanding outdoor grilling techniques like proper charcoal temp control can also teach you the importance of tool safety and precision in your work.
Precise Material Positioning
Even a small misalignment can considerably affect your contour cutting results, so ensuring precise material positioning is essential. Properly stored materials prevent warping or shifting, making alignment easier. Use your cutting software to set accurate origin points and verify the placement before cutting. Consistent material storage helps maintain flatness and stability. Always double-check the material’s position on the cutting bed, especially after changing rolls or sheets. Incorporate alignment marks or guides to assist with precise placement. Keep your workspace clean and free of debris that could cause slipping. Regularly calibrate your equipment to maintain cutting accuracy. Remember, attention to detail in material positioning saves time and reduces errors during the cut. Proper setup is the key to cleaner, more accurate results. Understanding pool hydraulics can also help optimize your equipment calibration for better precision.
Secure Clamping Techniques
Secure clamping techniques are essential for maintaining proper material alignment during the cutting process. When you apply the right clamp pressure, you guarantee the material stays firmly in place, preventing shifts that lead to miscuts. Proper material security eliminates unwanted movement, which is vital for achieving accurate, clean cuts. Too little clamp pressure can cause slipping, while too much might deform or damage the material. Adjust your clamps to hold the material securely without compromising its integrity. Regularly check the clamps during operation to confirm they remain tight. Using consistent clamping techniques minimizes errors and results in cleaner edges. Remember, the goal is to keep your material steady and secure throughout the process, ensuring precision and reducing the need for rework.
Troubleshooting Blunt or Damaged Blades in Contour Cutting
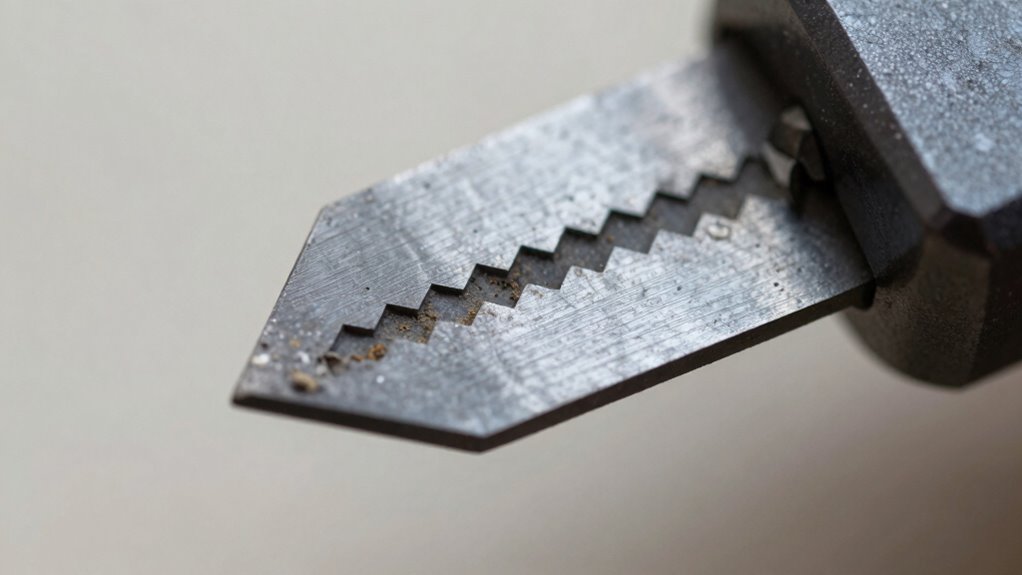
Blunt or damaged blades are a common cause of contour cutting errors, leading to incomplete cuts or jagged edges. Over time, blade wear reduces cutting precision, especially when working with softer or more delicate materials. Inspect your blade regularly for signs of dullness, nicks, or chips. If you notice uneven cuts or tearing, it’s time to replace or sharpen the blade. Using a blade suited for your material’s softness helps maintain clean cuts and prolongs blade life. Keep an eye on the cutting edge and avoid forcing the blade through tough spots, which can cause harm. Proper maintenance ensures your blades stay sharp and effective, preventing avoidable errors. Regularly check, replace, or sharpen blades to keep your contour cutting accurate and smooth.
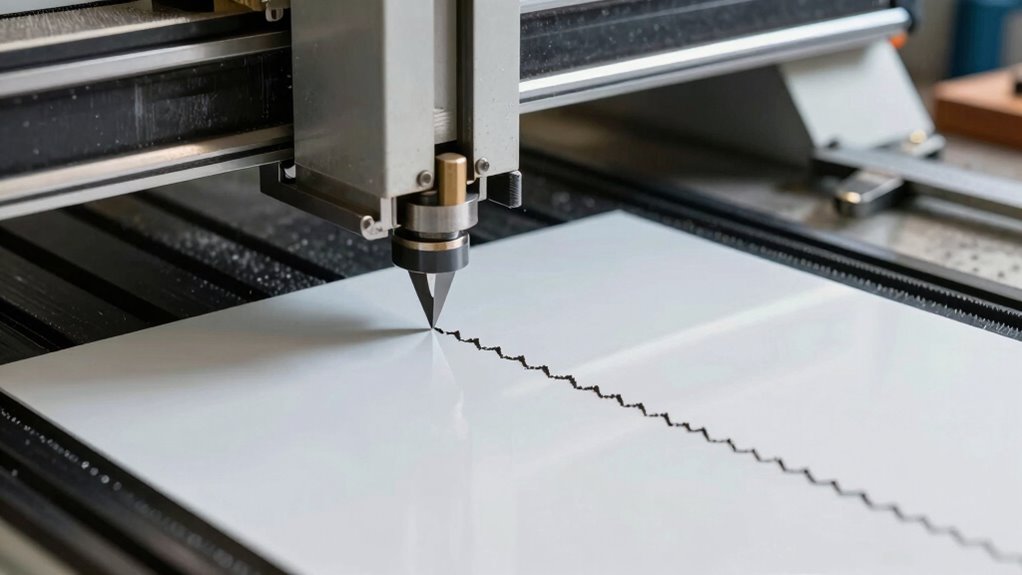
How Speed and Pressure Impact Cut Precision
Adjusting your cutting speed and pressure directly influences the quality of your cuts. Too much speed variation can cause inconsistent cuts, while too little can lead to rough edges or incomplete cuts. When you increase pressure adjustment, you improve blade contact with the material, resulting in cleaner edges. Conversely, too much pressure can cause tearing or material deformation, compromising precision. Finding the right balance is key; slower speeds with proper pressure help achieve detailed, accurate contours. Experiment with small adjustments to see how each affects your cut quality. Remember, the ideal settings depend on your material type and thickness. Fine-tuning speed and pressure ensures your contour cuts are precise, reducing errors and improving overall finish.
How to Configure Your Software for Accurate Contour Cuts
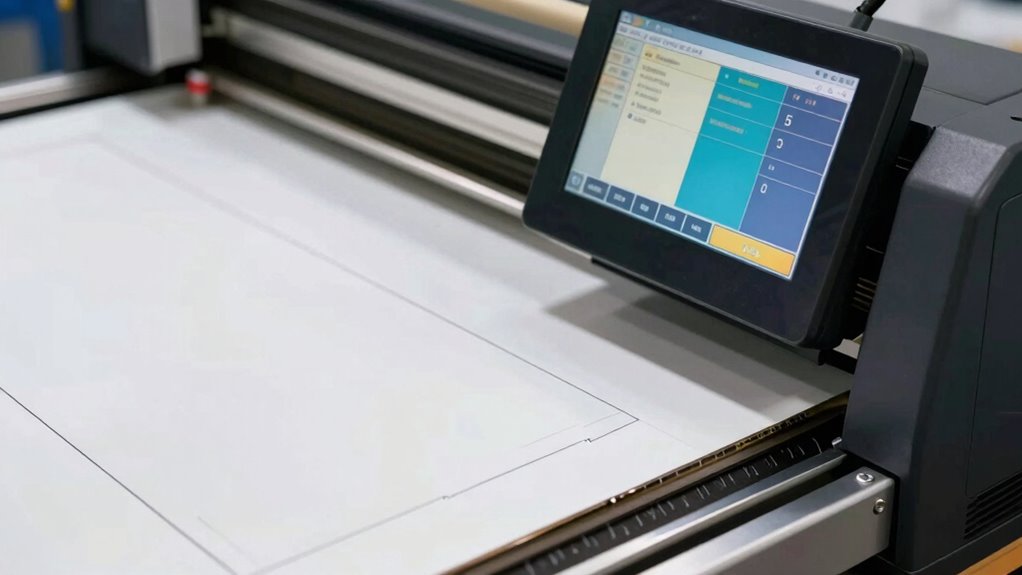
To achieve accurate contour cuts, you need to configure your software settings carefully. Start by updating your software regularly to access the latest features and fixes. Proper color management ensures your designs display correctly, reducing misalignments. Adjust your cut lines precisely, and verify the shape and size before starting. Use software calibration tools to fine-tune the cutter’s parameters. Double-check that your file’s resolution and vector paths are optimized for cutting. Also, ensure your material settings match the software inputs. Finally, keep your display calibrated for consistent color representation, which helps prevent confusion.
Proper software calibration and material settings ensure precise and consistent contour cuts.
- Keep software updated regularly
- Use proper color management techniques
- Calibrate your display and cutter settings
- Fine-tune your cut paths and shape accuracy
- Verify material and design specifications
Why Regular Calibration and Maintenance Matter
Regular calibration and maintenance are essential because they guarantee your equipment performs accurately and consistently. Proper upkeep reduces errors, improves laser safety, and minimizes cutting noise. When you regularly check your machine, you prevent misalignments that cause uneven cuts or contour errors. Think of it like this:
| Calibrated | Misaligned |
|---|---|
| Laser safety is maintained | Laser safety risks increase |
| Cutting noise stays low | Noise levels rise |
| Cuts are precise | Cuts become jagged |
Maintaining your equipment ensures it functions at its best, saving you time and material. It also protects you from safety hazards and prolongs the lifespan of your tools. Consistent calibration keeps your contour cuts clean, accurate, and safe.
Tips to Prevent and Fix Common Contour Cutting Mistakes
Controlling contour cutting mistakes starts with understanding common issues and taking proactive steps to prevent them. First, always double-check your design software settings to verify proper cut lines and parameters. Use high-quality files to avoid misalignments. Regularly calibrate your cutting machine to maintain accuracy. Keep blades sharp and replace them when dull to prevent jagged edges. Test cuts on scrap material before starting your project to catch errors early. Ultimately, ensure your material is properly secured to avoid shifting during cutting. By following these tips, you can reduce errors and improve precision. Remember, attention to detail in your design software and consistent machine maintenance are key to flawless contour cuts. Stay vigilant, and your finished work will look professional every time.
Frequently Asked Questions
Can Ambient Temperature Affect Contour Cutting Accuracy?
Yes, ambient temperature can influence your contour cutting accuracy. Temperature fluctuations can cause material expansion or contraction, which may lead to misaligned cuts. When the environment is too hot or cold, the material you’re working with might change size slightly, impacting precision. To minimize errors, keep your workspace at a stable temperature, and monitor environmental conditions regularly to ensure consistent results during your cutting projects.
How Do I Choose the Right Blade Type for My Material?
Choosing the right blade type means matching your blade material to your material and adjusting your cutting speed accordingly. You want a sharp, durable blade for thicker, tougher materials, and a finer blade for delicate designs. Set your cutting speed to match the blade and material, ensuring smooth cuts and avoiding tearing. By selecting the correct blade material and controlling your cutting speed, you’ll achieve precise, professional results every time.
What Software Settings Influence Contour Cutting Precision?
You can improve contour cutting precision by adjusting your software settings, especially software calibration and cutting speed adjustments. Proper calibration guarantees your cutter’s movements match the design accurately, reducing errors. Lowering cutting speed can enhance detail accuracy and prevent overshooting. Always verify your calibration regularly and fine-tune your speed settings based on material type. This proactive approach helps achieve cleaner, more precise cuts every time.
Are There Specific Maintenance Tips for Different Cutter Brands?
Yes, maintaining your cutter varies by brand, but key tips include regularly checking cutter calibration and blade alignment. For precise cuts, calibrate your machine according to the manufacturer’s instructions and guarantee the blade is properly aligned. Keep the cutting strip clean and replace blades when dull. These simple maintenance steps help prevent errors, improve accuracy, and extend your cutter’s lifespan, regardless of the brand you use.
How Often Should I Replace or Upgrade My Cutting Blades?
Did you know that most cutting blades last between 1,000 to 2,000 cuts? You should replace or upgrade your blades as soon as you notice a decline in quality or if the blade’s lifespan has been exceeded. Regularly inspecting your blades helps guarantee precision. Upgrading frequency depends on usage, but generally, changing blades every 6 to 12 months keeps your contour cutting sharp and accurate.
Conclusion
Think of your contour cutter as a finely tuned orchestra—it needs harmony between settings, tools, and materials. When each element is in sync, your cuts flow smoothly and precisely. Fixing common errors is like tuning an instrument; it guarantees you produce beautiful, flawless results every time. Keep these tips in mind, stay attentive to details, and you’ll master your contour cutting like a skilled conductor leading a symphony.