
To convert 3D scans into CAD models, start by choosing the right scanner based on your object’s size, material, and detail needs. Clean and prepare your physical part, ensuring surfaces are free of dust or grease and using surface treatments if needed. Capture high-quality scan data by scanning from multiple angles and managing mesh quality through cleaning and optimization. Then, transform the data into precise CAD models, verifying accuracy. Continue exploring to learn how each step guarantees detailed, reliable reverse-engineered designs.
Key Takeaways
- The process starts with capturing high-quality surface data via suitable 3D scanning techniques, considering object size and material properties.
- Proper surface preparation and environmental control are essential to obtain accurate scan data and minimize errors.
- Mesh cleaning and optimization, including noise removal and hole filling, prepare data for reliable CAD conversion.
- Accurate reverse engineering involves transforming point cloud or mesh data into precise, editable CAD models using specialized software.
- Validation and quality control ensure CAD models faithfully represent the original scans, supporting precise design and manufacturing.

Revopoint MetroX Pro 3D Scanner for 3D Printing Handheld, Industrial-Grade Precision 0.01mm, 30+15 Blue Laser Scan, Full Color Scanning, for Reverse Engineering & Automotive Modeling, Advanced
Industrial-grade High-precision Scanning: Flawlessly capture every detail and dimension with MetroX Pro's industrial-grade blue laser scanning. It offers…
As an affiliate, we earn on qualifying purchases.
As an affiliate, we earn on qualifying purchases.
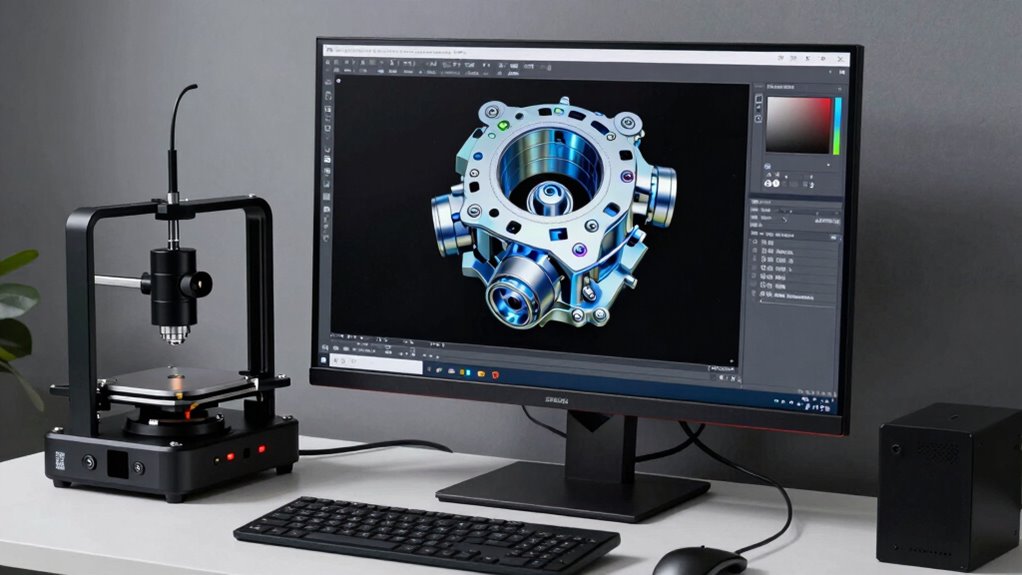
Understanding How 3D Scans Turn Into CAD Models

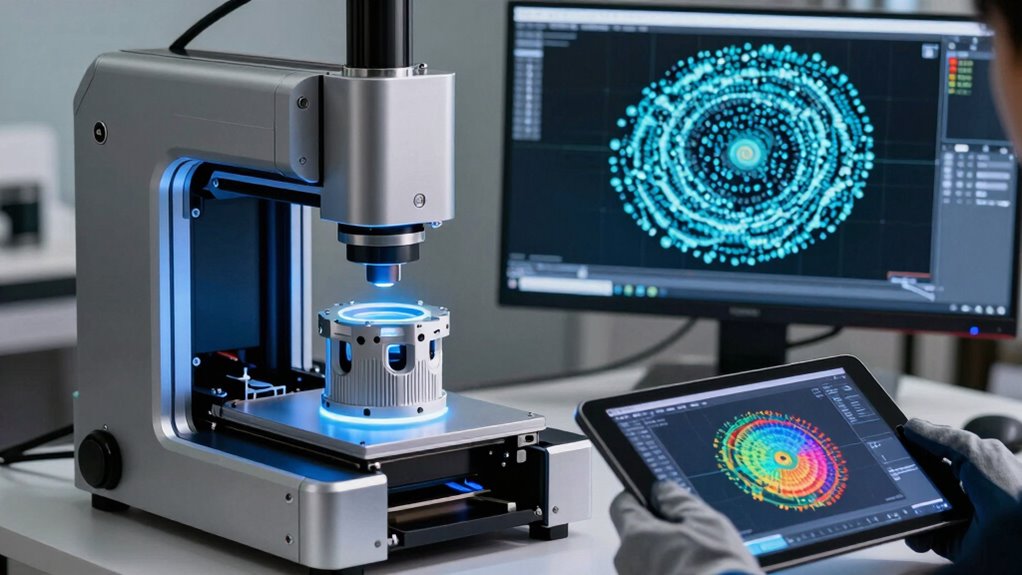
When you convert 3D scans into CAD models, the process begins with capturing detailed surface data of the physical object using specialized scanning equipment. Your scanner’s resolution plays a vital role here, as higher resolution captures finer details and surface nuances, resulting in a more accurate digital replica. Material properties, such as reflectivity or transparency, can influence scan quality; certain materials may require surface treatments or specific scanning settings to improve data accuracy. The scanner records surface contours and textures, translating physical features into precise digital points. This raw scan data serves as the foundation for creating a CAD model, ensuring that every detail, from surface roughness to complex geometries, is faithfully represented for further refinement and analysis.

Revopoint MetroY Ultra Laser 3D Scanner for 3D Printing Handheld, 0.01mm Precision, 34+15+1 Blue Laser, Up to 90 FPS Speed, Anti-Shaking, Wireless Outdoor Scanning, Standard Edition
Industrial-Grade Accuracy: Flawlessly capture intricate geometric details with up to a 0.01 mm single-frame precision and 0.015 +…
As an affiliate, we earn on qualifying purchases.
As an affiliate, we earn on qualifying purchases.
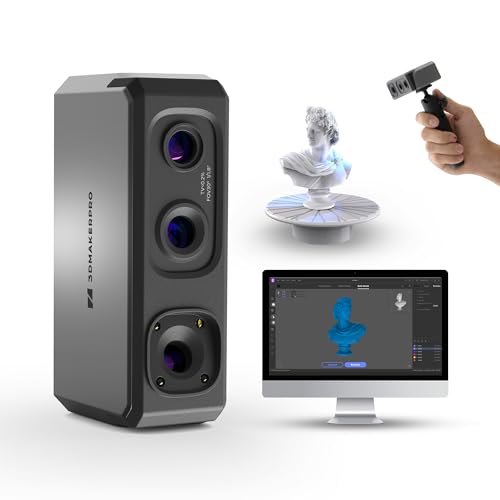
Choosing the Best 3D Scanner for Reverse Engineering

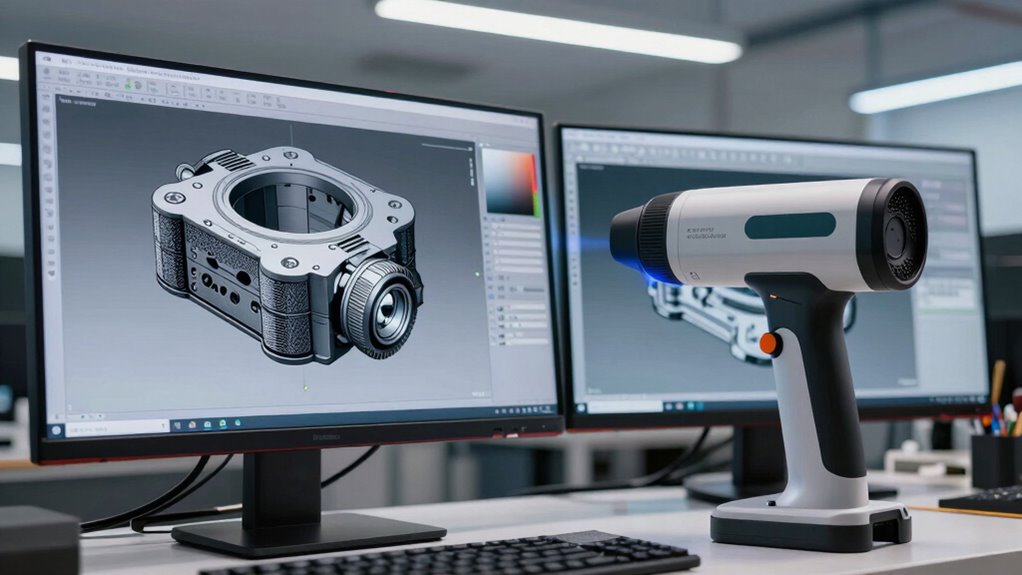
Selecting the right 3D scanner for reverse engineering depends on your specific project requirements, including the level of detail needed, object size, and material properties. Your choice of scanner technology directly impacts data resolution, which determines how accurately you capture surface details. For high-precision parts, opt for laser or structured light scanners that provide fine data resolution and detailed scans. Larger objects may require portable or industrial-grade scanners with faster capture speeds. Consider material reflectivity; some surfaces may need coatings to prevent inaccuracies. Additionally, understanding the capabilities of different scanner types can help you choose the most suitable technology for your project. Recognizing the data resolution differences is crucial, as it directly influences the quality of your reverse-engineered models. Newer advancements in scanner technology continuously enhance data accuracy and processing speed, making it easier to achieve precise results. Staying informed about measurement accuracy standards can further ensure your scans meet industry requirements. To optimize your workflow, evaluating your budget constraints alongside these factors can help you select the most effective scanner for your needs. Balancing your project’s complexity, budget, and desired accuracy will guide you to the best scanner technology. Ultimately, choosing a scanner that meets your data resolution needs ensures your reverse engineering process produces precise and usable CAD models.

Revopoint INSPIRE 2 3D Scanner for 3D Printing Handheld, Up to 0.03mm Precision, Multi-Line Laser/Structured Light, Wireless/Outdoor Scanning, Full-Color Scan, for iOS/Android/Win/macOS, Standard
Wireless Scanning & Interactive Streaming: Built-in WiFi 6.0 enables on-the-go, structured light mobile scanning or real-time PC-to-mobile interactive…
As an affiliate, we earn on qualifying purchases.
As an affiliate, we earn on qualifying purchases.
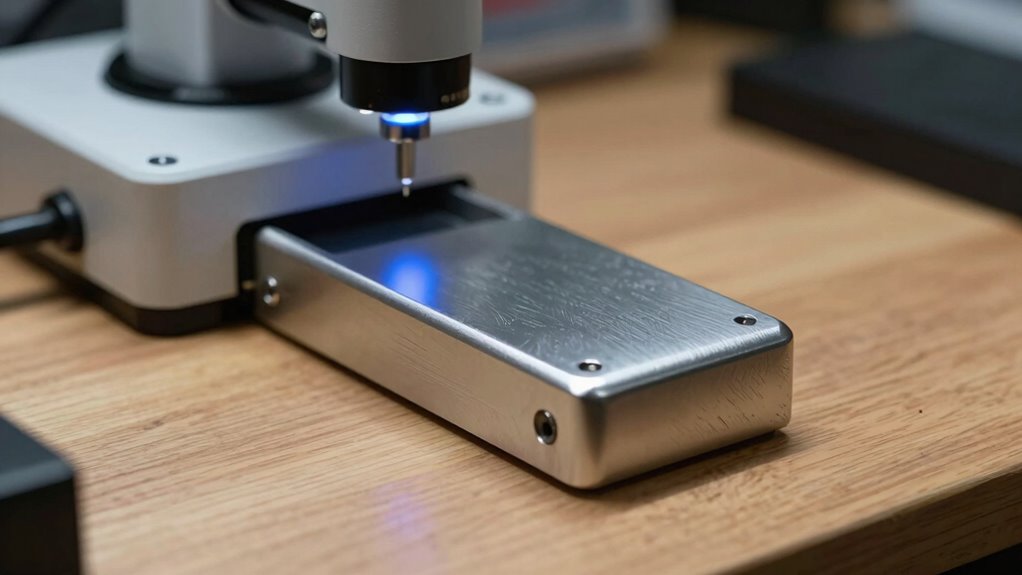
Preparing Your Physical Parts for Accurate Scanning

To achieve accurate 3D scans, you need to properly prepare your physical parts beforehand. Material preparation is essential; ensure your parts are clean, free of dust, grease, or debris that could distort the scan. Surface treatment also plays a critical role—consider applying a matte spray or a thin coating to reduce reflections and glare, especially on shiny or transparent surfaces. These treatments enhance scan accuracy by providing a consistent surface for the scanner’s sensors. Additionally, avoid any surface damage or irregularities that could interfere with data capture. Taking these steps helps produce clean, reliable scan data, reducing the need for extensive post-processing. Proper preparation ensures your physical parts are optimized for precise reverse engineering, saving you time and improving the quality of your CAD models. Being mindful of piercing hygiene and care can also prevent contamination that might affect sensitive scanning equipment.
3DMakerpro Handheld 3D Scanner for 3D Printing, 0.02mm Detailed Precision, 10FPS Scanning Lightning-Fast Speed with Anti-Shake Lenses, Portable 3D Scanner for Win10/MacOS -Seal Lite Advanced Version
[Capture Accuracy Precise Details] The 3DMakerpro Seal Lite 3D scanner utilizes refined structured light technology to achieve accuracy…
As an affiliate, we earn on qualifying purchases.
As an affiliate, we earn on qualifying purchases.
Scanning Your Parts: Tips for High-Quality 3D Data
Achieving high-quality 3D data starts with careful scanning techniques that maximize accuracy. Material considerations are vital; reflective, transparent, or shiny surfaces can cause scan errors, so consider applying matte sprays or coatings to improve data capture. The scanning environment also matters—eliminate ambient light that can interfere with the scanner’s sensors and guarantee a stable, vibration-free setup. Keep parts steady and properly aligned to avoid misalignment or distortion. Use appropriate scanning settings tailored to your material and surface finish, and scan from multiple angles to capture all details. Proper preparation and environmental control help guarantee your scan data is precise, reducing the need for extensive post-processing. Additionally, understanding Free Floating concepts can help optimize your scanning workflow by enabling more flexible scanning angles and arrangements. These tips set a strong foundation for reliable, high-quality 3D scans.
Refining and Cleaning Your 3D Scan Data for CAD
Once you have your scan data, cleaning it up is vital for accurate CAD models. You’ll need to remove noise and artifacts, fill in gaps and holes, and simplify meshes to make the data manageable. Mastering automation techniques can streamline these processes, ensuring consistency and efficiency. Implementing mesh optimization methods can further enhance the quality of your models, leading to more precise and reliable CAD outputs. These steps guarantee your final model is precise and ready for CAD applications.
Removing Noise and Artifacts
Removing noise and artifacts from your 3D scan data is a crucial step to guarantee clean, accurate models for CAD. Noise reduction helps eliminate random points and surface irregularities that can distort your model’s geometry. Artifact removal targets unwanted anomalies caused by scanning errors, such as spikes, outliers, or false surfaces. Using specialized software, you can smooth surfaces and filter out these imperfections without losing essential details. Focus on balancing aggressive noise reduction with preserving the scan’s accuracy. This process ensures your data is clean, consistent, and ready for precise CAD modeling. Removing noise and artifacts early in your workflow prevents errors from propagating into later stages, saving you time and effort. Clean data produces better-fitting parts and more reliable reverse-engineering results.
Filling Gaps and Holes
After cleaning up noise and artifacts, your scan may still have missing data or gaps, especially in complex or hard-to-reach areas. Filling these gaps is essential for creating a reliable CAD model. Consider the following:
- Choose materials that match the original object to guarantee accurate representation.
- Account for environmental factors that could affect scan data and hole-filling techniques.
- Use software tools that intelligently interpolate missing data, maintaining surface continuity.
- Balance the need for detail with practical considerations like file size and model usability.
Simplifying Meshes Efficiently
Simplifying meshes is a crucial step in preparing your 3D scan data for CAD, as overly complex models can hinder processing and usability. Mesh simplification reduces polygon count through polygon reduction, making your model easier to handle without losing essential details. Efficiently refining your scan involves balancing detail preservation with file size. Use tools that allow you to control the level of simplification, ensuring the model stays true to the original geometry. Here’s a quick comparison:
| Technique | Purpose |
|---|---|
| Mesh simplification | Reduces polygon count for efficiency |
| Polygon reduction | Lowers complexity while maintaining shape |
Applying these methods helps you create manageable, clean meshes ready for CAD workflows.
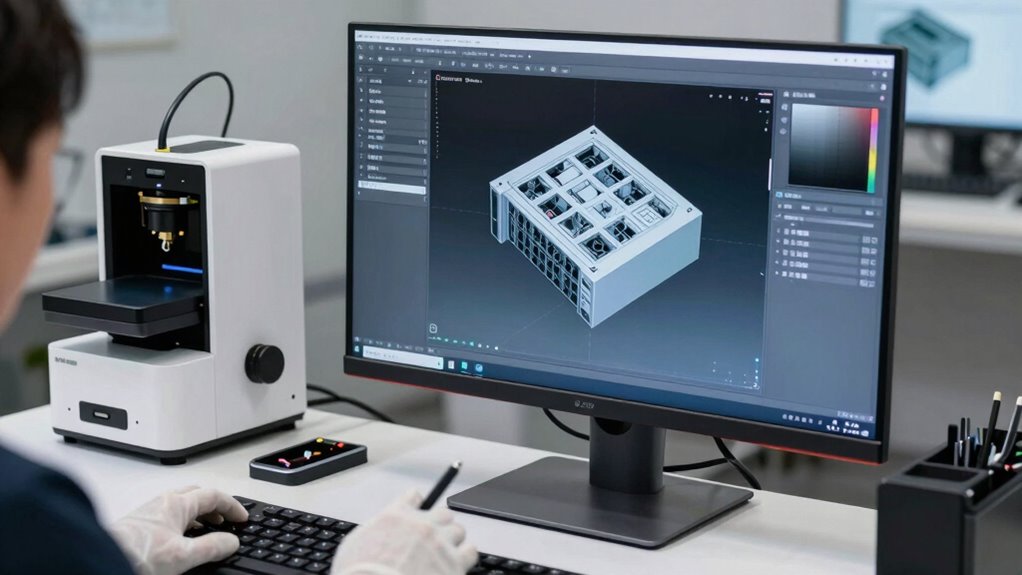
Converting Scans Into Precise CAD Models
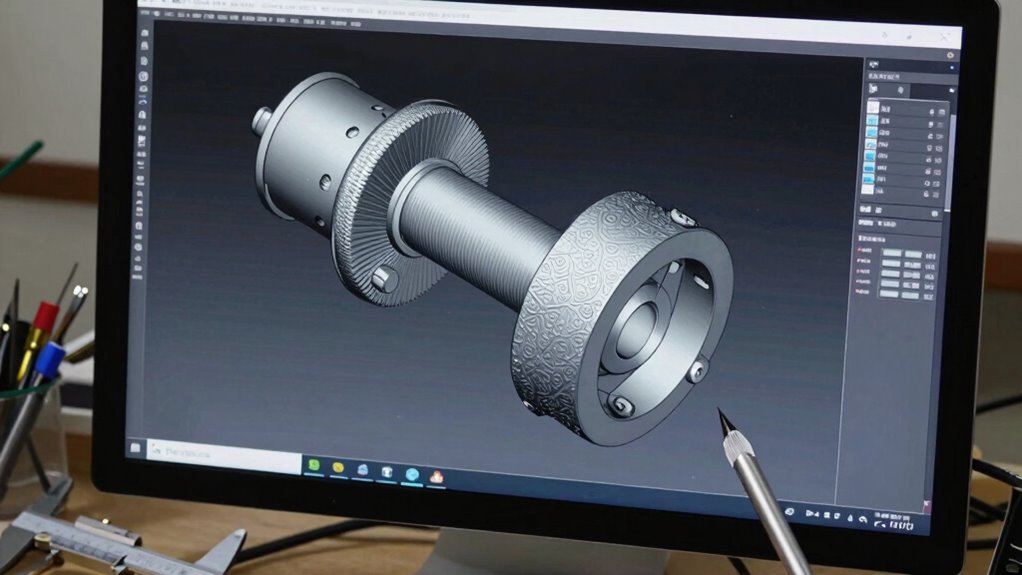
Converting scans into precise CAD models involves transforming complex 3D point cloud data into accurate, editable digital representations. Your success depends on understanding how material properties and scanning accuracy influence the process. High scanning accuracy captures detailed surface features, reducing the need for extensive cleanup. Material properties, such as reflectivity and transparency, affect scan quality and may require filtering or specific equipment. To create reliable CAD models, consider:
- Selecting the right scanning technology based on material properties
- Ensuring ideal scanning accuracy to minimize errors
- Using appropriate software for point cloud processing and CAD conversion
- Validating the digital model against the original geometry for precision
- Understanding the impact of scanning accuracy and material properties on the final model quality. Recognizing how material reflectivity impacts scan quality can help optimize your scanning setup. Recognizing how surface finish influences scan results allows for better preparation and more accurate modeling. Being aware of scanning environment conditions can also prevent common issues that compromise scan integrity. Additionally, understanding the significance of Twin Flame vs Soul Tie can provide insights into emotional clarity and connection during the workflow. Mastering these aspects ensures your CAD models accurately reflect the physical objects, streamlining the reverse-engineering workflow.
Ensuring Your CAD Models Are Accurate and Reliable
To guarantee your CAD models are both precise and dependable, it is crucial to implement validation and quality control measures throughout the modeling process. Focus on ensuring color accuracy by cross-checking against original scans or reference samples, which helps maintain visual consistency. Additionally, verify that material properties are accurately represented, especially if the CAD model will inform manufacturing or simulation. Use comparison tools to measure deviations between your CAD model and the original scan, correcting discrepancies early. Consistent review and validation at each stage prevent errors from compounding. Incorporating quality assurance practices further enhances the dependability of your models, supporting long-term success. Moreover, understanding battery care guidelines can be essential if your project involves integrating LiFePO4 batteries into physical prototypes, ensuring safety and longevity. Paying attention to water-related features during the scanning process can also improve the accuracy of models involving aquatic or water-based components. Additionally, considering authenticity in the modeling process helps ensure the final product accurately reflects the original physical object. Ensuring proper calibration of scanning equipment also contributes to the overall accuracy of the digital models.
Applying 3D Scan to CAD Workflows in Design and Manufacturing
Applying 3D scans to CAD workflows helps you streamline design processes by quickly capturing complex geometries. It also boosts manufacturing precision, ensuring parts fit and function as intended. By integrating these tools, you can accelerate development and improve overall quality.
Streamlining Design Processes
Integrating 3D scans into CAD workflows considerably accelerates and simplifies the design process. It enables you to quickly capture complex geometries, reducing manual modeling time. This streamlines material selection by providing accurate, real-world data for informed decisions. Software integration guarantees seamless transition from scan to CAD, maintaining data integrity and enhancing productivity. To get the most out of this process, keep in mind:
- Precise data capture minimizes redesigns
- Real-world scans improve design accuracy
- Faster iterations shorten project timelines
- Better material choices lead to durable, functional products
Enhancing Manufacturing Precision
By incorporating 3D scans into CAD workflows, you can achieve unprecedented levels of precision in manufacturing. Accurate scans capture detailed geometry and material properties, ensuring your CAD models reflect the real-world part. This reduces errors and allows for tighter tolerances, improving product quality. Consider the scanning environment; factors like lighting, surface reflectivity, and temperature can impact scan accuracy. Adjust your setup accordingly to minimize distortions and maximize detail. Integrating precise 3D scan data into CAD workflows enables you to fine-tune designs and manufacturing processes, leading to better fit, function, and durability. As a result, you streamline quality control and reduce material waste, ultimately enhancing the overall efficiency and precision of your production line.
Frequently Asked Questions
What Are Common Challenges Faced During the Reverse-Engineering Process?
You often face challenges like scan noise, which can distort data, and alignment errors that make merging scans difficult. These issues can lead to inaccuracies in your CAD models. To overcome them, you need to carefully clean your scan data and use precise alignment techniques. Staying vigilant about these problems helps ensure your reverse-engineering process remains efficient and produces high-quality CAD outputs.
How Do Different Materials Affect 3D Scanning Accuracy?
Different materials considerably impact your 3D scanning accuracy because surface reflectivity and material properties vary. Shiny or reflective surfaces, like metals, can cause scan errors, while matte materials provide better detail. To improve results, you might need surface treatments or specialized scanners. Understanding how material properties influence reflectivity helps you choose the right scanning approach, ensuring precise data for your reverse-engineering projects.
Can 3D Scans Be Used for Complex Geometries?
Yes, 3D scans can capture complex geometries effectively, but material limitations and surface complexities might pose challenges. You’ll find that shiny or transparent surfaces can cause inaccuracies, making detailed features harder to record accurately. To improve results, you may need to use specialized scanning techniques or coatings. Overall, while feasible, understanding these limitations helps guarantee you get precise data for intricate designs.
What Software Best Integrates 3D Scan Data With CAD Programs?
Think of software integration like a universal translator for your design world. Tools like Geomagic Design X, MeshLab, and Autodesk ReCap excel at bridging 3D scan data with CAD programs, ensuring smooth CAD compatibility. You can seamlessly transfer complex scan details into your CAD environment, streamlining your reverse-engineering process. These programs make sure your scan data and CAD software speak the same language, saving you time and reducing frustration.
How to Optimize Scan Resolution for Detailed Features?
To optimize scan resolution for detailed features, you should increase the scan resolution settings on your scanner, guaranteeing finer data capture. Focus on capturing high-density point clouds for intricate feature detail, but balance resolution with scan time to avoid excessive data. Use post-processing tools to enhance detail further, and verify the scan’s accuracy by comparing it with known measurements. This approach ensures your scans capture all necessary feature details for precise CAD modeling.
Conclusion
By mastering each step—from selecting the right scanner, preparing your parts, capturing high-quality data, to refining and converting scans—you guarantee your CAD models are precise, reliable, and ready for manufacturing. Embrace the workflow with attention to detail, consistency, and accuracy, and you’ll streamline your reverse-engineering process. Ultimately, understanding this seamless integration elevates your design capabilities, improves efficiency, and drives innovation in every project you undertake.