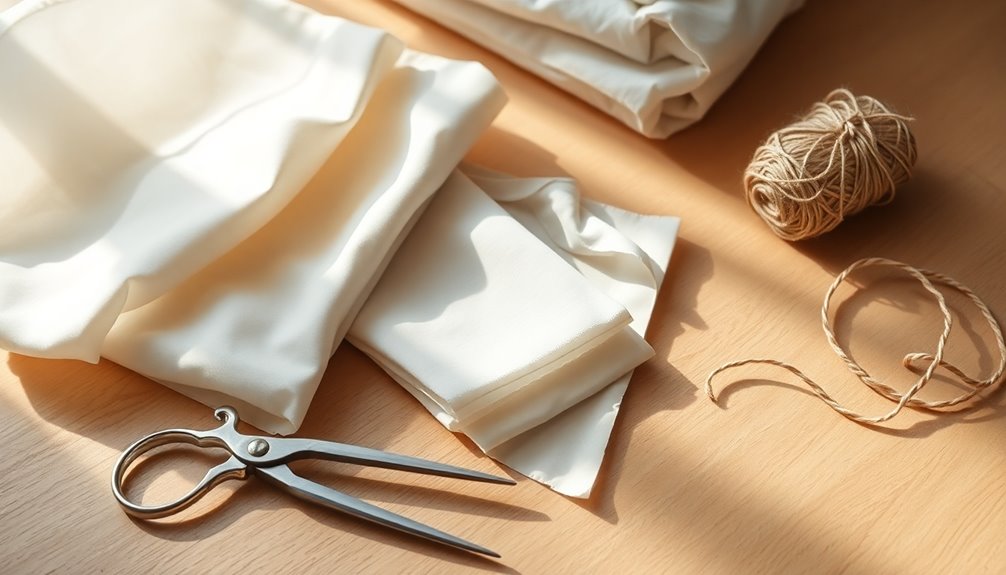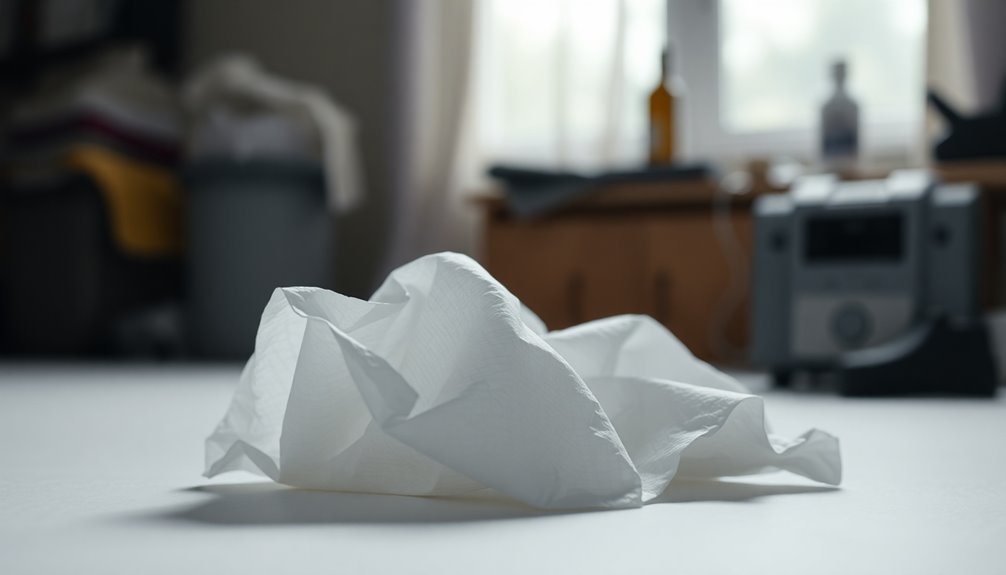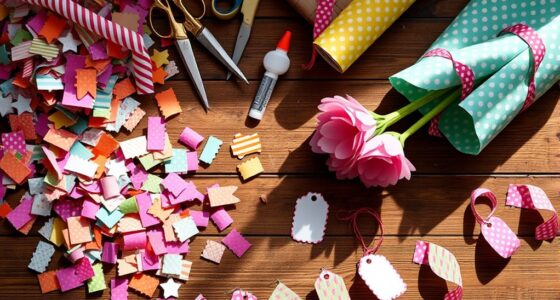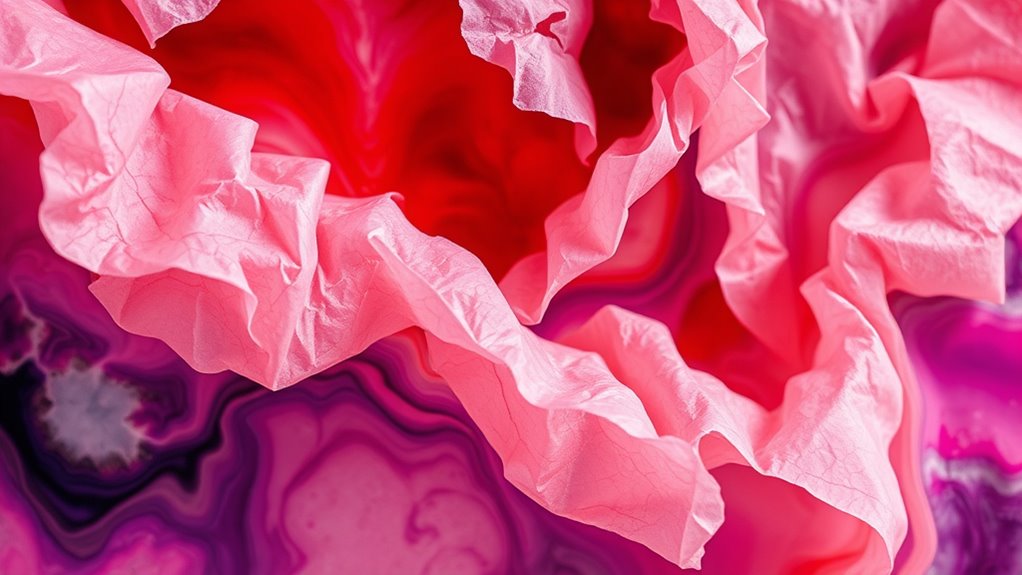
To create vibrant artwork with bleeding tissue paper techniques, start by choosing complementary or contrasting tissue colors and layer them carefully. Apply light water sprays to encourage gentle color diffusion or increase water for more dramatic blending, but be cautious to avoid tearing. Experiment with crumpling or folding for texture and control how colors bleed into each other. With practice, you’ll develop an intuitive feel for layering and water use, revealing even more stunning effects. Keep exploring for extra tips and tricks.

Get business pricing on monitors, keyboards and dev gear
- Business-only prices and quantity discounts
- Tax-exempt purchasing
- Multiple users, one account, clear invoices
Key Takeaways
- Layer different tissue colors strategically to control bleeding and achieve vibrant, blended effects.
- Use light water sprays for gentle color diffusion or more water for dramatic blending.
- Experiment with tissue thickness and layering to create depth and unique textures.
- Crumple or fold tissue to add organic textures and enhance visual interest.
- Choose tissue types that respond well to water to ensure vibrant, controlled bleeding effects.
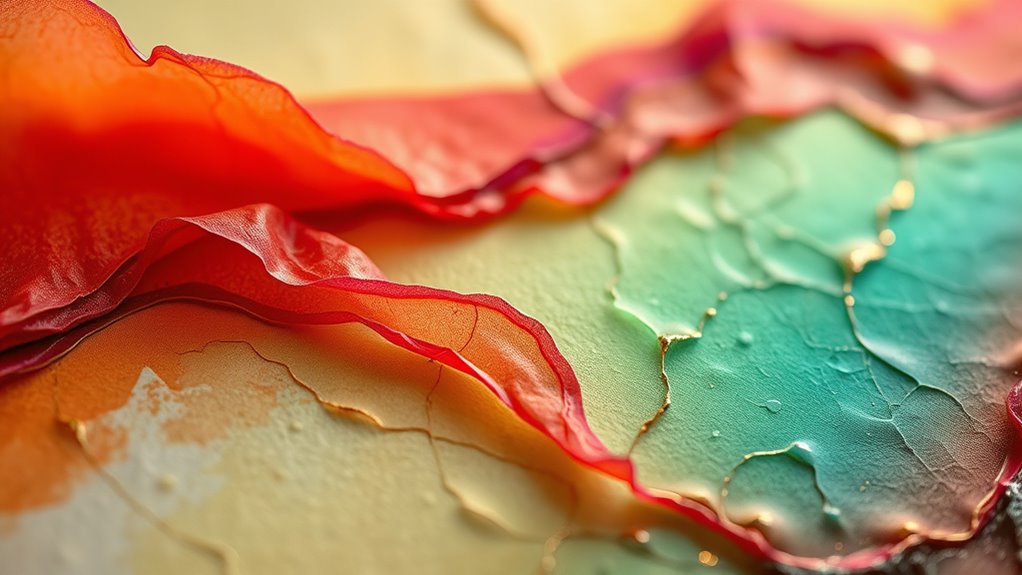
Bleeding tissue paper techniques offer a simple yet stunning way to add vibrant colors and unique effects to your craft projects. When you start experimenting with these methods, you’ll quickly see how the magic of color blending transforms ordinary tissue into extraordinary artwork. The key to achieving smooth, seamless color transitions lies in understanding effective layering strategies. By carefully selecting your tissue colors and stacking them thoughtfully, you can create depth and dimension that make your art pop.
To begin, choose tissue papers in shades that complement each other or contrast for dramatic effects. When you layer these tissues, you control how the colors will bleed into one another. For instance, placing a soft pink over a bright yellow will produce warm, peachy tones as the colors blend naturally when wet. The layering strategies you employ determine the intensity and range of the color blending, so experiment with different combinations to see what works best for your project. Remember, thinner layers tend to bleed more easily, creating softer transitions, while thicker layers can result in more defined edges.
Choose contrasting or complementary tissue shades to create vibrant, seamless color blends.
As you work, keep in mind that the amount of water you apply influences how the colors merge. A light spray of water can encourage gentle diffusion, perfect for delicate gradients. If you want more dramatic color mixing, increase the water slightly, but be cautious not to oversaturate, or your tissue may tear or become overly saturated, losing its shape. When stacking tissue papers, start with lighter colors at the bottom and layer darker shades on top, or vice versa, depending on the effect you desire. This strategic layering allows you to build visual interest and control the bleed effect.
You can also experiment with different textures by crumpling or folding the tissue before applying water. This adds texture and variation to your color blending, giving your artwork a more organic, dynamic look. The key is patience and observation; watch how the colors bleed and blend as you add water, and adjust your layering strategies accordingly. Additionally, understanding the quality of tissue paper can significantly affect the bleeding results and overall appearance of your art. Over time, you’ll develop an intuitive sense of how to manipulate tissue layers for the most captivating effects. Ultimately, bleeding tissue paper techniques empower you to create vibrant, eye-catching art with minimal supplies, making it an accessible yet impressive method for artists of all levels.
tissue paper for water-based art projects
As an affiliate, we earn on qualifying purchases.
As an affiliate, we earn on qualifying purchases.
Frequently Asked Questions
Can Bleeding Tissue Paper Be Used on Fabric Surfaces?
Yes, bleeding tissue paper can be used on fabric surfaces for fabric application and color blending. You simply place the tissue on your fabric and apply heat or water, which causes the colors to bleed and blend beautifully. This technique creates vibrant, unique designs on fabric, perfect for customizing clothing or textiles. Just guarantee your fabric can handle the moisture or heat needed for the bleeding process.
What Safety Precautions Should Be Taken During Bleeding Tissue Art?
Like walking a tightrope, handle bleeding tissue paper with care. Always wear handling gloves to protect your skin from dyes, and guarantee your workspace has proper ventilation, like opening a window to let fresh air in. This prevents inhaling fumes or accidental staining. Keep your workspace organized and away from children or pets. By taking these precautions, you can enjoy your art safely and creatively, like an artist in their own studio.
How Long Does It Take for Colors to Bleed Fully?
Colors usually take about 10 to 15 minutes to fully bleed and blend when working with tissue paper. During this drying time, you’ll notice the colors soften and merge, creating smooth progressions. To speed up the process, you can gently blot excess moisture or use a fan. Keep in mind that thicker layers may take longer, so patience helps achieve the best color blending results in your art.
Are There Age Restrictions for Working With Bleeding Tissue Paper?
Working with bleeding tissue paper is like guiding a delicate butterfly; age restrictions vary, but children should always be supervised closely. Kids under age 8 may need extra help to prevent messes or accidents. It’s best to oversee younger children to ensure safe handling and proper use. Always follow the manufacturer’s guidelines, and remember that adult supervision makes the creative process safe and enjoyable for everyone.
Can Bleeding Tissue Paper Techniques Be Combined With Other Art Mediums?
Yes, you can definitely combine bleeding tissue paper techniques with other art mediums. Try mixing it with acrylics, watercolors, or collage elements to create layered effects. Use layering techniques to add depth and texture, allowing the bleeding tissue paper to blend with other materials. This approach enhances your mixed media projects, giving them a rich, dynamic appearance. Experimenting with different combinations helps you discover unique artistic expressions.
bleeding tissue paper art supplies
As an affiliate, we earn on qualifying purchases.
As an affiliate, we earn on qualifying purchases.
Conclusion
Now that you’ve explored bleeding tissue paper techniques, you’re ready to bring vibrant, dynamic art to life. Did you know that tissue paper art can boost creativity by 40% in beginners? With these simple methods, you’ll turn colorful layers into stunning masterpieces. Keep experimenting, blending colors, and embracing imperfections—each piece will grow more unique. Get ready to create bold, eye-catching art that truly stands out and sparks joy in your creative journey.
As an affiliate, we earn on qualifying purchases.
As an affiliate, we earn on qualifying purchases.
Fall Picks
fall essentials
As an affiliate, we earn on qualifying purchases.