
To create your own print drying rack, choose open-grid or perforated materials like wire, metal, or sturdy plastic to promote good airflow and prevent smudging. Make sure there’s enough space between prints and that the design is stable and adjustable to fit your workspace. Metal and wire racks are durable and easy to clean, while plastic offers a budget-friendly option. Want tips on assembling the perfect DIY rack? Keep exploring how you can optimize your setup.
Key Takeaways
- Use wire or metal racks with open grid designs for optimal airflow and easy cleaning.
- Ensure sufficient spacing between prints to prevent contact and promote efficient drying.
- Consider adjustable tiers or slots to customize rack capacity based on your needs.
- Select durable plastic or wire racks for budget-friendly, lightweight options with good ventilation.
- Position racks in well-ventilated areas to enhance airflow and speed up the drying process.
Ever wondered how to efficiently dry your prints at home without spending a fortune? Achieving ideal print drying efficiency is easier than you think, especially when you pay attention to your rack’s material choices. The right materials can make a big difference in how quickly and safely your prints dry, preventing smudging or warping. When selecting what to build your DIY print drying rack from, consider materials that promote good airflow, are lightweight, and won’t damage delicate prints. Common options include wire or metal racks, which allow air to circulate freely around each print, speeding up the drying process. Alternatively, sturdy plastic racks can work well, especially if they have open designs that prevent trapping moisture.
Your goal should be to create a setup that maximizes airflow around every print. Metal or wire racks are popular because their open grid design provides excellent ventilation, which directly enhances print drying efficiency. These materials are also durable and easy to clean, making them suitable for repeated use. If you prefer a more budget-friendly option, plastic racks with perforated surfaces can serve just as well, provided they’re sturdy enough to hold multiple prints without bending or warping. Wood might seem appealing for its sturdiness, but it’s generally less ideal because it can absorb moisture, slowing down the drying process and risking damage to your prints over time.
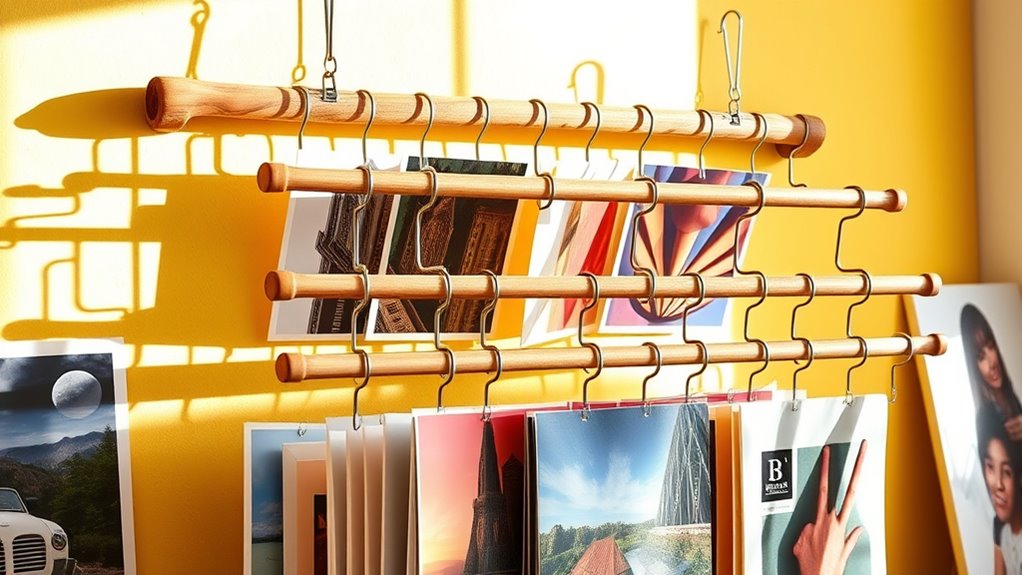
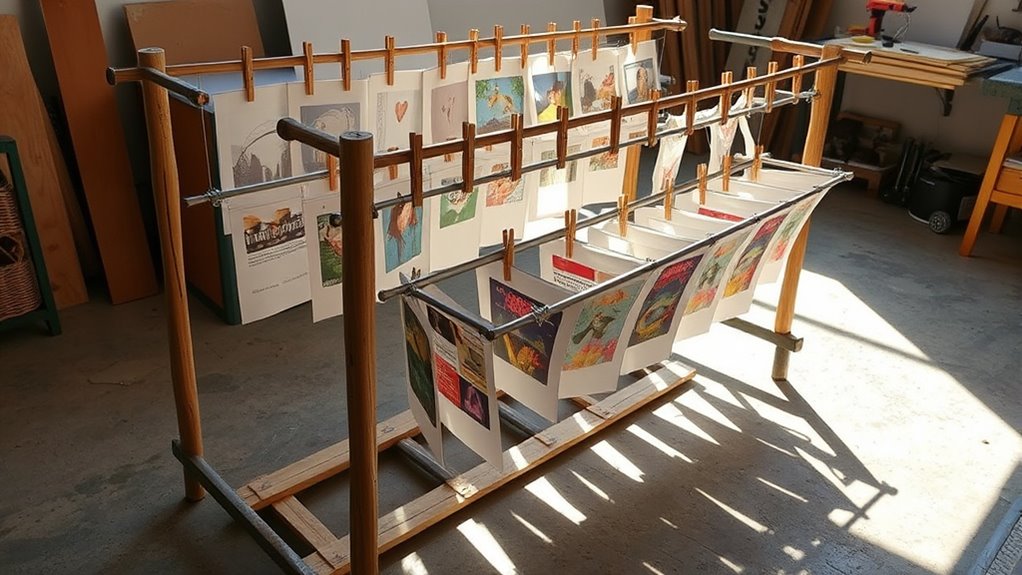
Additionally, considering the lifestyle aspects of your workspace, such as creating an environment that encourages productivity and comfort, can help make the drying process more efficient and enjoyable. Another factor to consider is the size and shape of your rack. A well-designed DIY rack should have enough space to hold multiple prints without them touching each other. This spacing allows air to reach all sides of each print, greatly improving drying efficiency. For added convenience, you might incorporate adjustable tiers or slots, so you can customize the setup depending on how many prints you need to dry at once. Keep in mind that the overall stability of your rack is important; it should be sturdy enough to support the weight of wet prints without tipping over.
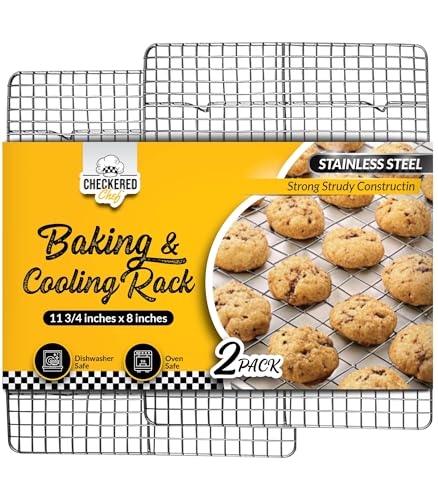
Checkered Chef Cooling Rack for Cooking and Baking – 8” x 11 ¾" Set of 2 Stainless Steel, Oven Safe Grid Wire Cookie Cooling Racks
Oven Safe and Easy to Clean: The solid stainless steel construction of our wire rack set makes them…
As an affiliate, we earn on qualifying purchases.
As an affiliate, we earn on qualifying purchases.
Frequently Asked Questions
What Materials Are Best for DIY Print Drying Racks?
For DIY print drying racks, you should consider material options like PVC pipes, wood, or metal rods, as they’re sturdy and easy to work with. Think about design considerations such as weight, durability, and ease of assembly. PVC is lightweight and affordable, wood adds stability, and metal offers longevity. Choose based on your space, budget, and how much weight your prints will add, ensuring your rack is both functional and durable.
How Do I Prevent Mold on My Drying Racks?
Imagine your drying racks as a haven for your prints, but mold lurks in the shadows if you’re not careful. To prevent mold, guarantee proper drying techniques—avoid excessive moisture and keep racks well-ventilated. Regularly clean and dry your racks, and consider applying a mold-resistant spray. These simple steps create a dry, inhospitable environment for mold, protecting your prints and extending your rack’s lifespan.
Can I Customize the Size of My Drying Rack?
Yes, you can customize the size of your drying rack to suit your needs. With size flexibility, you can design a rack that fits your available space and drying volume. Explore various design options, such as adjustable arms or modular sections, to make the rack versatile. This way, you guarantee efficient drying while maximizing space, making your DIY project both practical and tailored to your specific requirements.
What Weight Can a DIY Rack Safely Hold?
Your DIY print drying rack can safely hold a weight capacity of around 20 to 30 pounds, but this depends on the materials and construction quality. To guarantee safety considerations, use sturdy materials like thick wood or metal, and reinforce joints properly. Avoid overloading the rack, as excessive weight can cause it to bend or collapse, risking damage to your prints and potential injury. Always test the rack with lighter loads first.
How Do I Maintain and Clean My Print Drying Rack?
To maintain and clean your print drying rack, regularly wipe it down with mild cleaning solutions like soap and water to remove dust and ink residue. Make sure it’s thoroughly dried afterward to prevent rust. To prevent rust, apply a light coat of rust-proofing spray or paint, especially if your rack is metal. Check for any signs of corrosion and address promptly to keep your rack in top shape.
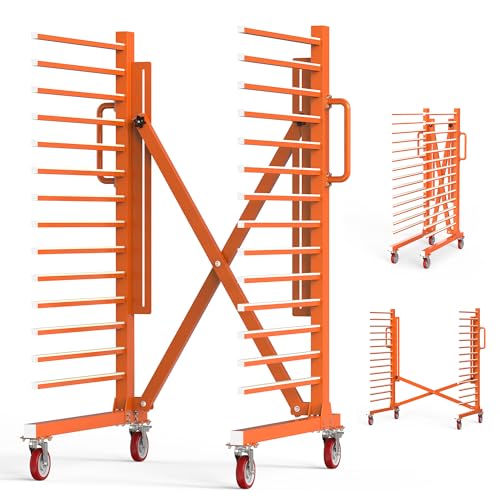
Tredre 15-Tier Paint Drying Rack with Nylon Wheels, Width Adjustable 12"-58", Heavy Duty Cabinet Door Drying Rack, 110 lbs Per Tier, Space-Saving Metal Paint Rack for Workshop, Spray Booth, Factory
Expandable Frame Design: Designed with an adjustable frame for any space, our paint drying rack easily expands from…
As an affiliate, we earn on qualifying purchases.
As an affiliate, we earn on qualifying purchases.
Conclusion
Now that you know how to craft your own drying rack, you’re all set to simplify and streamline your printing process. With a little creativity and careful construction, you’ll create a convenient, cost-effective, and custom solution right at home. So, seize the supplies, start shaping your space, and enjoy the satisfaction of a sleek, sturdy drying rack that’s perfectly suited to your printing needs. Turn your talents into a tidy, terrific drying display today!

mocomax Art Drying Rack for Painting, Metal Paint Drying Stand with 25 Removable Shelves, Movable Paint Drying Rack with Lockable Wheels, Art Canvas Storage Rack for Classrooms & Art Studios, Black
Quick Drying of Paintings: Featuring 25 shelves, each measuring 16 inches by 9.5 inches, with a precise 1-inch…
As an affiliate, we earn on qualifying purchases.
As an affiliate, we earn on qualifying purchases.

BNYD Plastic Collapsible Dish Drying Rack, Foldable Dinnerware Drainer Organizer for Storage,Kitchen
Perfect for storage and draining dinnerware and glassware, this adjustable, foldable dish drying rack offers separate storage areas…
As an affiliate, we earn on qualifying purchases.
As an affiliate, we earn on qualifying purchases.