To put tissue paper in a gift bag, start by choosing colors that complement your gift and the bag. Crumple a few sheets for texture, then layer them in the bag. Begin with neutral tones at the bottom and add vibrant layers on top, angling them playfully. Position your gift in the center of the bag and fill any extra space with more crumpled tissue for stability and cushioning. Finally, let some tissue peek out above the bag for a festive touch. Keep going, and you'll discover more neat tips for making your gift presentation stand out!
Key Takeaways
- Choose tissue paper colors that complement the gift and bag while reflecting the occasion's theme for a cohesive presentation.
- Cut tissue paper into squares or rectangles, layering 2-3 sheets for a plush look, or 3-5 sheets for luxury.
- Center the gift in the bag and fill extra space with crumpled tissue paper to prevent movement and add cushioning.
- Fluff the tissue paper and position it at playful angles, allowing it to peek above the bag for visual appeal.
- Incorporate contrasting textures and colors, and consider adding personalized notes or tags for a thoughtful touch.
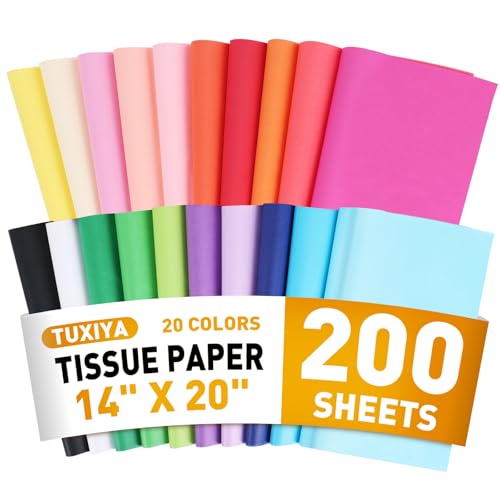
200 Sheets Tissue Paper, 20 Colors 14" X 20" Tissue Papers for Gift Bags Birthday Party Flower Decoration, Colored Tissue Paper Bulk for Packaging
20 COLORS AVAILABLE – This colorful tissue paper provides 20 classic colors (10 pieces of each color), such…
As an affiliate, we earn on qualifying purchases.
As an affiliate, we earn on qualifying purchases.
Choosing the Right Tissue Paper

When picking tissue paper for your gift bag, consider the overall theme of your present. Coordinating colors can enhance the presentation and make it more visually appealing. Choose shades that complement or contrast with the gift itself for a cohesive look.
Next, opt for acid-free tissue paper, especially if your gift is delicate or prone to tarnishing. This guarantees that the paper won't damage your item over time. For a fuller appearance, select 2-3 layers of tissue paper, which creates a plush effect inside the bag.
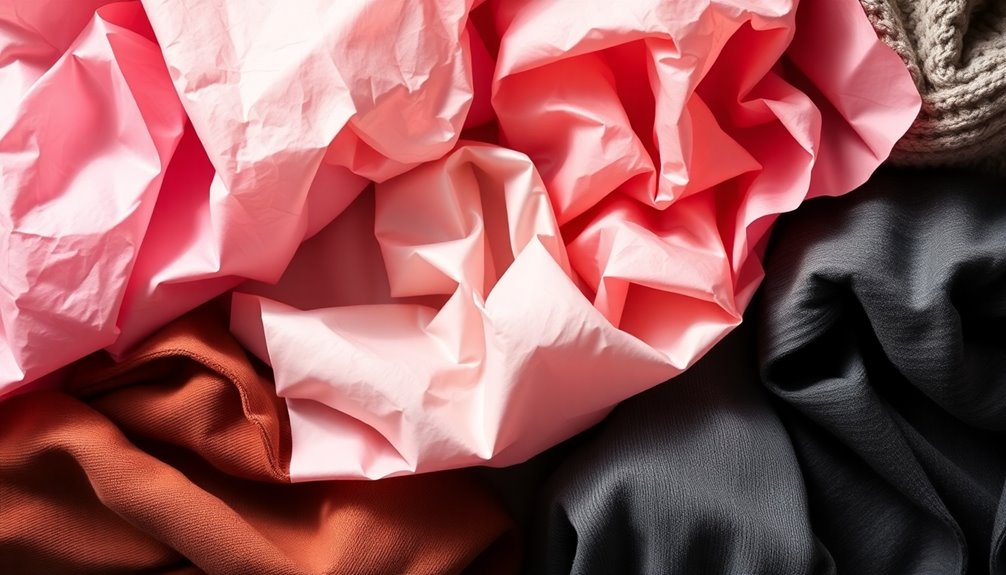
Don't forget about texture! Crinkled or patterned tissue paper can add an interesting element compared to plain sheets. This small detail can elevate the overall aesthetic and surprise the recipient when they open the bag.
Finally, ascertain the tissue paper size matches your gift bag. It should be large enough to create a soft cushion around your gift without overwhelming it.

Tinoaly 30 Sheet Flower Wrapping Tissue Paper, 19.69×13.78in, Colourful, Floral Printed Decorative Ideal for Gift Wrapping, Crafts & Occasional Celebrations
Product List: You will receive 30 sheets of tissue paper, which are ideal choice for wrapping gifts, and…
As an affiliate, we earn on qualifying purchases.
As an affiliate, we earn on qualifying purchases.
Preparing Your Gift Bag

To prepare your gift bag, start by choosing tissue paper colors that match your bag and the occasion.
Next, use folding techniques to create layers that not only look appealing but also add texture.
Finally, arrange the tissue paper so it enhances the visual impact when your recipient opens the bag.
Selecting Tissue Paper Colors
Choosing the right tissue paper colors can elevate your gift bag's presentation considerably. Start by selecting colors that complement or contrast with your gift bag's design. This not only enhances the visual appeal but also guarantees the overall look aligns with the occasion's theme.
Think about the recipient's favorite colors or the color symbolism associated with the event. For example, red represents love, while green symbolizes growth. This personal touch makes your gift even more special.
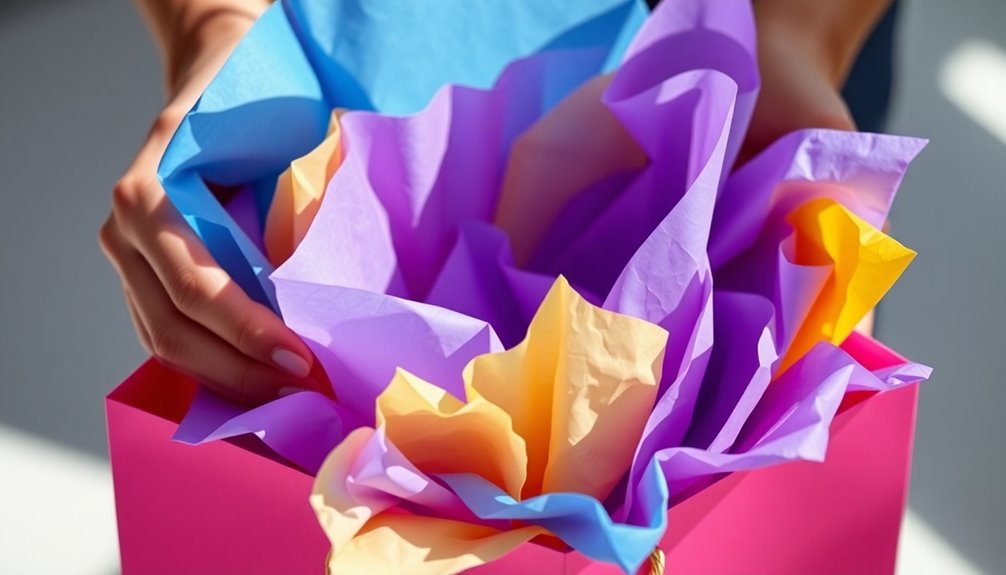
Using multiple layers of tissue paper in varying colors can add depth and visual interest. Place lighter colors at the bottom and darker hues on top for a balanced effect.
If you're aiming for a festive vibe, consider metallic or patterned tissue paper, which can boost excitement during celebrations like birthdays or holidays.
Lastly, keep the size of the gift bag and contents in mind. Larger, bolder colors can overpower smaller gifts, while softer colors are better suited for delicate items.
Folding Techniques for Layers
For a polished gift bag presentation, mastering folding techniques for tissue paper layers is crucial. Start by cutting your tissue paper into squares or rectangles that are slightly larger than the opening of your gift bag. This guarantees full coverage and a layered effect.
For that inviting look, fold each piece in half or into a fan shape to add volume. Begin with the first layer of tissue paper at the bottom of the bag, allowing the edges to peek over the top for a soft and decorative touch.
To create a dynamic appearance, alternate colors or patterns of tissue paper and fold each layer differently. This variety adds depth and interest to your gift bag.
Aim for at least 3 to 5 layers of tissue paper to achieve a full and luxurious look. Each layer contributes to an overall presentation that feels abundant and thoughtful.
Arranging for Visual Appeal
After mastering the folding techniques for your tissue paper layers, it's time to focus on arranging them for maximum visual appeal.
Start by selecting tissue paper colors that either complement or contrast with your gift bag. This choice will draw attention to the gift and create a striking look. Don't hesitate to mix different textures and patterns to add depth and interest.
Next, crumple the tissue paper slightly before placing it in the bag. This method creates volume, preventing a flat, lifeless appearance. Arrange the tissue paper so that some pieces stick out above the bag's top, providing a festive vibe that enhances your gift's presentation.
Consider these tips for an eye-catching arrangement:
- Layer Colors: Place lighter colors on top of darker shades for a striking visual effect.
- Mix Textures: Combine different types of tissue paper to create a dynamic presentation.
- Vary Heights: Allow some tissue paper to extend higher than others for a playful, inviting look.

Bobobag 100 Sheets Gold Tissue Paper,14"X20" Metallic Tissue Paper for Gift Bags, Birthday Anniversary Christmas Tissue Gift Wrapping, Holiday Decoration & Arts Craft
Gold Tissue Paper:Enhance the overall elegance of gifts and packaging with premium gold tissue paper. Boasting a soft,…
As an affiliate, we earn on qualifying purchases.
As an affiliate, we earn on qualifying purchases.
Crumpling the Tissue Paper
When you crumple tissue paper, choose colors that complement each other for a vibrant look.
Gently crumpling adds volume and texture, making your gift bag more visually appealing.
Layer larger pieces at the back and smaller ones at the front to create an inviting display that showcases the gift inside.
Choose the Right Color
Selecting the right color of tissue paper can greatly elevate your gift presentation. When choosing, consider the color scheme of the bag and the occasion. Studies show that 70% of consumers believe that a well-presented gift enhances its perceived value.
To create a striking visual effect, use contrasting colors; a bright tissue paper can pop against a dark bag, making your gift more dynamic. Alternatively, opt for colors that complement or match the bag's design for a cohesive look, as 60% of people appreciate aesthetically coordinated gifts.
Here are some tips for choosing the right color:
- Match the Occasion: Use colors that reflect the event, like pastels for baby showers or bold colors for birthdays.
- Consider the Recipient: Think about their favorite colors or personal style to make the gift feel more thoughtful.
- Layer Colors: Mixing different colors of crumpled tissue paper adds dimension and interest, making your presentation stand out.
Crumple for Volume
Crumpling tissue paper is a simple yet effective way to boost the volume and visual appeal of your gift bag presentation. When you crumple the paper, it creates a fluffy look that enhances how the gift appears. This technique not only adds volume but also makes the gift bag more inviting.
Make sure you don't pack the crumpled tissue paper too tightly; you want enough room to accommodate your gift while still providing cushioning. A well-crumpled piece can fill the bag without overcrowding it, ensuring your gift stands out.
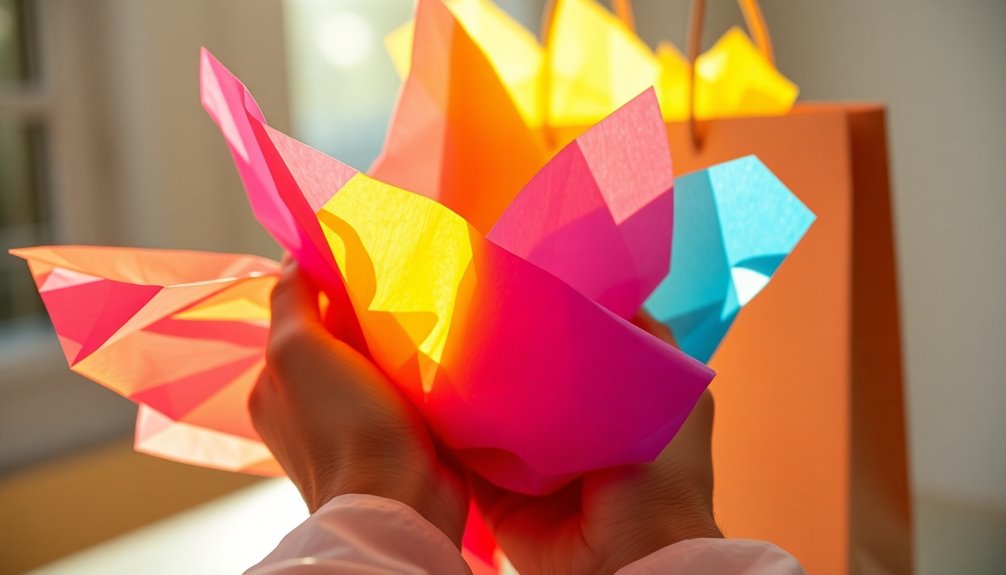
Using multiple colors of crumpled tissue paper can really elevate your display. Imagine the vibrant, eye-catching effect of different hues peeking out from your gift bag! It draws attention and adds a festive touch.
Remember to maintain that crumpled effect as you place the tissue paper in the bag. Avoid flattening it, as this will lessen the visual impact.
With just a little effort, you'll create a stunning presentation that showcases your thoughtful gift beautifully! So go ahead and crumple away to make your gift bag shine.
Layer for Texture
Layering crumpled tissue paper adds depth and texture to your gift bag, making it visually interesting. This technique not only enhances the presentation but also helps secure your gift inside, keeping it from shifting during transport.
To achieve the best effect, consider using multiple colors of tissue paper. Crumple each layer differently for contrast and depth.
Here are a few tips to help you get started:
- Mix sizes: Use both larger and smaller crumpled pieces to create an organic, casual look while ensuring your gift remains partially visible.
- Vary heights: Layer the crumpled tissue paper at different heights to add dimension and keep your gift secure.
- Experiment: Try different patterns and crumpling techniques. This allows for a more personalized touch to your gift presentation.

SUNCOLOR 36 Sheets Gold Tissue Paper for Gift Bags, 20 x 20 Inch Shiny Metallic Wrapping Paper for Christmas Weddings Birthdays and Crafts
SHINY GOLD FINISH: Includes 36 sheets of metallic gold tissue paper that adds a bright, reflective shimmer to…
As an affiliate, we earn on qualifying purchases.
As an affiliate, we earn on qualifying purchases.
Arranging Tissue in the Bag
Arranging tissue paper in your gift bag can elevate the presentation and make the gift more thrilling to receive. Start by crumpling the tissue paper slightly; this creates volume and adds visual interest. Choose a color that complements both the gift and the bag to guarantee a cohesive look. Color coordination really enhances the overall aesthetic.
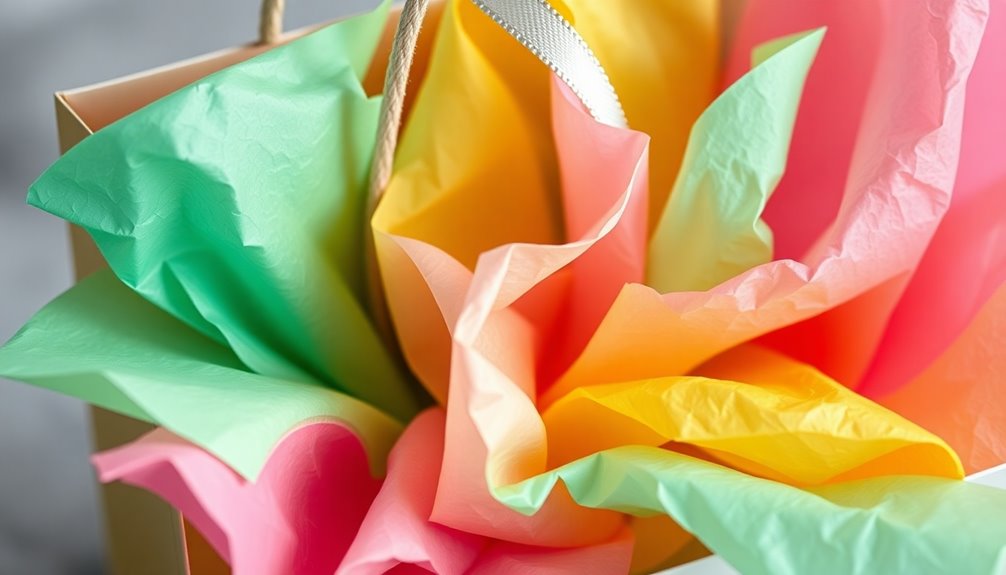
When you're ready to arrange the tissue, insert larger pieces at the back of the bag. This forms a solid backdrop and allows smaller pieces to be placed at the front, creating a layered, dynamic effect. Allow some of the tissue paper to peek over the top of the bag for an inviting and festive appearance that entices the recipient.
For a fuller look, consider using multiple sheets of tissue paper. A well-stuffed gift bag not only looks more appealing but also heightens the excitement of opening the gift.
Layering Different Colors
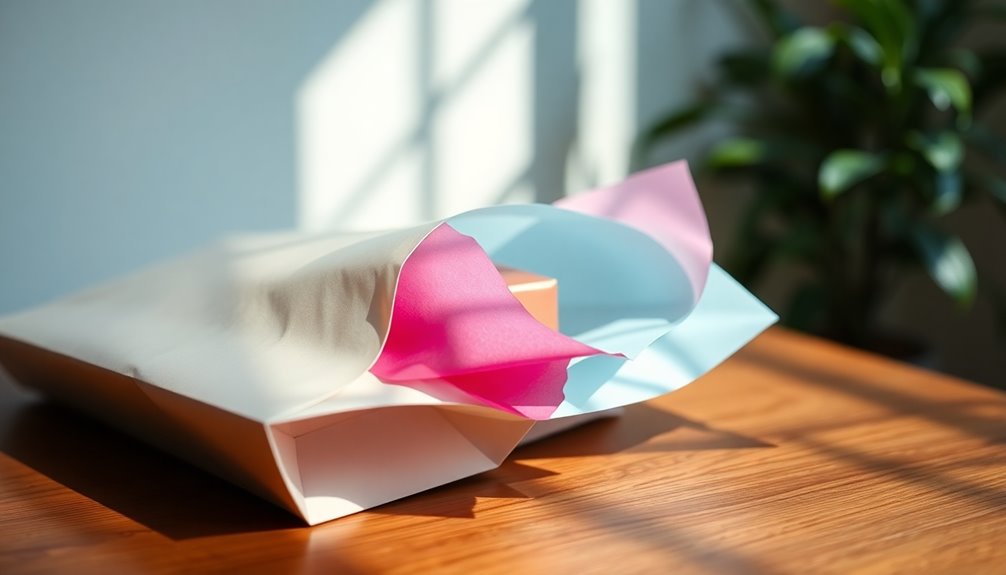
Creating a vibrant gift presentation involves selecting and layering different colors of tissue paper. Start with a base layer of a neutral color like white or cream. This clean foundation allows the more vibrant colors to pop and draws attention to the gift.
Next, choose contrasting colors that complement both the gift and each other. Pairing pastel shades with bright hues creates a visually appealing look.
When layering the tissue paper, crumple it slightly before placing it in the bag. This technique adds texture and dimension, enhancing the overall presentation. You can also consider the height of the tissue paper; longer pieces can create a cascading effect that really draws the eye to the gift inside.
To achieve a cohesive look, keep these tips in mind:
- Match tissue paper colors with the wrapping paper or gift bag.
- Use three to four colors for a balanced yet dynamic design.
- Experiment with different textures, like metallic or patterned tissue, for added interest. Adding decorative designs can further enhance the overall presentation.
With these layering techniques, you'll elevate your gift presentation to a whole new level!
Creating Height and Volume

To create height and volume in your gift bag, start by choosing the right tissue paper that complements your gift.
Layering different colors and patterns adds dimension, making your presentation more visually appealing.
Finally, fluff the tissue paper at the top to enhance the overall look and draw attention to the surprise inside.
Choose the Right Tissue
Choosing the right tissue paper can greatly enhance the visual appeal of your gift bag. Opt for colors that either complement or contrast with the bag to create eye-catching interest. This simple choice boosts the overall presentation and makes your gift stand out.
Here are some tips to take into account:
- Thickness: Select thicker tissue paper for better volume and structure. This helps the paper stand upright and gives your bag a fuller look.
- Variety: Use multiple sheets of tissue paper in different sizes. Layer larger pieces at the bottom and smaller ones on top to create height and intrigue.
- Texture: Crumple the tissue paper slightly before inserting it into the bag. This adds texture and dimension, making the presentation feel more inviting.
If you want to elevate your gift-giving experience even further, think about using patterned tissue paper. This adds an extra layer of design that makes your gift feel even more special.
With these choices, you're sure to create a stunning visual impact that will delight the recipient.
Layer for Dimension
After selecting the right tissue paper, layering it effectively adds depth and visual interest to your gift bag. Start by crumpling pieces of tissue paper to create texture—this not only enhances the overall aesthetic but also provides a more dynamic presentation. Aim for at least three to five sheets; this guarantees your bag is filled adequately, preventing gifts from sinking to the bottom.
To create a visually appealing gradient effect, layer multiple colors, placing lighter shades on top to draw attention and darker colors underneath for depth. Position the tissue paper at varying angles, allowing some pieces to stand tall while others cascade down. This technique creates a dynamic and inviting look that captures attention.
For a polished finish, gently fluff the edges of the tissue paper. This small detail gives your arrangement a fuller appearance, making your gift bag feel more festive and well-prepared.
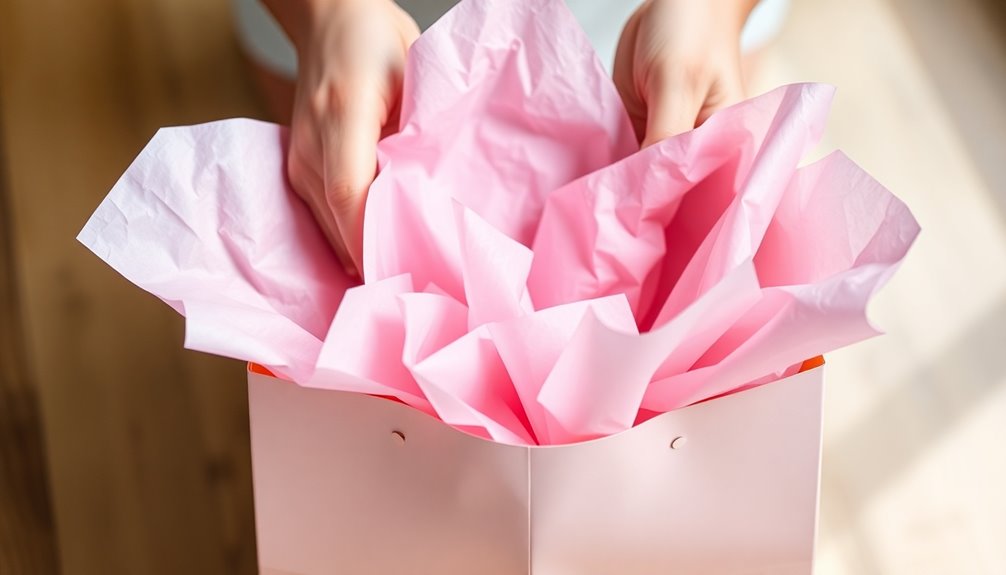
Fluff for Volume
Creating height and volume in your gift bag can transform an ordinary presentation into something extraordinary. To achieve this, start by crumpling tissue paper into loose, airy balls. This technique not only gives your gift bag a dynamic look but also enhances its texture.
Next, use multiple layers of tissue paper in varying colors and textures to add depth and visual appeal.
Here are some tips to keep in mind:
- Position crumpled tissue paper at the top of the bag, allowing it to extend beyond the rim for an inviting appearance.
- Insert the tissue paper at different angles to create a fuller, more organic look rather than a flat one.
- Consider using larger sheets of tissue paper, folding them strategically to exaggerate height and make your gift appear more substantial.
Positioning the Gift
Position the gift carefully inside the bag to guarantee it's centered and stable, preventing any shifting during transport.
It's essential that the gift sits securely so it doesn't topple over while you're carrying it. If there's extra space in the bag, use tissue paper to fill those gaps. This snug fit not only enhances the presentation but also keeps the gift from moving around.
When choosing your gift bag, make sure it's the right size. A bag that's too large might require additional tissue paper to keep everything secure.
You'll want the tissue to gently peak above the top of the bag, creating a visually appealing look that adds an element of surprise.
If your gift is fragile, position it upright and surround it with crumpled tissue paper for added cushioning and protection.
This extra layer will help absorb any shocks during transport, ensuring your gift arrives in perfect condition.
Final Touches for Presentation
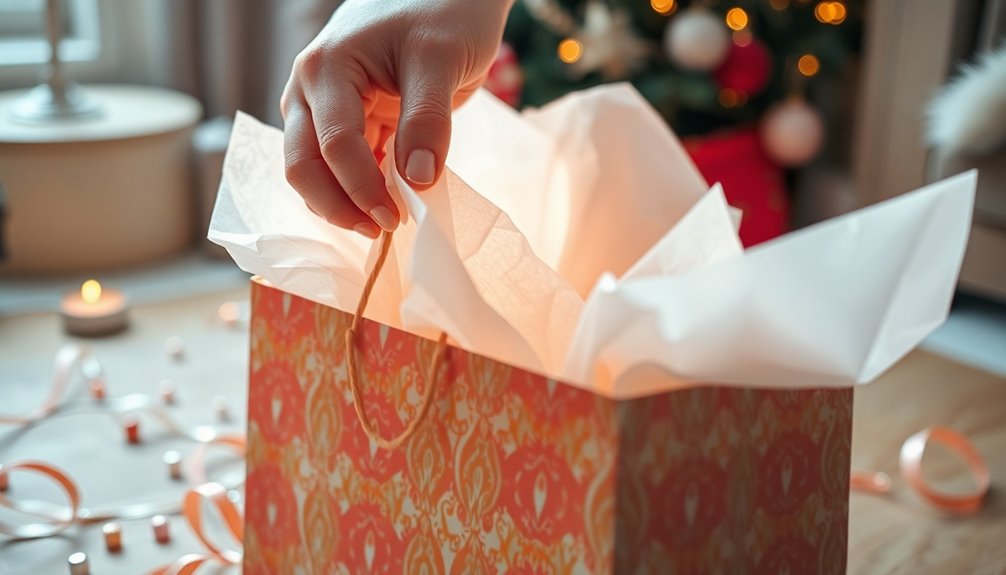
Adding the final touches to your gift bag can elevate its overall presentation and make it even more special. Start by selecting tissue paper in colors that complement both the gift bag and the occasion. This will enhance the visual appeal and create a cohesive look.
To add depth and texture, layer different shades of tissue paper. Make sure the top layer is slightly larger and more vibrant to catch the recipient's attention. Fold the tissue paper loosely to create volume, allowing it to puff out of the top of the bag for an inviting presentation.
Consider the following tips:
- Playful angles: Place the tissue paper so it peeks out from various angles, adding a fun element to your gift.
- Mix textures: Use a combination of matte and metallic tissue paper to create contrast and shine, making your gift bag stand out.
- Consider occasion: Choose colors that reflect the event, whether it's a birthday, wedding, or holiday, to make your gift feel truly personalized.
These small but impactful details will surely impress the recipient and enhance the joy of giving.
Tips for a Neat Finish
A polished finish can make all the difference in your gift presentation. Start by choosing tissue paper that complements your gift's color scheme. This enhances the overall look and makes it visually appealing.
When you place the tissue paper in the bag, use at least two layers. This creates a fuller appearance and prevents the gift from being visible from the outside.
To add texture and dimension, gently crumple the tissue paper before inserting it. This simple step gives the gift a thoughtful and polished appearance. Make certain the tissue paper sticks up above the top of the bag. This creates an inviting, festive look that catches the eye and draws attention to your gift.
For a neat finish, consider folding the edges of the tissue paper over the sides of the bag. This not only helps keep the tissue paper in place but also adds a touch of elegance to your presentation.
With these tips, you'll guarantee your gift bag looks stunning and ready for any occasion. A little effort goes a long way in making your gift stand out!
Personalizing Your Gift Bag
To elevate your gift presentation even further, personalizing your gift bag can make it truly special for the recipient. Start by choosing tissue paper in colors or patterns that reflect their preferences or the occasion. Layering multiple sheets adds dimension, making the gift bag visually appealing.
Consider incorporating personalized notes or tags that complement the tissue paper, enhancing the overall theme. You might also want to experiment with different textures, like metallic or glitter tissue paper, to create a unique look.
Here are some ideas to personalize your gift bag:
- Choose colors that resonate with the recipient's favorite shades or the event's theme.
- Add a heartfelt note or tag that expresses your sentiments, making the gift more meaningful.
- Mix textures of tissue paper for a festive touch that stands out.
Finally, arrange the tissue paper so it peeks out attractively from the top of the bag, creating a welcoming and festive look. With these tips, you'll guarantee your gift bag is as thoughtful as the gift itself! Additionally, employing mindful decluttering strategies can help ensure that you have only the supplies you need for creating beautiful gift presentations.
Frequently Asked Questions
How to Insert Tissue Paper in a Gift Bag?
To insert tissue paper in a gift bag, start by choosing a couple of sheets in colors that match your bag.
Fold the tissue paper in half lengthwise for a neat look. As you place it in, scrunch the center gently, letting the edges fan out.
Make sure the tissue paper extends above the bag's edge for height. Layer different colors for extra texture and visual interest, creating an appealing presentation for your gift.
How to Keep Tissue Paper in a Bag?
To keep tissue paper in a bag, you'll want to crumple it lightly for volume.
Layer several sheets, mixing colors for a fun look. Tuck the edges securely into the sides of the bag to help them stay in place.
If you're worried about shifting, you can use adhesive dots or double-sided tape at the base.
For taller bags, let longer pieces peek out for a decorative touch and added stability.
How Many Sheets of Tissue Paper for a Gift Bag?
When deciding how many sheets of tissue paper to use for a gift bag, consider its size.
For small bags, 1-2 sheets work well, while medium bags typically need 2-4 sheets for good coverage.
If you're using a large bag, aim for 4-6 sheets to support heavier items.
How Do You Fill a Gift Box With Tissue Paper?
To fill a gift box with tissue paper, start by choosing colors that match your gift.
Crumple several sheets slightly to add volume, then place them at the bottom for cushioning.
After setting the gift inside, layer more tissue paper around the sides, ensuring it looks full and festive.
You can also add a small card or decorative touches on top to personalize the presentation.
This creates an appealing and thoughtful gift display!
Conclusion
Incorporating tissue paper into your gift bag not only enhances its appearance but also adds a personal touch. By choosing the right colors, crumpling the paper for texture, and layering it creatively, you'll create an eye-catching presentation. Once you position your gift perfectly and add final touches, your gift bag will be ready to impress. Remember, a little effort goes a long way in making your gift feel special and thoughtful. Happy gifting!