
Decoupage art using tissue paper involves selecting a surface like wood or ceramic, then cutting or tearing thin tissue paper into your desired shapes. You glue the paper onto the surface, smoothing out wrinkles and air bubbles carefully, and seal it with layers of varnish or decoupage medium for durability. This technique creates a delicate, translucent finish that adds a unique charm. Keep exploring for more tips to perfect your tissue decoupage projects.
Key Takeaways
- Decoupage with tissue paper involves gluing thin, decorative paper onto surfaces to create artistic, layered designs.
- Use a gentle, smooth application method to avoid tearing or wrinkling tissue paper during the process.
- Seal the finished piece with multiple coats of varnish or sealant for durability and a polished look.
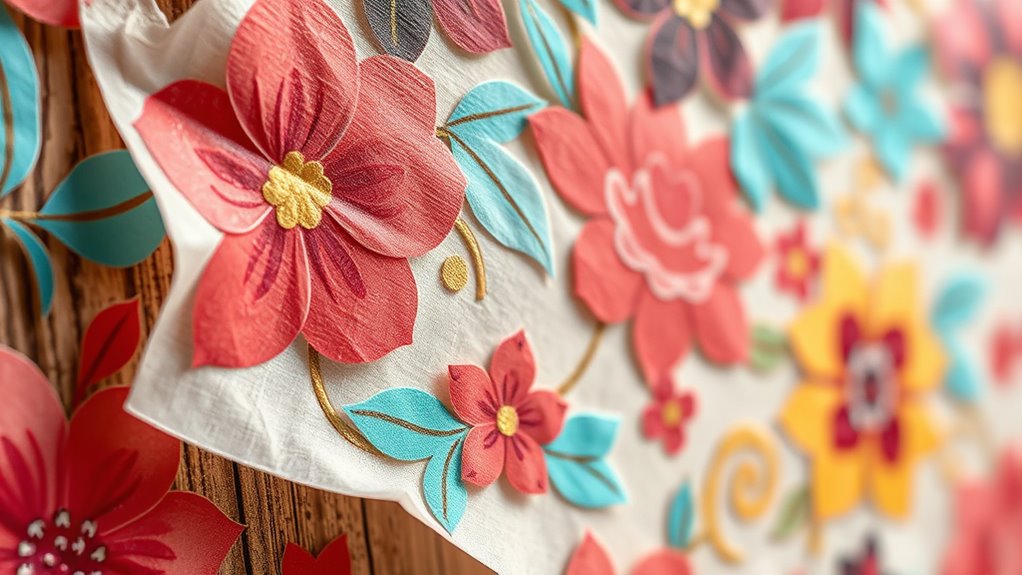
- Incorporate rustic or farmhouse styles by adding distressed finishes and natural textures to enhance the aesthetic.
- Historically, decoupage originated in East Asia and became popular in Europe, with tissue paper adding a delicate, lightweight effect.
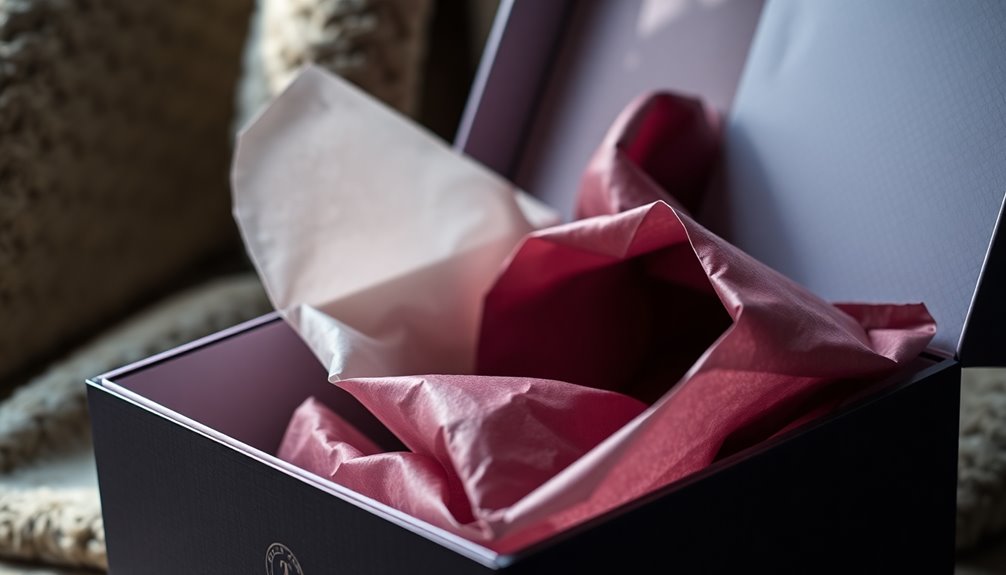
Decoupage art with tissue paper is a versatile and creative craft that allows you to transform everyday objects into stunning works of art. Whether you’re decorating furniture, boxes, or picture frames, understanding the techniques overview and the historical origins of decoupage helps you appreciate its rich background and refine your skills. Decoupage, in general, involves decorating surfaces by gluing paper cutouts and then sealing them with layers of varnish or sealant. When you use tissue paper, the thinness and flexibility give your projects a delicate, almost translucent quality that’s hard to achieve with thicker materials.
The techniques overview for decoupage with tissue paper involves several key steps. First, select your surface—wood, ceramic, or even fabric—and clean it thoroughly to remove dust and grease. Next, cut or tear your tissue paper into desired shapes or designs. Using a glue or decoupage medium, you affix the tissue onto the surface, smoothing out wrinkles and air bubbles as you go. It’s important to work gently to preserve the tissue’s fragile texture. Once all pieces are glued down, you typically apply multiple coats of sealant or varnish to protect the design and give it a smooth, finished look. Some artists also use techniques like distressing or layering to add depth and character to their projects. Drying time between coats is essential, and you should use a soft brush to avoid disturbing the tissue. Additionally, understanding the rustic aesthetic common in farmhouse design can inspire unique finishes and textures for your projects.
Understanding the historical origins of decoupage can deepen your appreciation for this craft. The word “decoupage” comes from the French “découper,” meaning “to cut out,” and the art form dates back to the 12th century in East Asia, where paper was used to decorate lacquered objects. It gained popularity in Europe during the 17th and 18th centuries, especially among aristocrats who decorated furniture and accessories with intricate paper cutouts. In the Victorian era, decoupage became more accessible to the middle class, with elaborate designs and vivid themes. Over time, artists experimented with different materials, including tissue paper, which became favored for its lightweight and delicate appearance. Today, decoupage with tissue paper is appreciated worldwide as an accessible, versatile craft that connects modern creativity with centuries of decorative tradition.

Simetufy 5400 Pcs 1 Inch Tissue Paper Squares, 36 Assorted Colors for Crafts, Art Rainbow Bulk for Mother's Day, Projects, Collage, Suncatchers, Scrapbooking – Non Bleeding
Tissue Paper Square for Crafts: The package comes with 5400 pcs 1 Inch mosaic tissue paper squares, which…
As an affiliate, we earn on qualifying purchases.
As an affiliate, we earn on qualifying purchases.
Frequently Asked Questions
Can Decoupage Art Be Done on Fabric Surfaces?
Yes, you can do decoupage art on fabric surfaces. When working with fabric application, make certain the surface is clean and smooth. Use fabric-friendly glue or Mod Podge designed for textiles, and apply tissue paper or other decorative elements carefully. This technique works great for textile decoration, allowing you to personalize clothing, bags, or home décor items. Just remember to seal your design well to keep it durable and washable.
What Are the Best Sealants for Tissue Paper Decoupage?
If you want your tissue paper decoupage project to last, consider using a water-based polyurethane as your sealant. For example, Jane sealed her decorative box with this, and it held up well over time. When choosing a sealant, prioritize options that offer a durable finish, like acrylic spray or matte varnish, to protect your artwork from moisture and wear, ensuring your decoupage remains vibrant and intact longer.
How Long Does Tissue Paper Decoupage Last Outdoors?
Your tissue paper decoupage outdoors can last approximately 6 months to a year if you prioritize weather durability and UV resistance. To maximize its longevity, make sure to use a high-quality sealant that offers protection against moisture, sunlight, and temperature changes. Applying multiple coats and placing your project in a shaded area also helps prevent fading and deterioration, ensuring it remains vibrant and intact for as long as possible.
Are There Eco-Friendly Tissue Paper Options for Decoupage?
Think of eco-friendly tissue paper options like a revitalizing gust for your craft projects. Yes, there are recycling options and eco-friendly materials available for decoupage. Look for tissue papers made from recycled fibers or biodegradable materials, which are gentle on the environment, like a soft whisper. These choices help you create beautiful art while reducing waste, making your craft both creative and eco-conscious.
Can Decoupage With Tissue Paper Be Used on Glassware?
Yes, you can use tissue paper for glassware decoration, but keep in mind that tissue paper durability can vary. To guarantee the design holds up, seal your decoupage with a waterproof varnish or sealant. This protects the tissue paper from moisture and handling, making your decorated glassware both beautiful and durable. Just handle with care, and your tissue paper decoupage will look great on glassware!

8 OZ Gloss Sealer, Glue & Finish, Air Dry Clay Glaze, Clear Decoupage Glue, Waterbase Clay Varnish for DIY Crafts, Wood, Paper, Art Projects, Craft, Painting, Puzzle,Ceramics,Magic Sealant 250 ML
Clear Glossy Finish: Bondtech magic sealant ensures a long-lasting glossy finish, enhances the appearance of the project without…
As an affiliate, we earn on qualifying purchases.
As an affiliate, we earn on qualifying purchases.
Conclusion
As you finish your decoupage project with tissue paper, you realize how sometimes, the simplest materials can create the most stunning art. It’s funny how a piece of tissue paper can transform a plain surface into something vibrant and personal. Just like how a random scrap can turn into a masterpiece, your creativity and patience make all the difference. So, keep experimenting—sometimes, the best art comes from the most unexpected beginnings.
XYCCRX 12PCS Essential Decoupage Tool Set Silicone Table Mat,for DIY Arts and Crafts Projects Decoupage Kits for Adults for Paper, Fabric and Napkin Crafts
Essential All-in-One Decoupage Kit: Our comprehensive set is your ultimate starter pack for decoupage art. It includes a…
As an affiliate, we earn on qualifying purchases.
As an affiliate, we earn on qualifying purchases.

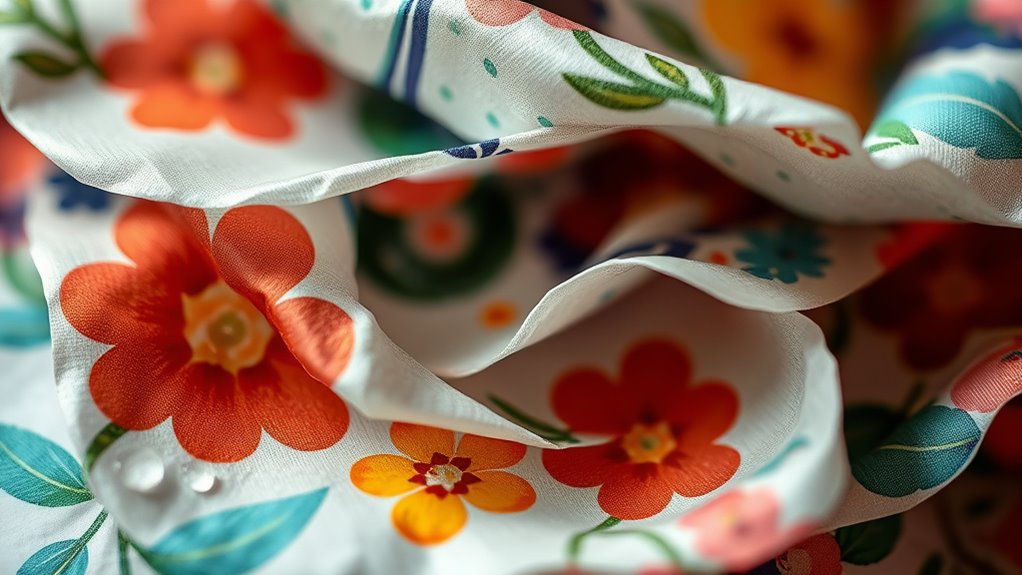
Crtiin 20 Pack Decoupage Napkins Floral Napkins Flower Cocktail Paper Decorative Toilet for Valentine's Day Birthday Party Beautiful Gorgeous, 20 Styles Each 6.5 Inches(Style 2)
Sufficient for Your Applications: in this assortment, you'll find 20 varied vintage floral napkin adornments, giving you ample…
As an affiliate, we earn on qualifying purchases.
As an affiliate, we earn on qualifying purchases.