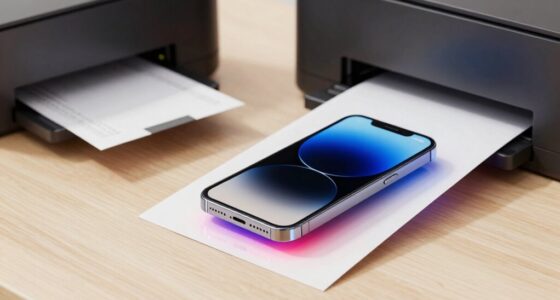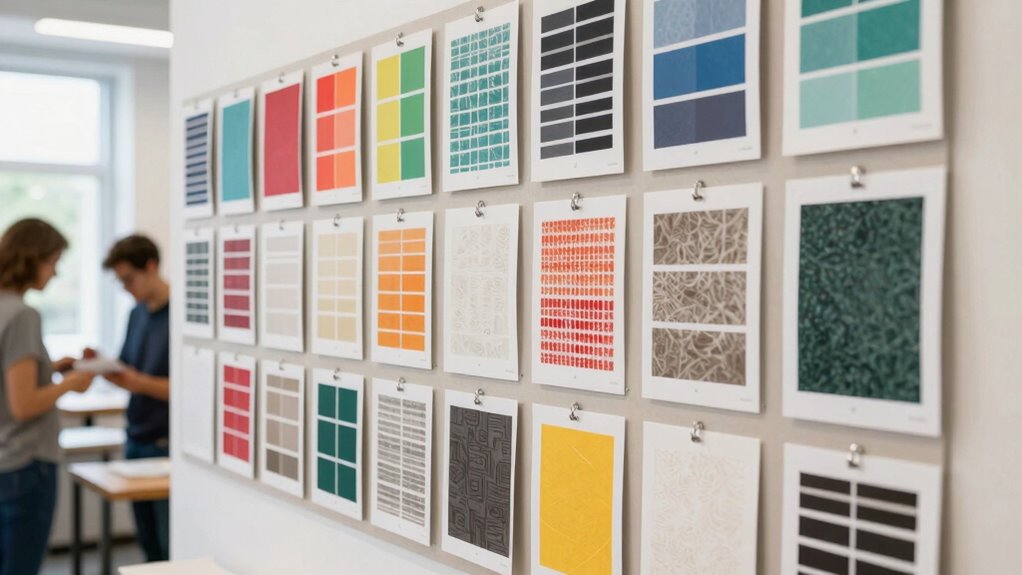

A sample wall helps your team make better print decisions by providing a clear, tangible view of how colors, textures, and finishes will look in real environments. It reduces guesswork, allowing you to compare options side-by-side and see how materials respond to different printing techniques. This shared visual reference improves communication, supports quality control, and guarantees your final result matches your expectations. Keep exploring to discover how a sample wall can streamline your entire process.

Get business pricing on monitors, keyboards and dev gear
- Business-only prices and quantity discounts
- Tax-exempt purchasing
- Multiple users, one account, clear invoices
Key Takeaways
- Visualizes real-world appearance, reducing uncertainty in color and material choices.
- Enables material and finish testing to ensure suitability and durability.
- Facilitates clear communication and faster consensus among team members and clients.
- Provides a reference for maintaining quality and consistency during production.
- Demonstrates how printing techniques affect color accuracy and material outcomes.
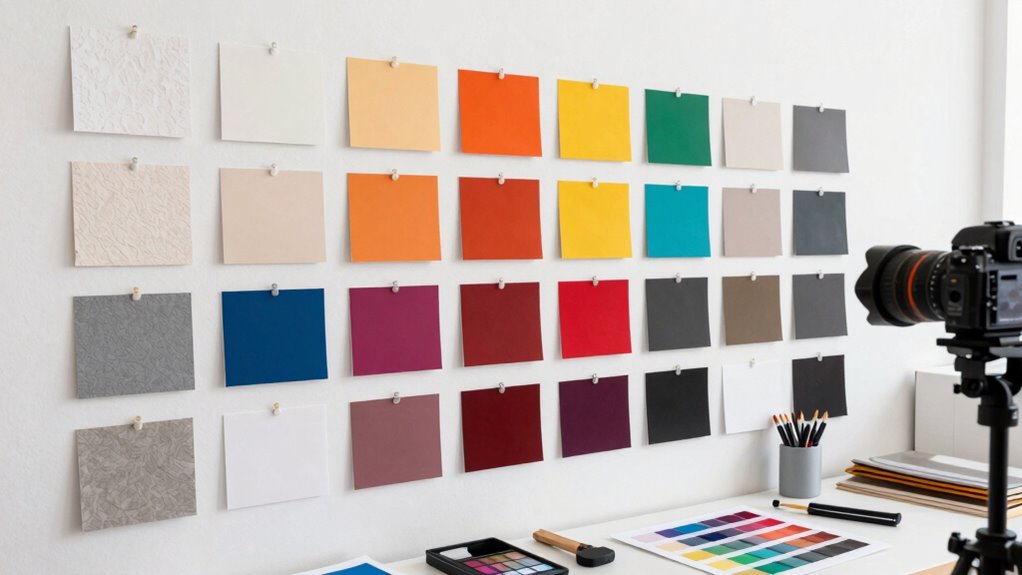
When choosing the right print materials, seeing is believing. A sample wall allows your team to visualize how different options will look in real-world conditions, reducing guesswork and uncertainty. It’s not enough to rely solely on color swatches or digital proofs; actual samples provide a tangible sense of how colors will appear once printed. This is especially important when aiming for consistent color quality across multiple projects, as a sample wall helps you evaluate color consistency over different batches and lighting scenarios. You can compare how subtle hues interact, ensuring your team selects colors that stay true to your brand standards or design goals.
Material selection is another critical factor that a sample wall addresses effectively. Different materials—such as vinyl, fabric, or paper—react differently to inks and printing techniques. Seeing samples in person allows you to assess texture, weight, and durability, making it easier to choose the right material for your project’s purpose. For example, a glossy finish may look stunning on a small swatch, but when applied to a large wall, it could produce unwanted glare or uneven color distribution. By having samples on the wall, you can test how different materials hold up under your specific printing process, helping you avoid costly mistakes later. Moreover, printing techniques can influence how colors appear on various materials, emphasizing the importance of seeing samples firsthand.
Seeing material samples in person helps evaluate texture, durability, and suitability for your specific printing needs.
A sample wall also streamlines communication among team members and clients. Instead of trying to describe colors or textures verbally, everyone can see exactly what’s being discussed. This shared visual reference minimizes misunderstandings and helps you reach consensus faster. When everyone can see the same samples side by side, it’s easier to make informed decisions about the final print materials, ensuring the end result matches expectations. Plus, it gives your team a chance to experiment with combinations—such as pairing different textures with specific colors—to find the most effective look.
Moreover, a sample wall can serve as an ongoing reference point during the project. As printing progresses, you can compare new samples to the initial ones to maintain quality control. If adjustments are needed, you’ll have a clear visual benchmark to guide refinements. This proactive approach reduces the risk of surprises and guarantees that the final output aligns with your initial vision. Ultimately, investing in a sample wall empowers your team to make smarter, more confident print decisions—saving time, resources, and ensuring a professional, cohesive appearance for your project. Additionally, understanding color accuracy and how it can vary across different printing methods is vital, and a sample wall provides a practical way to ensure your expected results are achievable.
Products Worth Considering

DJI Osmo Pocket 4 Gimbal Camera Pro Kit, 18-Piece Bundle

Amazon Kindle Paperwhite (12th Generation, 2024), 16 GB, 7-inch Display, Jade

DJI Osmo Pocket 3 Creator Combo Vlogging Camera with Mic 2, 1 CMOS, 4K/120fps, 3-Axis Stabilization, 128GB Card
As an affiliate, we earn on qualifying purchases.
Frequently Asked Questions
How Do Sample Walls Improve Team Collaboration?
A sample wall boosts your team’s collaboration by providing a shared space for design consistency and creative brainstorming. As you gather and display samples, everyone can see how ideas come together, identify inconsistencies, and suggest improvements. This visual approach encourages open communication, fosters teamwork, and streamlines decision-making, ensuring your print projects stay cohesive and innovative. Ultimately, it helps your team work more effectively toward a common creative vision.
What Materials Are Best for Creating Sample Walls?
Choosing the right materials for your sample wall can subtly elevate your project’s success. Opt for lightweight, durable options like foam core, cork, or fabric-covered boards, which are easy to handle and flexible for wall construction. These materials support effective material selection by showcasing print samples clearly and securely. They also allow for easy updates, helping your team visualize and decide on the best print choices without hassle.
How Often Should a Sample Wall Be Updated?
You should update your sample wall regularly, ideally every few months, to guarantee color consistency and reflect current design choices. Frequent wall maintenance helps prevent fading or damage that could mislead team decisions. By keeping samples fresh and accurate, you support reliable comparisons, making it easier for everyone to choose the right materials. Consistent updates also allow you to spot trends and maintain a cohesive, professional look across projects.
Can Sample Walls Be Used for Digital Print Decisions?
Yes, you can use sample walls for digital print decisions. They’re great for showcasing digital mockups and can facilitate online collaboration with your team. By displaying digital mockups on a sample wall, you enable everyone to visualize how designs will look, ensuring better decision-making. This approach streamlines feedback and minimizes miscommunications, helping you choose the best digital print options efficiently and effectively.
What Are Common Mistakes to Avoid With Sample Walls?
You might think avoiding mistakes is simple, but ironically, overlooking sample wall design and color consistency is a common slip-up. Don’t rely on digital screens alone; they can mislead your perception. Always confirm your samples are true to final prints, and keep your wall organized to prevent confusion. Ignoring these details risks costly errors and delays, so double-check your color matches and keep the sample wall tidy and consistent.
Conclusion
By now, you see how a sample wall transforms your print decisions, making them clearer and more confident. It’s like having a trusty compass in uncharted waters—no more guesswork or costly mistakes. With a well-organized sample wall, you’ll avoid the chaos of the Tower of Babel and speak the same print language as your team. Embrace this tool, and your print game will be as sharp as a knight’s sword in the age of chivalry.