To set cut parameters for cardstock and corrugated without trial-and-error, start by understanding each material’s thickness and density. For cardstock, set a shallow blade depth and higher speed for clean cuts; for corrugated, increase blade depth and slow your speed to prevent tearing. Adjust pressure based on material smoothness, and always test on scrap before the final cut. Keep these guidelines in mind, and you’ll achieve precise results—continue for more expert tips.
Key Takeaways
- Adjust blade depth proportionally to material thickness, shallow for cardstock and deeper for corrugated cardboard.
- Set higher blade pressure for dense materials like corrugated and lower pressure for delicate cardstock.
- Use moderate to high cutting speeds for cardstock; slow down significantly when cutting thicker or layered materials.
- Conduct minimal test cuts on scrap to fine-tune blade height and pressure before starting the main project.
- Regularly maintain and sharp blades to ensure clean cuts and reduce the need for extensive trial adjustments.

Excel Blades Adjustable Width Strip Cutter – Dual #59 Blades, Precision Cutting Tool for Paper, Vinyl, Leather, Foam, Clay & Crafts – Aluminum Body – Made in USA
TWIN BLADE UTILITY KNIFE – The go-to cutting tool for designers, artists, and hobbyists. This dual blade knife…
As an affiliate, we earn on qualifying purchases.
As an affiliate, we earn on qualifying purchases.
What’s the Difference? Cardstock vs. Corrugated Cardboard
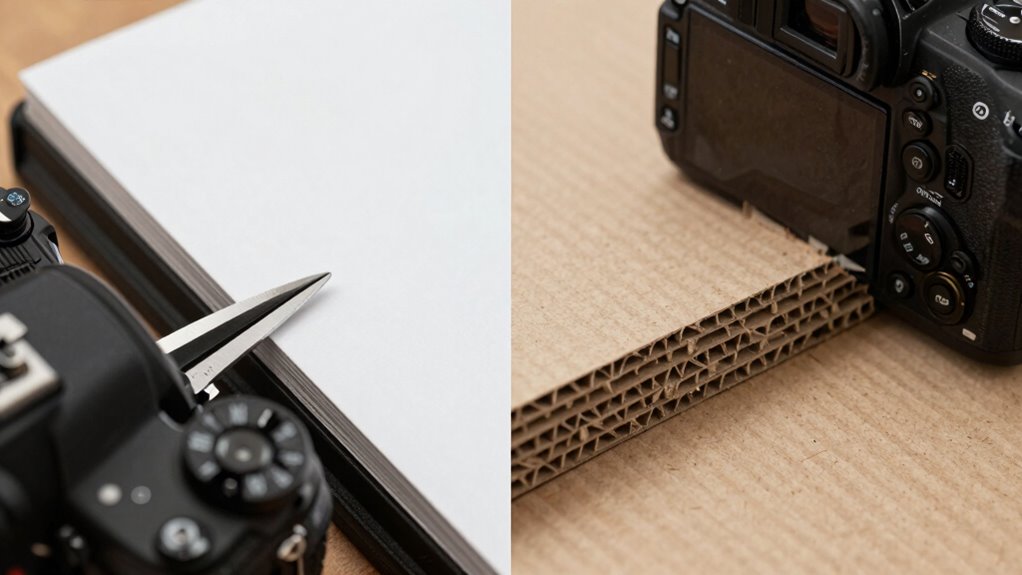
While both cardstock and corrugated cardboard are popular materials in printing and packaging, they serve different purposes due to their distinct structures. Cardstock is a thick, durable paper with a smooth surface, offering flexibility and ease of cutting. Its material properties make it suitable for detailed printing and crafting, but you might face cutting challenges if the blade isn’t sharp enough or the settings are off. Understanding these material properties helps you anticipate cutting challenges and choose the right settings for clean, precise results. Proper piercing care and hygiene ensures your projects remain free of contamination and damage. Additionally, adjusting cut settings based on material thickness can significantly improve cut quality and efficiency. Corrugated cardboard, on the other hand, has a layered, rigid construction with a fluted inner layer, providing strength and cushioning. Its thicker, more complex structure requires more force to cut through, often leading to uneven edges if not handled properly.

WORKLION Cutting Mat 12×12 for Cricut: Cricut Explore One/Air/Air 2/Maker Gridded Adhesive Non-Slip Durable Mat for Sewing Quilting and Arts & Crafts Projects – Cutting Mat Set(Variety)
WORKLION Cutting Mats 12×12 inch works perfectly with Cricut Explore One/Air/Air 2/Maker. Cutting mat variety pack include 3…
As an affiliate, we earn on qualifying purchases.
As an affiliate, we earn on qualifying purchases.
How to Pick the Best Settings for Your Materials
To get the best results, you need to contemplate your material’s thickness and adjust your settings accordingly. Thicker materials often require slower cutting speeds and more passes, while thinner ones cut easily at higher speeds. Keep these factors in mind to fine-tune your settings for clean, precise cuts every time. Incorporating proper blade pressure can further enhance cut quality and reduce material damage.
Material Thickness Considerations
Choosing the right cut settings begins with understanding your material’s thickness. Material density affects how easily your cutter can penetrate, so thicker or denser materials require increased cutting depth. If your material is lightweight and thin, you can set a shallower cut to prevent tearing or burning. For heavier, denser cardstock or corrugated, you’ll need to increase the cutting depth to ensure a clean cut through the entire thickness. Pay attention to how your machine responds; too shallow a cut can leave incomplete edges, while too deep can cause damage or excessive wear. Adjust your settings accordingly, testing small sections first. Properly considering material thickness helps you achieve precise cuts without trial-and-error, saving time and material. Additionally, understanding the material’s properties can guide you in selecting optimal settings for different projects. Being aware of material properties such as fiber orientation or surface coating can further refine your cutting approach for better results. Recognizing how material density influences cutting performance is essential for achieving consistent and high-quality results.
Optimal Cutting Speed
Selecting the most favorable cutting speed is essential for achieving clean and precise results without damaging your materials. The right speed depends on your blade types and how you store materials. Faster speeds are suitable for thin cardstock, but thicker or corrugated materials need slower settings to prevent tearing. Proper material storage, like keeping materials flat and dry, also influences optimal speed. Use the table below to match blade types with ideal speeds:
| Blade Type | Recommended Cutting Speed |
|---|---|
| Fine-tooth | Moderate to high |
| Coarse-tooth | Slow to moderate |
| Rotary | Variable, based on material |
| Steel-ruler | Slow, especially for thick materials |
Adjust the speed based on these factors for the best results. Additionally, considering material characteristics can help you fine-tune your settings for optimal cuts. For example, understanding the material composition and thickness can significantly impact the ideal cutting speed and prevent issues like tearing or incomplete cuts. Recognizing how different material properties influence cutting performance can further improve your results, especially when working with corrugated materials that require more delicate handling. Being aware of battery capacity and watt-hours may also be useful if you are using electric cutters or tools to prepare your materials before cutting.

4 in 1 Foam Cutter Set with Digital Voltage Controller, GOCHANGE Electric Cutting Machine Pen Tools Kit, 100-240V /18W Styrofoam Cutting Pen with Electronic Voltage Transformer Adaptor
【4 IN 1 WITH VOLTAGE CONTROL】This is the perfect set for foam cutting. With digital voltage controller, it's…
As an affiliate, we earn on qualifying purchases.
As an affiliate, we earn on qualifying purchases.
Getting Perfect Cuts on Cardstock and Cardboard
Achieving clean, precise cuts on cardstock and cardboard requires careful adjustment of your cutting settings. Start by selecting the right blade depth and pressure to prevent tearing or rough edges. For projects involving embossing techniques, ensure your settings won’t flatten or distort delicate details. Proper blade height helps achieve smooth cuts without compromising the surface texture. Consider adhesive compatibility—using the correct settings prevents damage when cutting glued or coated materials, ensuring clean edges. Test on scrap pieces first to fine-tune your parameters. Consistent pressure and speed also contribute to flawless results. When you match your blade depth, pressure, and speed to the material’s properties, you’ll produce professional-quality cuts without trial-and-error. This approach saves time and guarantees better results on all your cardstock and cardboard projects.
Heavy-Duty Cardboard Cutting Machine, Corrugated Board Shredder for Efficient Waste Disposal, Versatile Slitting Tool for Carton and Chest Cardboard
Easy-to-Operate Design: Constructed from high-quality steel, this honeycomb wrapping machine is built for consistent, year-round use. Its compact…
As an affiliate, we earn on qualifying purchases.
As an affiliate, we earn on qualifying purchases.
Test and Adjust Your Settings for Flawless Results
You need to conduct test cuts to see how your machine handles your material. Adjust your settings based on the results until you get a clean, perfect cut. Fine-tuning guarantees your final project looks professional and saves you time and material. Monitoring your paint thickness and spray pattern ensures optimal application and finish quality. Regularly checking your vehicle protection accessories can help maintain their effectiveness and longevity.
Conduct Test Cuts
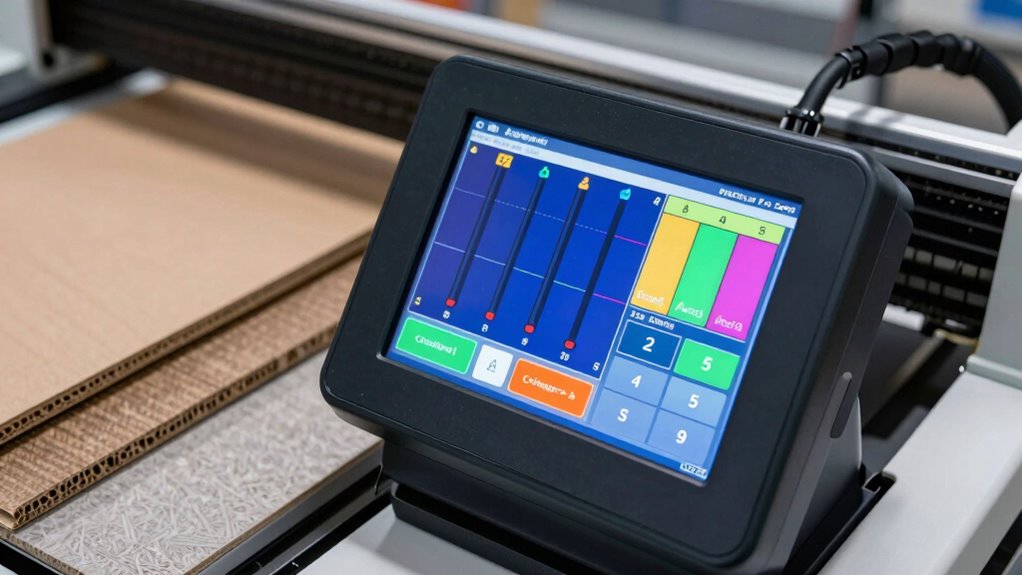
Before starting your main cuts, it’s vital to perform test cuts on scrap material to fine-tune your settings. This step helps you identify the best blade depth and speed for clean cuts without damaging your materials. During testing, check that your blade is sharp and properly maintained, as dull blades can cause uneven cuts and increase the risk of blade breakage. Always follow safety precautions—wear protective gear and handle blades carefully to prevent injuries. Make small adjustments based on your test results, ensuring the blade moves smoothly through the material. Conduct multiple test cuts if needed, and verify that each produces clean, precise edges. Taking the time to test thoroughly saves you frustration and helps achieve flawless results in your final project. Additionally, understanding the seasons and optimal conditions for your equipment can improve your cutting precision and extend the lifespan of your tools. Being aware of material properties ensures you select the best settings for each type of cardstock or corrugated material, and considering blade sharpness can significantly impact your cutting quality. Moreover, paying attention to project-specific requirements can further refine your technique and lead to more accurate cuts. Knowing how environmental factors such as humidity affect your materials can also help you make better adjustments for consistent results.
Fine-Tune Settings
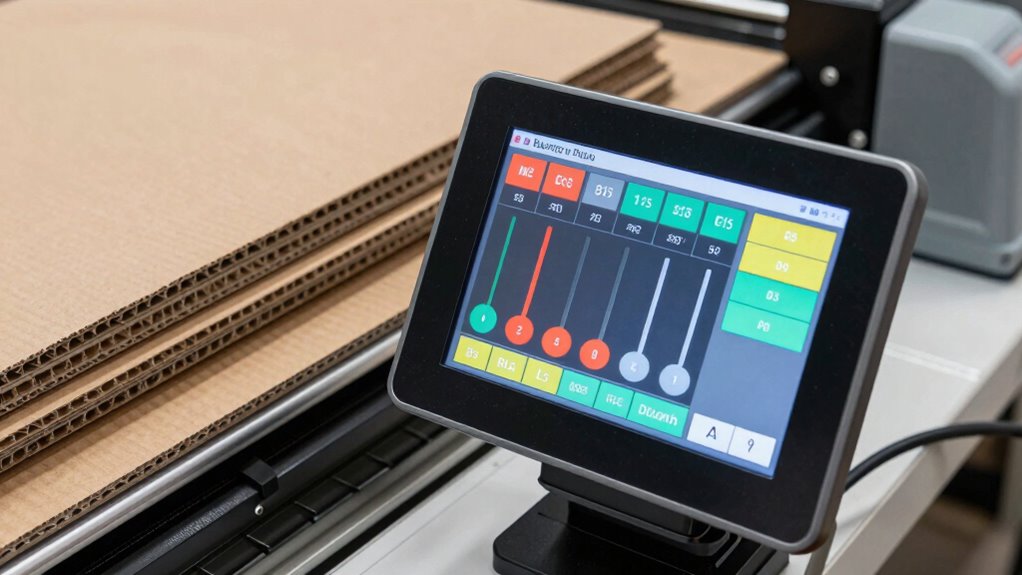
After completing your test cuts, review the results carefully to identify any areas that need adjustment. Fine-tuning your settings guarantees flawless cuts and clean embossing techniques. Keep track of material storage; proper organization prevents inconsistencies. Adjust blade depth, speed, and pressure based on test outcomes. For detailed embossing, slightly increase pressure or reduce speed. Use the following table to guide your tweaks:
| Issue | Adjustment |
|---|---|
| Blade tearing or rough edges | Lower blade depth or pressure |
| Incomplete cuts | Increase speed or pressure |
| Material slipping | Secure material better |
| Uneven embossing | Adjust embossing pressure |
Consistently refine your settings, and your machine will produce perfect results every time. Regularly reviewing your material settings can help maintain consistent quality and avoid common pitfalls.
Troubleshoot Common Cutting Problems and How to Fix Them
When your cuts aren’t turning out as expected, identifying the root cause is essential for finding an effective solution. Poor material handling and improper storage techniques can lead to uneven cuts or blade damage. Guarantee your cardstock or corrugated is stored flat and in a dry, stable environment to prevent warping or bending. Before cutting, handle your materials carefully, avoiding creases or folds that can disrupt the blade’s path. Check that your material is clean and free of dust or debris that could cause uneven pressure. If you notice inconsistent cuts, adjust your blade depth or pressure settings accordingly. Proper storage and handling help maintain material integrity, reducing the likelihood of cutting problems and ensuring cleaner, more precise results. Additionally, understanding Free Floating techniques in material placement can help prevent shifting during cutting, leading to more accurate outcomes. Using proper tools and accessories designed for your material type can also significantly improve cutting performance and accuracy. Employing consistent measurement practices ensures your cuts are aligned and reduces material waste, further enhancing your project quality. Paying attention to blade maintenance and regularly replacing dull blades can also dramatically improve cutting precision. Moreover, selecting appropriate blade types for specific materials like cardstock or corrugated can optimize cut quality and prevent damage.
Pro Tips for Clean, Precise Cuts Every Time
Achieving clean, precise cuts every time requires paying close attention to your settings and technique. Start by adjusting blade depth and pressure based on your material’s thickness. Use proper embossing techniques to create clean edges on delicate cardstock and avoid tearing. Store your tools properly in organized storage solutions to maintain sharp blades and consistent results. Keep your cutting surface stable and smooth to prevent shifting. Experiment with test cuts on scrap material before working on your final project. Consider using a light grip to avoid crushing the material. For intricate designs, increase blade speed and reduce pressure. Incorporate these ideas to improve precision:
| Technique | Benefit |
|---|---|
| Adjust blade depth | Cleaner cuts on various materials |
| Use proper storage | Maintains sharpness and consistency |
| Stabilize your surface | Prevents shifting during cuts |
| Test on scrap | Saves time and ensures accuracy |
| Control embossing techniques | Enhances detail and precision |
Frequently Asked Questions
Can I Cut Multiple Layers of Cardstock at Once?
Yes, you can cut multiple layers of cardstock at once if you carefully consider layer stacking and material layering. To guarantee a clean cut, increase the blade pressure and reduce the cut speed accordingly. Keep in mind that cutting too many layers may cause uneven cuts or damage your machine. Test with a small stack first to find the ideal settings for your specific cardstock thickness and layering.
How Does Humidity Affect Cutting Settings for Cardstock and Corrugated?
Humidity effects can throw off your cut settings, making materials either too tough or too fragile. When humidity rises, moisture control becomes vital, as excess moisture can weaken cardstock and corrugated, leading to uneven cuts or tearing. To keep your cuts sharp and consistent, monitor humidity levels and adjust your settings accordingly. Think of it as taming the weather to guarantee your materials perform just right every time.
Are There Specific Blade Types Recommended for Different Thicknesses?
You should choose blade types based on thickness and material. For thinner cardstock, a fine, sharp blade ensures clean cuts and better cutting consistency. For thicker corrugated, use a sturdier, robust blade that maintains sharpness over time. Keep your blades sharp and replace them periodically to maintain cutting consistency. Different blade types optimize performance for various thicknesses, helping you achieve precise cuts without trial-and-error adjustments.
How Do I Determine the Optimal Cutting Speed for My Material?
Think of your material like a race car on a track; to reach top speed, you need the right balance. You determine the *best* cutting speed by considering material thickness and desired cutting precision. Start with moderate speeds, then tweak based on results—slower for thicker or delicate materials, faster for thinner ones. Observe the cut quality, and adjust gradually until you hit that sweet spot for clean, precise cuts every time.
What Safety Precautions Should I Take When Adjusting Settings?
When adjusting settings, always wear safety gear like gloves and eye protection to prevent injuries. Confirm the machine is turned off and unplugged before making changes. Regularly perform machine maintenance, such as cleaning blades and checking for wear, to keep it running smoothly. Follow the manufacturer’s instructions, and double-check your adjustments before starting, to stay safe and avoid mishaps during operation.
Conclusion
By understanding the differences between cardstock and corrugated, and fine-tuning your settings, you’ll consistently achieve clean cuts. For example, a small business owner once struggled with tearing corrugated material, but after testing and adjusting her blade depth and pressure, she cut flawlessly. Remember, patience and proper testing are key. With these tips, you’ll turn your projects into professional-looking masterpieces—no more trial-and-error, just perfect cuts every time.