
To smoothly go from CAD to CAM without tears, start by choosing compatible software and preparing your design files carefully—organize layers, verify dimensions, and clean up geometry. Adjust CAM settings like spindle speed and feed rate, then simulate toolpaths to catch errors early. Transfer files securely to your CNC machine, double-check calibration, and perform final inspections. Following these steps will streamline your workflow—continue exploring for detailed tips to perfect your process.
Key Takeaways
- Select appropriate materials and ensure safety protocols before starting the CAD to CAM process.
- Prepare CAD files with correct formats, organized layers, and verified dimensions for seamless CAM integration.
- Optimize CAM toolpaths by adjusting spindle speed, feed rate, and using simulation to detect errors.
- Transfer files using reliable protocols like USB or Ethernet, ensuring data integrity before machining.
- Conduct final inspections, calibrate machinery, and perform quality checks to ensure accurate and error-free cutting.

Genmitsu CNC Milling Machine Tramming Tool, Pro Calibration System with 1/2", 1/4", 1/8" Shank and 0.001" Precision Indicators, Ideal for Squaring, Leveling, and Machine Calibration
Enhance Engraving Quality: This tramming tool ensures that your CNC or milling machine’s surface is perfectly level, improving…
As an affiliate, we earn on qualifying purchases.
As an affiliate, we earn on qualifying purchases.
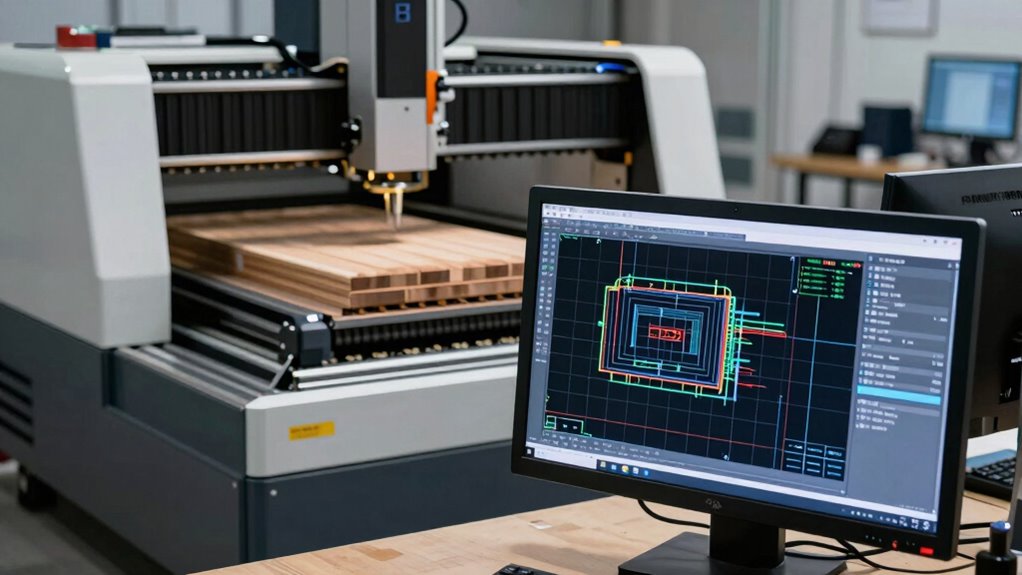
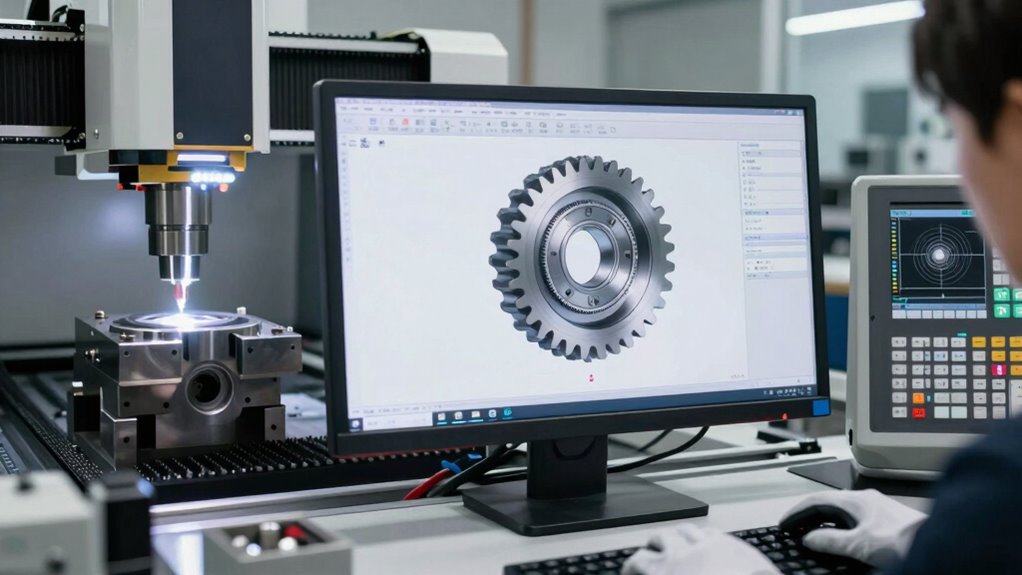
Understanding the CAD to CAM Workflow: A Beginner’s Guide
Understanding the CAD to CAM workflow is essential for anyone involved in manufacturing or product design. Your first step is selecting the right material, considering its properties, durability, and compatibility with your project. Proper material selection influences the entire manufacturing process and the final product quality. Once you’ve chosen your material, safety precautions become vital. Always wear appropriate protective gear, make sure your workspace is well-ventilated, and double-check machine safety features before starting. Following these precautions helps prevent accidents and keeps your workflow smooth. Additionally, being aware of digital content formats can help you better understand and manage the data transfer between design and manufacturing. Recognizing the importance of filtration efficiency in vacuum systems can also inform your safety and environmental considerations during manufacturing. By understanding these initial steps—material selection and safety—you set a solid foundation for an efficient CAD to CAM process. This awareness guarantees your project progresses safely and produces high-quality results from design to manufacturing. Moreover, understanding machine calibration techniques ensures consistent accuracy throughout your manufacturing workflow. To further optimize your process, incorporating quality control measures can help detect and correct errors early, saving time and resources.

2D & 3D CAD Software Suite USB – 8 Program Bundle for Windows & macOS – Complete Design & Drafting Tools
Ready-to-use software preloaded on a high-speed USB flash drive for easy installation on any Windows PC, no internet…
As an affiliate, we earn on qualifying purchases.
As an affiliate, we earn on qualifying purchases.
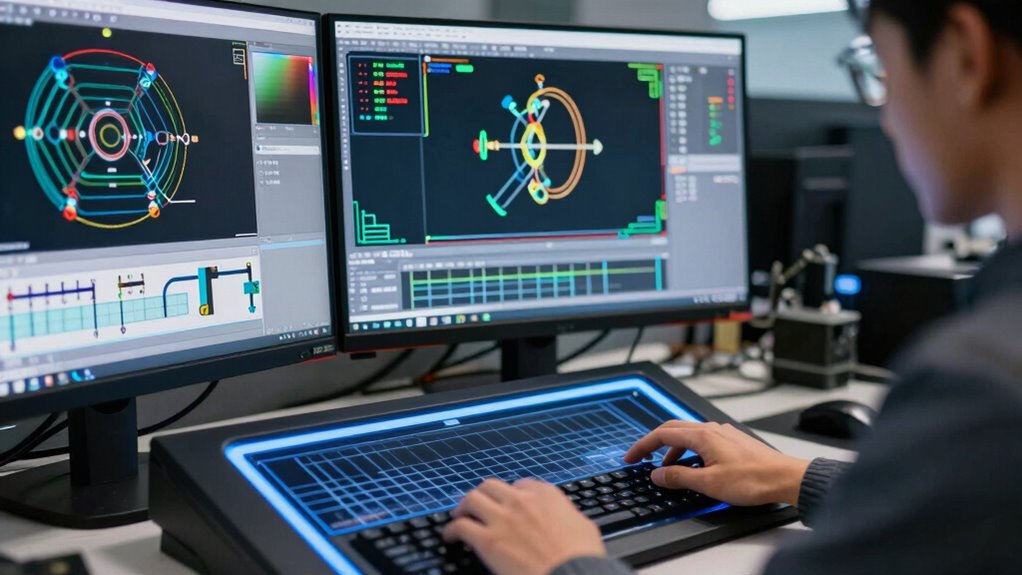
How to Choose the Right CAD Software for Your Project
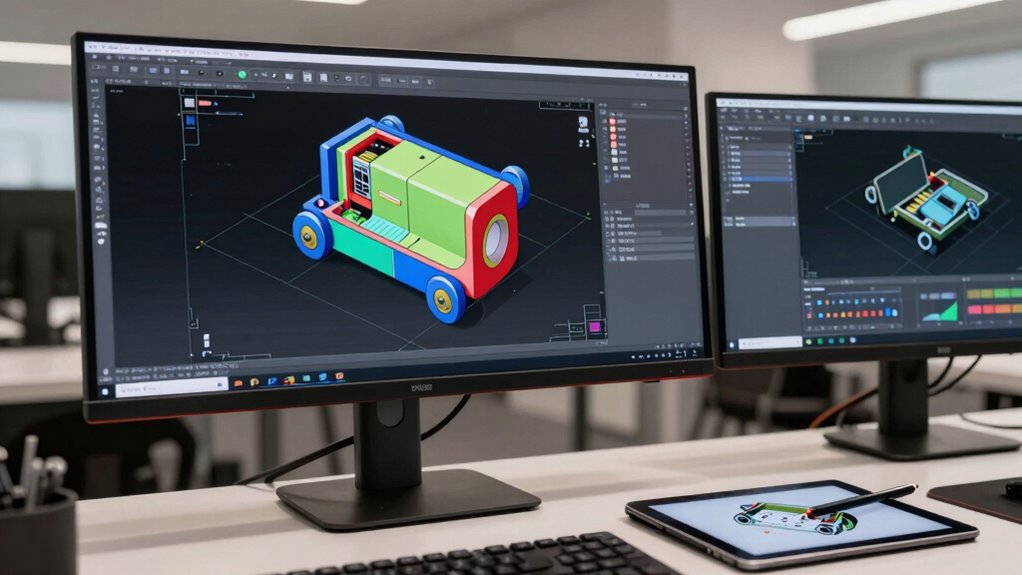
Choosing the right CAD software is a critical step that can considerably impact your project’s efficiency and outcome. Start by considering software compatibility with your existing hardware and other tools you plan to use. You want seamless integration to avoid delays or technical issues. Next, evaluate the user interface: a clean, intuitive design helps you work faster and reduces frustration, especially if you’re new to CAD. Look for software that matches your skill level and project needs. Also, check available features, support, and updates. A good CAD program should streamline your workflow and fit within your budget. Don’t rush this choice—invest time in testing options, reading reviews, and exploring trial versions to find the best fit for your project’s demands. Incorporating comparative advantage principles can also help in assessing the long-term benefits of your selected software. Additionally, considering the software’s community and learning resources can provide valuable support as you develop your skills. Remember that industry standards can influence the compatibility and acceptance of your designs in professional environments. Evaluating the software’s scalability and flexibility ensures that your chosen tools can grow with your skills and project complexity over time. Recognizing the importance of user support and training can make a significant difference when troubleshooting or learning new features.

NEIKO 53880A Forestry Helmet for Safety with Shield and Earmuffs, Chainsaw Helmet with Face Shield, Hard Hat Safety Gear Equipment, Protective Face Shield and Mesh Shield for Face Protection
CHAINSAW HELMET WITH FACE SHIELD AND EARMUFFS: This hard hat with face shield serves as protective equipment with…
As an affiliate, we earn on qualifying purchases.
As an affiliate, we earn on qualifying purchases.
Preparing Your CAD Files for Seamless CAM Conversion
To facilitate a smooth shift from CAD to CAM, you need to prepare your CAD files carefully. Proper preparation guarantees compatibility and efficiency during the conversion process. First, choose the right file formats, such as STEP or IGES, that are widely supported by CAM software. Second, organize your design by managing layers effectively, assigning specific functions like cut, engrave, or drill to different layers. Third, clean up your CAD model by removing unnecessary details or hidden geometry that could complicate machining. Fourth, verify the accuracy of dimensions and tolerances to prevent errors during manufacturing. Additionally, understanding measurement accuracy is crucial to ensure your designs meet precise specifications. Ensuring your files are stored on reliable data storage solutions can also prevent data loss during the workflow. Keeping your files well-organized and backed up can significantly reduce workflow disruptions and rework. By focusing on proper file formats and layer management, you set a solid foundation for seamless CAM conversion, minimizing delays and ensuring precise fabrication.

DNCdevice
DNC 2 is designed to optimize and simplify program transmission to CNC machines (compact, does not take up…
As an affiliate, we earn on qualifying purchases.
As an affiliate, we earn on qualifying purchases.
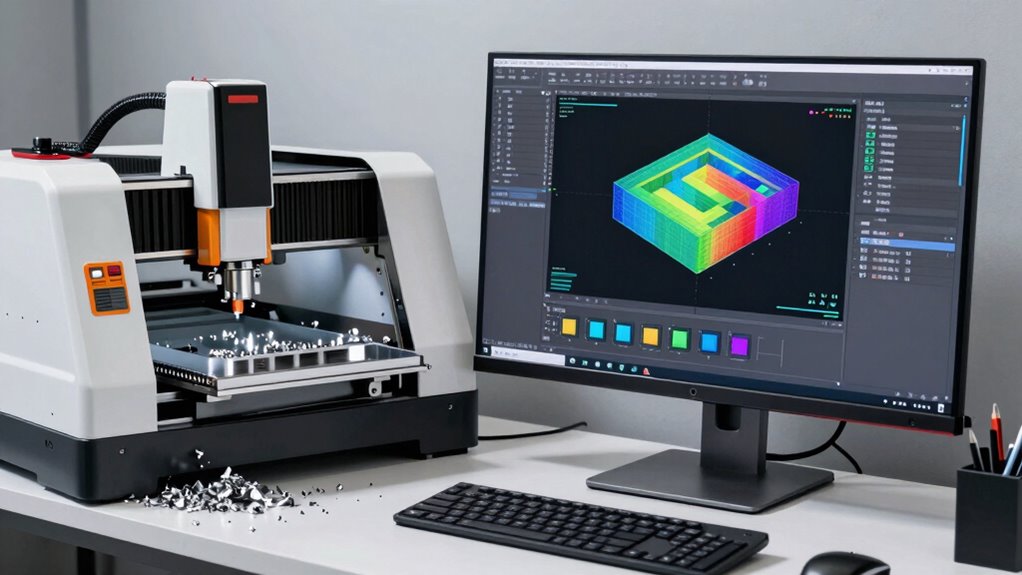
How to Select CAM Settings for Accurate Machining
How do you guarantee your machining results are accurate and consistent? The key lies in selecting proper CAM settings. First, focus on spindle speed selection—adjust it based on material and tool type to prevent burns or chipping. Next, optimize your feed rate; too high causes tool wear, too low extends machining time. Use this table to guide your choices:
| Material | Recommended Spindle Speed | Typical Feed Rate |
|---|---|---|
| Aluminum | 10,000–15,000 RPM | 100–200 in/min |
| Steel | 5,000–8,000 RPM | 50–100 in/min |
| Plastic | 15,000–20,000 RPM | 200–300 in/min |
| Wood | 12,000–18,000 RPM | 150–250 in/min |
| Brass | 8,000–12,000 RPM | 80–150 in/min |
Properly tuning these settings guarantees accuracy and prolongs tool life.
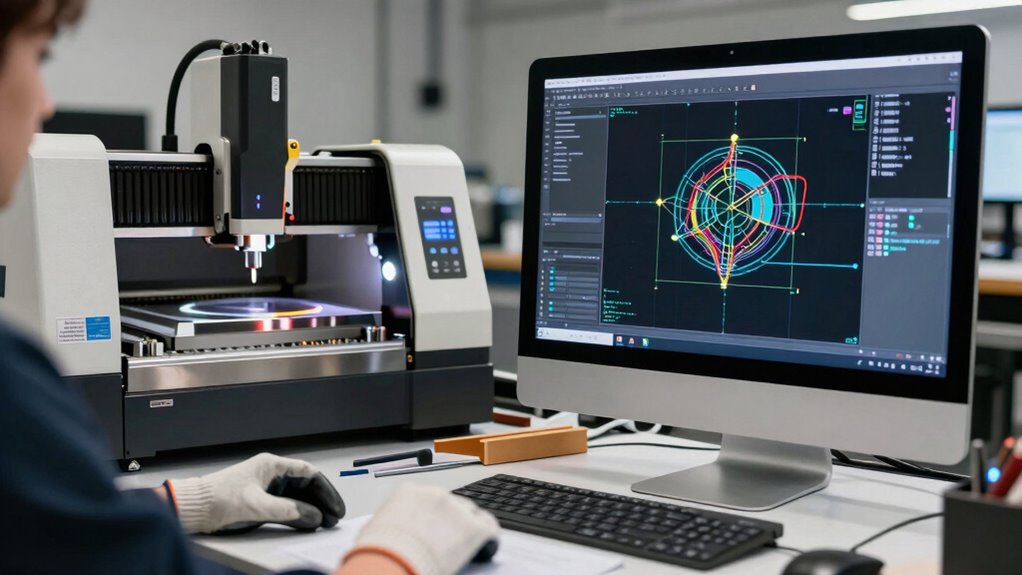
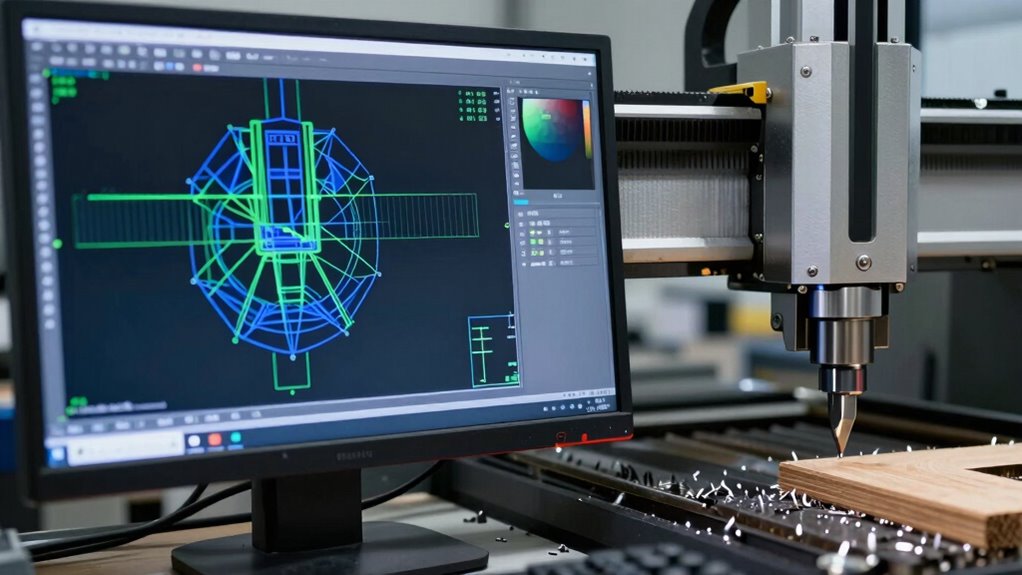
Verifying Toolpaths to Prevent Errors Before Cutting
Verifying your toolpaths before beginning the cut is essential to prevent costly errors and material waste. Toolpath simulation allows you to visualize the machining process, helping you detect potential issues early. Error detection tools can highlight problems like tool collisions, incorrect depths, or unexpected movements. To guarantee accuracy, follow these steps:
- Run a complete toolpath simulation to preview the cutting process.
- Check for any overlapping or missing sections in the simulation.
- Look for signs of potential collisions or gouges.
- Confirm that the tool moves within the correct boundaries and depths.
- Incorporate verification software to enhance the reliability of your toolpath checks. Additionally, understanding regional flavors and their unique characteristics can help in customizing your machining strategies for specific designs. Incorporating error detection techniques can further improve your process by catching issues early. Being aware of material properties can also assist in setting appropriate cutting parameters to avoid errors. Recognizing feed rate optimization techniques ensures efficient and safe machining, reducing the risk of errors caused by improper settings.
Exporting and Transferring Files to Your CNC Machine
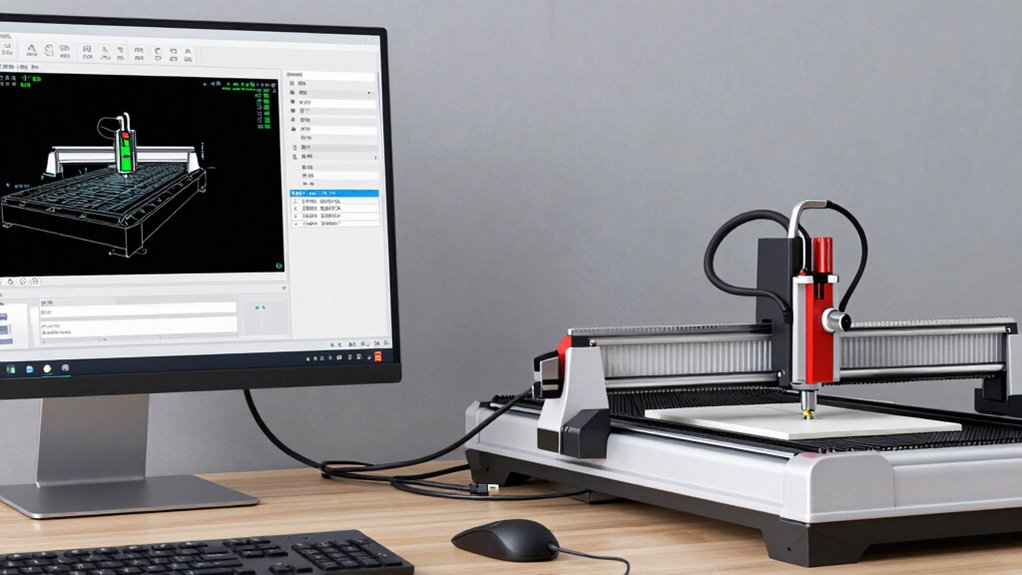
Once your toolpaths are verified and ready, the next step is to export your files in the appropriate format and transfer them to your CNC machine. The choice of file formats depends on your machine and software, common options include G-code, DXF, or STL. Confirm you select the correct format to avoid compatibility issues. Next, use the appropriate transfer protocols—USB, Ethernet, or Wi-Fi—to send your files. Some CNC machines support direct network transfer, while others require physical media. Double-check that the transfer completes successfully to prevent errors during machining. By choosing the right file formats and transfer protocols, you guarantee a smooth transition from design to cutting, reducing errors and maintaining workflow efficiency.
Troubleshooting Common CAD to CAM Issues
After exporting your files and transferring them to your CNC machine, issues can still arise that disrupt your workflow. Common problems include software compatibility issues, incorrect machine calibration, and unexpected toolpath errors. To troubleshoot effectively: 1. Verify that your CAD and CAM software versions are compatible to prevent import/export errors. 2. Check your machine’s calibration to ensure it aligns with the toolpath data. 3. Review the post-processing settings to confirm they match your machine’s specifications. 4. Inspect the G-code for errors or inconsistencies that could cause cutting issues. Additionally, ensuring proper machine maintenance can prevent many common problems before they occur. Regularly maintaining your CNC equipment helps sustain accurate machining and reduces troubleshooting time. Being aware of software compatibility issues can save you significant troubleshooting headaches down the line. Staying informed about machine calibration techniques can further improve your overall workflow efficiency. Incorporating preventive maintenance routines ensures long-term reliability and minimizes unexpected downtimes.
Final Checks and Quality Control Before Machining
Before you begin machining, it’s crucial to perform final checks and quality control to guarantee everything is set up correctly. Follow established inspection protocols to verify the accuracy of your design and toolpaths. Check that the CNC machine is properly calibrated and that all safety measures are in place. Conduct a final inspection of the workholding, tool alignment, and material placement to prevent errors during cutting. Review your CAM setup for any anomalies or mismatched parameters. Confirm that the tool selection matches the design specifications. Performing these steps ensures your project is ready for manufacturing. Final inspection helps catch potential issues early, saving time and material while reducing the risk of errors or machine damage. This careful review guarantees a smooth progression from setup to successful machining. Additionally, verifying your security measures can prevent unauthorized access during the process. Implementing a quality assurance protocol further minimizes the chance of errors escaping detection. Incorporating preventive maintenance checks can also help ensure the machine remains in optimal condition throughout the process.
Frequently Asked Questions
How Can I Optimize My CAD Files for Faster CAM Processing?
To optimize your CAD files for faster CAM processing, focus on good file organization and layer management. Keep your layers clear and logically grouped, avoiding unnecessary details that can slow down processing. Clean up your design by removing redundant elements and ensuring all objects are properly named. This streamlines data flow, reduces errors, and speeds up your CAM workflow, making your cuts more efficient and hassle-free.
What Are the Best Practices for Managing Large CAD Files?
Think of managing large CAD files as taming a wild stallion—organized and controlled. Keep your files tidy with clear folder structures and consistent naming conventions. Use version control to track changes and avoid confusion. Regularly purge outdated versions and back up your work. These best practices help you stay on top of your projects, streamline workflows, and prevent chaos when handling hefty files.
How Do Different Materials Affect CAM Settings and Toolpath Strategies?
Different materials profoundly influence your CAM settings and toolpath strategies. Material considerations, like hardness and density, dictate the ideal spindle speed, feed rate, and cutting depth. You should adapt your tools accordingly—using sharper bits for softer materials and sturdier tools for harder ones—to prevent damage and guarantee precision. Adjusting toolpaths to account for material properties helps you achieve efficient cuts, minimize tool wear, and produce high-quality results every time.
What Safety Precautions Should I Follow During CNC Machining?
Did you know that 80% of CNC accidents involve improper safety measures? You should always wear personal protective equipment like safety glasses, ear protection, and gloves. Keep emergency procedures clearly posted and easily accessible. Never leave the machine unattended while running, and double-check tool paths before starting. Staying vigilant and following safety protocols helps prevent injuries, ensuring a safe and efficient machining environment.
How Can I Automate the CAD to CAM Workflow for Repetitive Tasks?
You can automate your CAD to CAM workflow by implementing automation techniques like scripting solutions in your CAM software. Use macros or custom scripts to streamline repetitive tasks, such as toolpath generation or post-processing. Integrate these scripts into your workflow to save time and reduce errors. Additionally, explore software plugins or automation tools that can handle batch processing, ensuring consistent results and increasing overall efficiency in your manufacturing process.
Conclusion
Now, with your design transformed into precise toolpaths, you’re ready to bring your creation to life. Imagine the smooth hum of the CNC machine as it dances along your carefully prepared files, carving out your vision with unwavering accuracy. Trust in your workflow, double-check your settings, and watch as raw material becomes a masterpiece—seamlessly flowing from digital blueprint to tangible art, free of tears and full of promise.