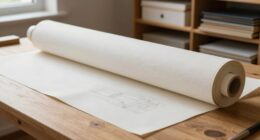
To cut thick photo paper stacks without cracking, make sure the surface is clean and choose the right tools like sharp blades or rotary cutters. Use slow, steady pressure and guide your cuts with rulers or jigs for accuracy. Score the paper lightly before fully slicing to reduce stress. Paying attention to material properties, controlling speed, and maintaining tools will help you achieve smooth, crack-free edges—keep going to discover essential tips for perfect results.
Key Takeaways
- Use a sharp, high-quality blade and regularly replace or sharpen it for clean cuts.
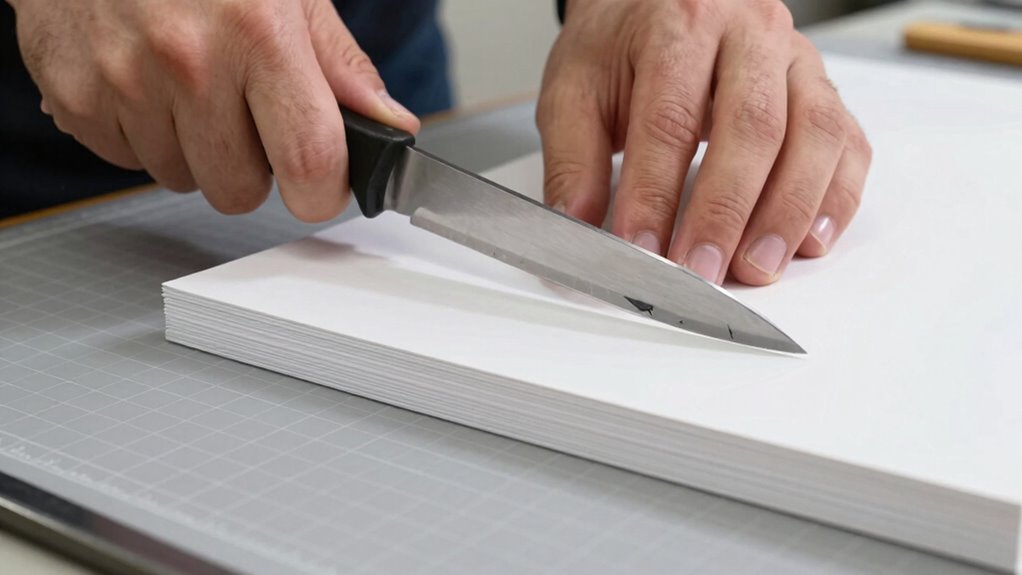
- Support the paper stack on a sturdy, smooth cutting surface like a self-healing mat.
- Lightly score the paper along the cut lines before making full cuts to reduce stress.
- Employ guiding tools such as rulers or jigs to ensure straight, precise cuts.
- Cut slowly and steadily, avoiding excessive pressure to prevent cracking or tearing.
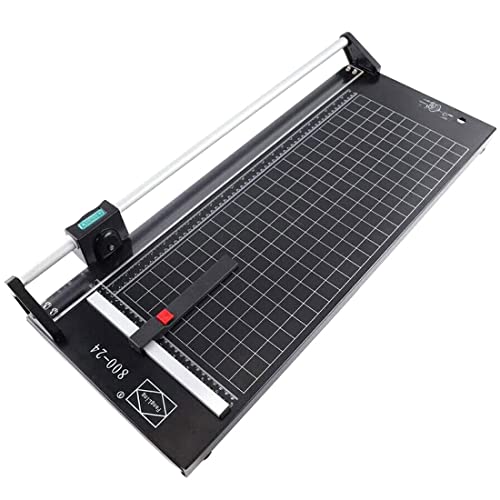
US Stock – 24 Inch Manual Precision Rotary Paper Trimmer, Sharp Photo Paper Cutter, Rotary Paper Cutter Trimmer
USA 24 Inch Manual Precision Rotary Paper Trimmer(Factory made & Quality guaranteed!). If you want buy the Cutting…
As an affiliate, we earn on qualifying purchases.
As an affiliate, we earn on qualifying purchases.
What’s the Best Way to Prepare Thick Photo Paper for Cutting?
To prepare thick photo paper for cutting, start by making certain the surface is clean and free of dust or debris, which can cause uneven cuts or paper jams. Examine the paper’s texture, as some textures, like glossy or matte finishes, affect how easily it cuts. Smooth textures generally glide better through cutting tools, reducing the risk of tears. Additionally, check ink compatibility; if you’re planning to print beforehand, make sure the ink won’t smudge or warp the paper during cutting. Testing a small piece first helps you see how the texture reacts and confirms ink adherence. Properly preparing your paper in these ways minimizes cracking and ensures clean, precise cuts, making your project easier and more professional-looking. Understanding paper textures can help you choose the best type for your specific cutting needs.

anezus Self Healing Sewing Mat, 12inch x 18inch Rotary Cutting Mat Double Sided 5-Ply Craft Cutting Board for Sewing Crafts Hobby Fabric Precision Scrapbooking Project
【SEWING CUTTING MAT】Aneuzs self-healing cutting mat protects your work surface. Compatible with rotary cutters and straight blades, won't…
As an affiliate, we earn on qualifying purchases.
As an affiliate, we earn on qualifying purchases.
How to Choose the Right Tools for Cutting Thick Photo Paper
Choosing the right tools makes all the difference when cutting thick photo paper. You need suitable blades that stay sharp and prevent tearing, plus a sturdy cutting surface to keep your work steady. Pay attention to these elements to achieve clean, precise cuts every time. Additionally, selecting appropriate cutting techniques can help minimize damage and ensure professional results. Using tools designed specifically for thick materials can also reduce the risk of blade dulling and improve overall efficiency. For optimal results, consider investing in commercial kitchen equipment like heavy-duty cutters or specialized paper trimmers that are built for durability and precision. Incorporating security-grade office gear can also enhance safety and stability during the cutting process.
Suitable Cutting Tools
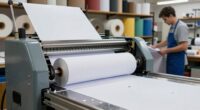
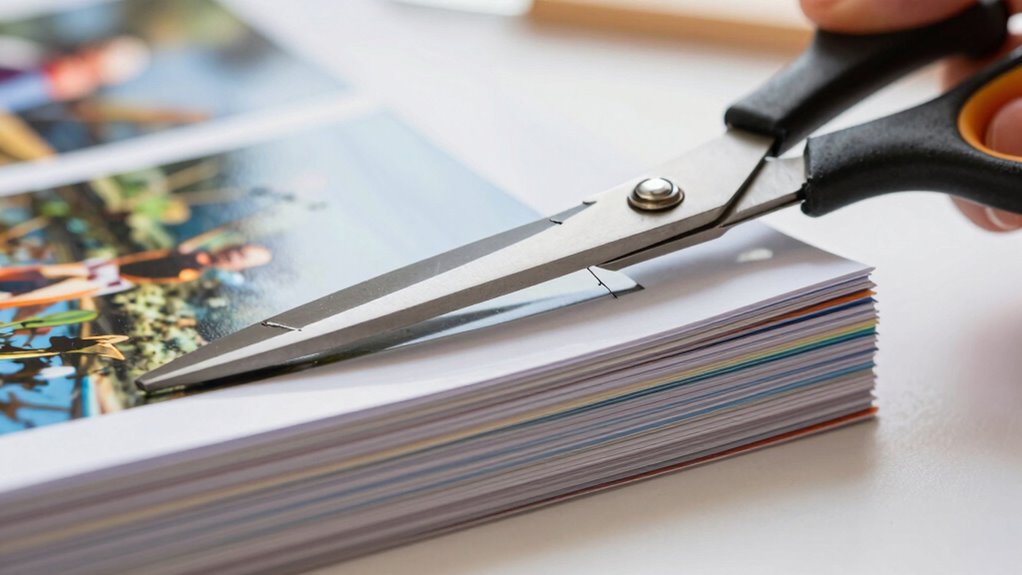
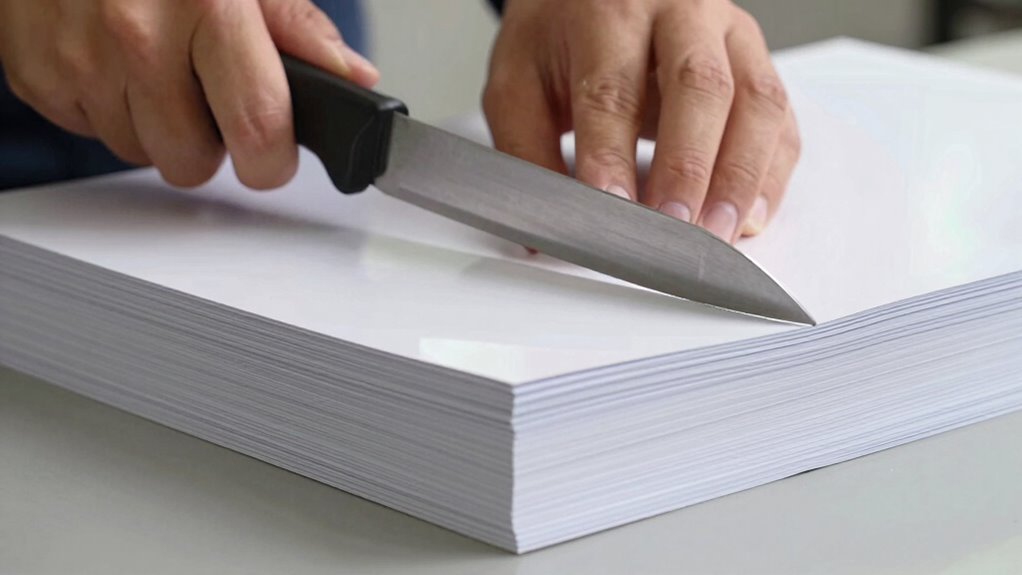
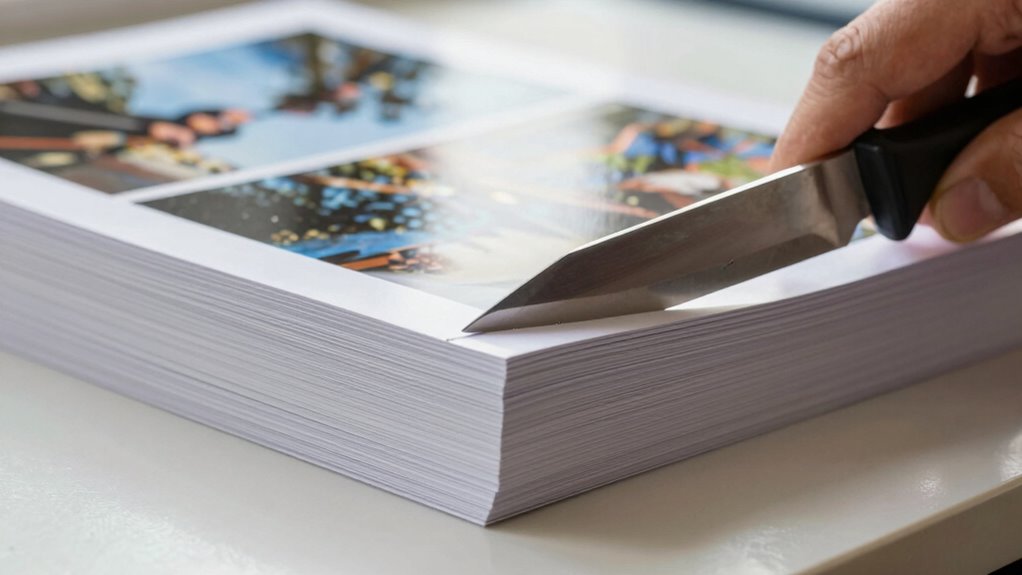
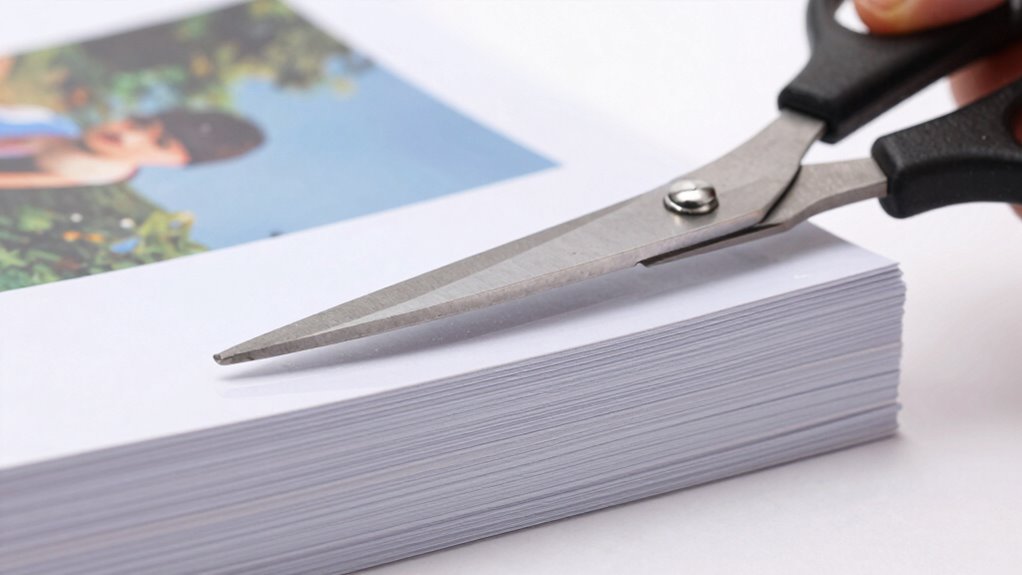
When cutting thick photo paper stacks, selecting the right tools can make all the difference in achieving clean, precise cuts. Laser cutters are ideal for this task, as they provide smooth, accurate edges without crushing or cracking the paper. They’re especially useful for intricate designs or large batches. Digital printers often have integrated cutting features or work seamlessly with compatible cutting machines, making your workflow more efficient. Heavy-duty craft knives or rotary cutters can also work if you’re cutting smaller sections or doing detailed work, but they require steady hands and care. Avoid using dull blades or standard scissors, as they tend to tear or crack the paper. The key is choosing tools designed for thick materials to guarantee clean cuts and prevent damage. Proper tool selection is essential for avoiding damage and ensuring professional-quality results when working with thick photo paper.
Blade Sharpness Importance
Using the right cutting tools is essential, but even the best tools won’t perform well if their blades aren’t sharp enough. Sharp blades ensure clean cuts, reducing the risk of cracking or tearing thick photo paper stacks. Dull blades require more force, increasing the chance of mistakes or accidents. Additionally, using proper blade settings can optimize cutting performance and prolong blade life. To maintain ideal blade sharpness, you should:
- Regularly sharpen or replace blades to prevent dullness.
- Follow proper blade maintenance routines to extend their lifespan.
- Always observe safety precautions when handling blades to avoid injuries.
Proper Cutting Surfaces
Selecting the right cutting surface is crucial for achieving clean, precise cuts through thick photo paper stacks. A sturdy, smooth surface prevents slipping and minimizes damage to your paper, especially when working with glossy coatings or matte finishes. Avoid cutting directly on uneven or soft surfaces like wood or fabric, which can cause the blade to snag or crack the paper. Instead, opt for a self-healing cutting mat or a thick, rigid board designed for crafts. These surfaces provide stability and protect your blades, ensuring cleaner cuts without tearing or cracking the paper’s finish. When working with glossy coatings, a smooth, firm surface helps prevent scratching or smudging. Proper cutting surfaces are essential for professional results and preserving the integrity of your thick photo paper. Choosing the correct cutting tools can further enhance your precision and prevent damage during the cutting process.
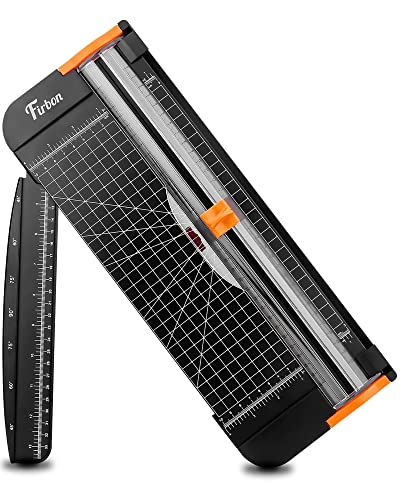
Firbon A4 Paper Cutter 12 Inch Titanium Paper Trimmer Scrapbooking Tool with Automatic Security Safeguard and Side Ruler for Craft Paper, Coupon, Label and Cardstock (Black)
Professional Guillotine: Present the clean straight cutting along printed line. No drag! And easy to replace the blade…
As an affiliate, we earn on qualifying purchases.
As an affiliate, we earn on qualifying purchases.
Techniques to Cut Thick Photo Paper Without Cracking

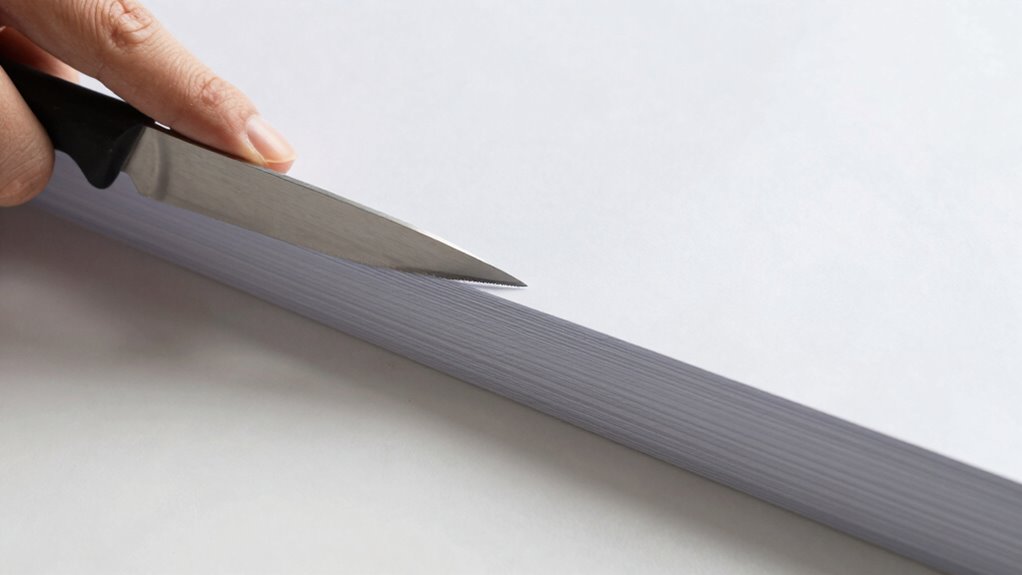
Cutting thick photo paper without cracking requires careful technique and the right tools. To prevent damage, focus on maintaining the paper’s texture and ink compatibility. Use a sharp blade, like a craft knife or a fresh utility blade, to ensure clean cuts. Consider scoring the paper lightly along your cut line before slicing through fully, which reduces stress and cracking. Keep your workspace well-supported with a sturdy cutting mat. When selecting paper, check that it’s compatible with your ink to avoid tearing or smudging during cutting. Pay attention to these key points:
- Use a sharp, appropriate blade for clean cuts
- Score the paper lightly to reduce cracking
- Ensure paper texture and ink compatibility for smoother handling
- Proper blade maintenance helps keep cuts clean and prevents tearing
- Additionally, correct cutting techniques can significantly minimize the risk of cracking during the process
These techniques help you achieve smooth, crack-free cuts on thick photo paper stacks.

Fiskars Heavy-Duty Easy Change Detail Knife (with #2 Blade) – for Heavy and Thick Materials – Arts and Crafts
ARTS AND CRAFTS STAPLE: Durable, contoured, ergonomic handle on Fiskars Heavy-duty Easy Change Detail Knife features Softgrip touchpoints…
As an affiliate, we earn on qualifying purchases.
As an affiliate, we earn on qualifying purchases.
Applying Pressure and Speed for Smooth, Clean Edges
Applying the right amount of pressure and controlling your cutting speed are crucial for achieving smooth, clean edges on thick photo paper stacks. Your pressure technique should be firm but steady, ensuring the blade penetrates evenly without crushing the paper. Too much pressure can cause cracking, while too little may result in jagged edges. Adjust your cutting speed to match the thickness; a slow, deliberate pace allows for cleaner cuts and reduces tearing. Rushing through the cut increases the risk of uneven edges and paper damage. Keep a consistent pressure and pace throughout the process. Practice will help you find the ideal balance, ensuring your cuts are smooth, precise, and free of cracks. Focus on maintaining control for the best results on thick photo paper stacks. Proper technique helps prevent damage and achieves professional-looking edges. Additionally, understanding material properties can guide you in selecting the appropriate tools and pressure to avoid cracking, especially considering cutting techniques that are best suited for thick materials.
Using Guides and Jigs for Precise Cuts
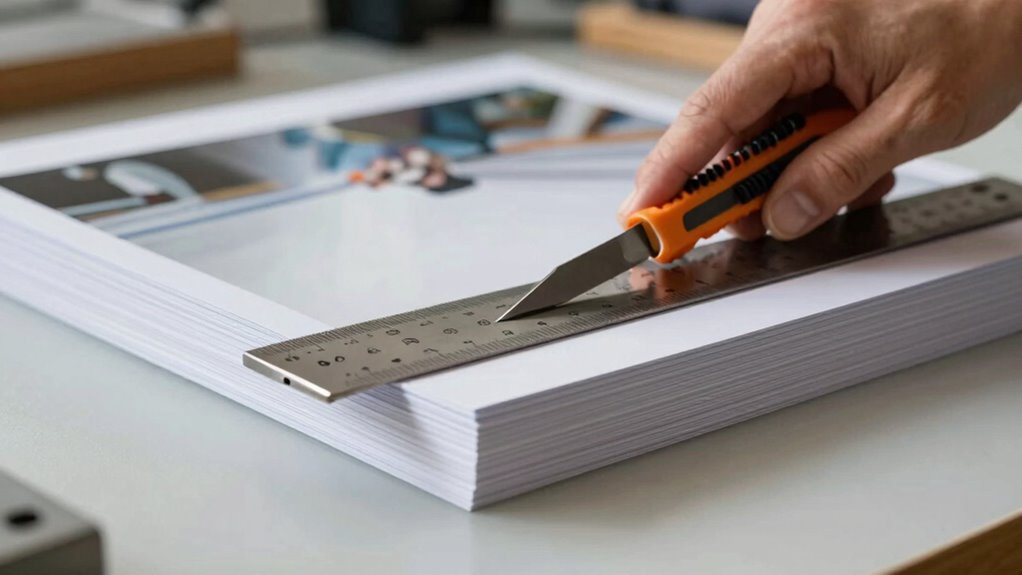
To guarantee your cuts are consistently accurate, using guides and jigs can make a significant difference. They help you maintain straight lines and proper alignment, especially when working with layered techniques. With a stable guide, you can focus on applying even pressure and controlling your speed, reducing the risk of cracking or uneven edges. For the finishing touches, precise cuts ensure your project looks professional and clean. Consider these tips:
- Use a straight edge or ruler as a guide for consistent, sharp lines
- Create custom jigs to hold thick stacks securely in place
- Mark cut lines clearly to prevent slipping during the cut
These tools streamline your process, improve accuracy, and ensure your thick photo paper stacks are cut smoothly without damage.
Common Mistakes When Cutting Thick Photo Paper: And How to Avoid Them
One common mistake when working with thick photo paper is applying too much pressure, which can cause cracks or tears along the cut line. Thick paper’s increased density makes it more prone to damage if you push too hard. To guarantee a clean cut and maintain cutting safety, use a sharp blade and gentle, steady pressure. Rushing or forcing the cut can result in jagged edges or paper damage. Additionally, ignoring the specific paper thickness can lead to improper blade selection or cutting technique, increasing the risk of cracks. Always adjust your tools and approach based on the thickness you’re working with. Prioritizing proper technique and safety measures helps prevent mistakes and ensures a smooth, crack-free cut every time.
Troubleshooting Cracks and Damage in Your Cuts
Cracks and damage during cutting often stem from improper technique or equipment issues. To prevent this, pay attention to paper texture; rough or uneven surfaces can cause cracking. Adjust your blade pressure to avoid crushing delicate layers, which leads to damage. Also, guarantee your paper is smooth and dry to prevent ink smudging, which can weaken the paper and make it more prone to cracking. Additionally, understanding the material properties of your paper can help you select the appropriate cutting settings for a cleaner, safer cut. Considering the water content in your paper can also influence how it responds to cutting pressure, especially if the paper has absorbed moisture from humid environments.
Final Tips for Achieving Professional Edges on Thick Photo Paper
Achieving clean, professional edges on thick photo paper requires careful attention to your cutting technique and equipment setup. Start by selecting the right paper weight; heavier stock provides durability but demands sharper blades and steady hands. Always prioritize cutting safety—wear protective gloves if needed and ensure your workspace is stable. Use a high-quality, sharp blade suited for thick materials, and apply consistent pressure along a straight edge or ruler. Take slow, deliberate strokes to prevent cracking or jagged edges. Keep your cutting tools clean and well-maintained to guarantee smooth cuts. Regularly check your blade’s sharpness and replace it when dull. Incorporating proper workspace setup can also enhance your accuracy and safety during cutting. Ensuring correct cutting technique is essential for achieving professional results on thick photo paper. Using the appropriate essential oils in your workspace can also help create a comfortable environment that promotes focus and precision. Additionally, selecting the right cutting tools designed for thick materials can significantly improve your results. With these tips, you’ll produce crisp, clean edges that look professional and polished every time.
Frequently Asked Questions
Can I Cut Thick Photo Paper With a Standard Paper Cutter?
Yes, you can cut thick photo paper with a standard paper cutter, but make certain your blade is sharp. Dull blades can cause cracking or uneven cuts, especially on thick stacks. Keep your paper well-aligned to prevent miscuts, and apply steady pressure. If you frequently work with thick photo paper, consider upgrading to a cutter designed for heavier materials to achieve cleaner, crack-free cuts.
What Safety Precautions Should I Take When Cutting Thick Photo Paper?
Like a knight wielding a sword in a digital age, you should always wear protective gear and handle sharp blades carefully. When cutting thick photo paper, verify your blades are sharp to prevent slips and cracks. Keep your fingers clear of the cutting path, and work on a stable surface. Never rush—patience and safety gear keep you protected from potential injuries.
How Does Humidity Affect Cutting Thick Photo Paper?
Humidity impact can substantially affect your thick photo paper when cutting. High humidity causes the paper to absorb moisture, making it more prone to warping and tearing during cuts. Conversely, low humidity can dry out the paper, making it brittle and easier to crack. To ensure clean cuts and prevent damage, keep your workspace at a consistent, moderate humidity level and store your paper properly.
Are There Specific Blades Recommended for Cutting Thick Photo Paper?
You should choose blades designed for thick materials, like rotary or heavy-duty craft blades, to guarantee blade compatibility. These blades cut more smoothly and reduce the risk of cracking. Use proper cutting techniques, such as applying steady pressure and using a sharp blade, to get clean edges. Avoid forcing the paper through the cutter, and replace blades regularly for the best results. Proper tools and techniques make a big difference in quality cuts.
How Do I Store Cut Thick Photo Paper to Prevent Damage?
To prevent damage, store your cut thick photo paper flat and in a cool, dry place. Use storage tips like keeping it in a sturdy, acid-free folder or a protective sleeve to avoid bending or curling. Avoid stacking heavy objects on top, as this can cause cracks or warping. Proper storage helps maintain the paper’s quality and prevents damage, ensuring your photos stay pristine over time.
Conclusion
So, now you’re a master of cutting thick photo paper without cracking—congratulations! Just remember, wielding your tools with the finesse of a lumberjack might not earn you gallery fame. Keep practicing, stay patient, and resist the urge to go all chainsaw on your precious stacks. After all, perfection is just a cut away—unless you prefer the jagged, “artistic” look. Happy trimming, Picasso!