
Using tissue paper in your classroom crafts is a fun and affordable way to spark creativity and develop fine motor skills. You can experiment with folding, crumpling, layering, and tearing to create vibrant, textured artworks that students love. Safety is key, so supervise children and keep tissues away from flames. These techniques not only inspire artistic expression but also build confidence—if you keep exploring, you’ll discover even more exciting projects to try.
Key Takeaways
- Introduce tissue paper history and safety tips to ensure confident, safe classroom use.
- Demonstrate techniques like folding, crumpling, and layering to create dynamic art effects.
- Incorporate color blending and texture exploration to enhance students’ artistic expression.
- Use tearing, pinching, and controlled cutting to develop students’ fine motor skills.
- Showcase student artwork regularly to build confidence and appreciation for their creativity.
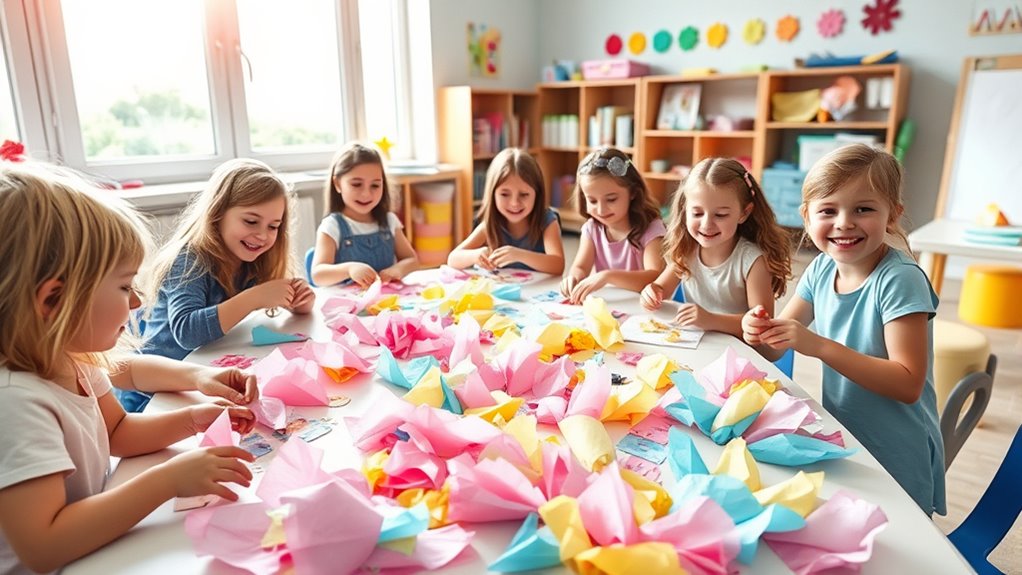
Getting Started With Tissue Paper Art Projects
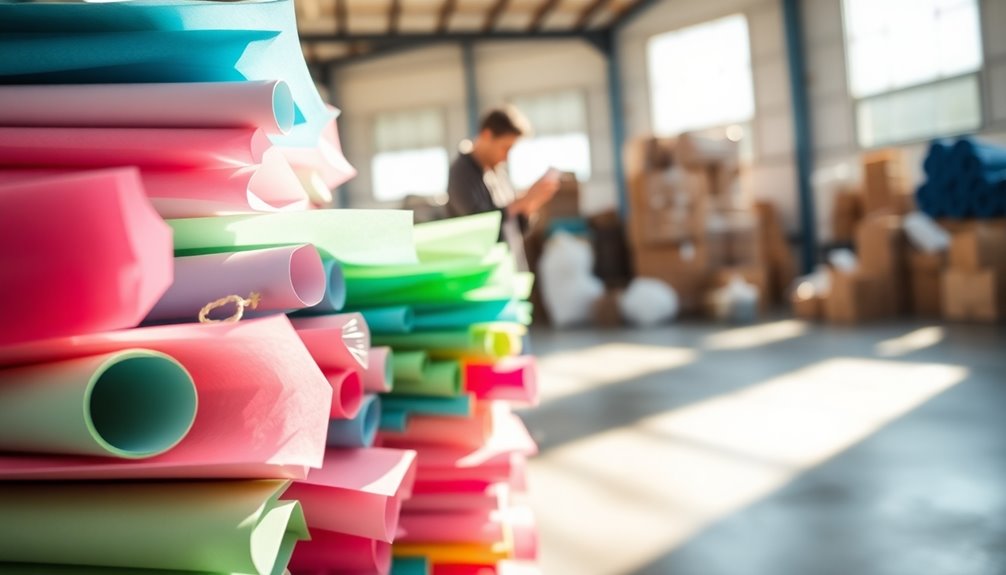
Have you ever wondered how to create vibrant, eye-catching art with just tissue paper? Understanding its history helps you appreciate its versatility; tissue paper originated in the 19th century as a delicate craft material, now popular in classrooms for its affordability and bright colors. Before starting, always consider safety precautions—supervise children to prevent choking hazards, and avoid using sharp tools or excessive glue that could cause messes or injuries. Keep tissues away from open flames, as they are flammable. Wash hands after handling, especially if dyes stain. With a basic grasp of tissue paper history and safety, you’re ready to explore creative projects confidently. These simple precautions ensure a fun, safe, and colorful introduction to tissue paper art in your classroom.
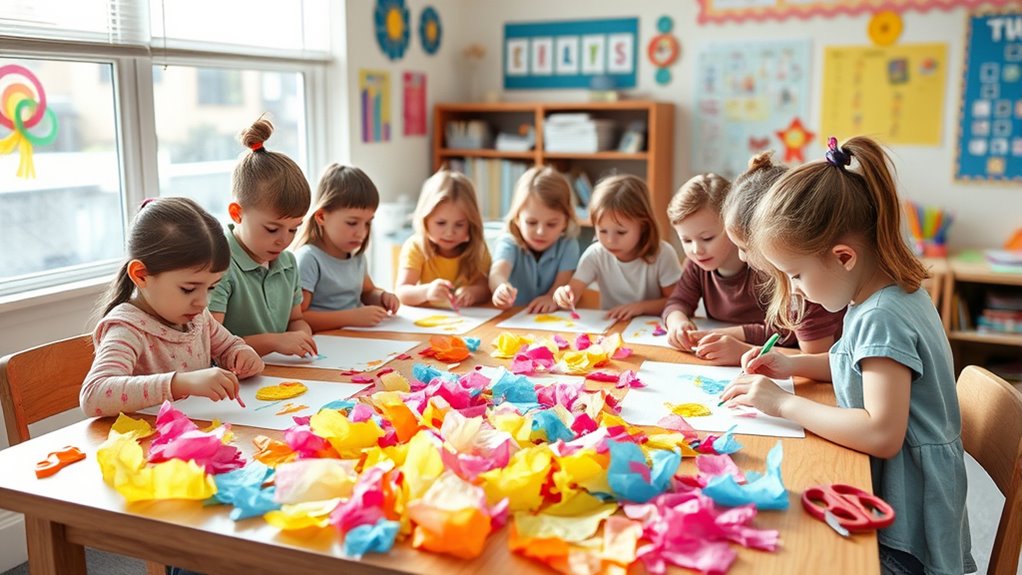
Creative Techniques for Using Tissue Paper in Classrooms
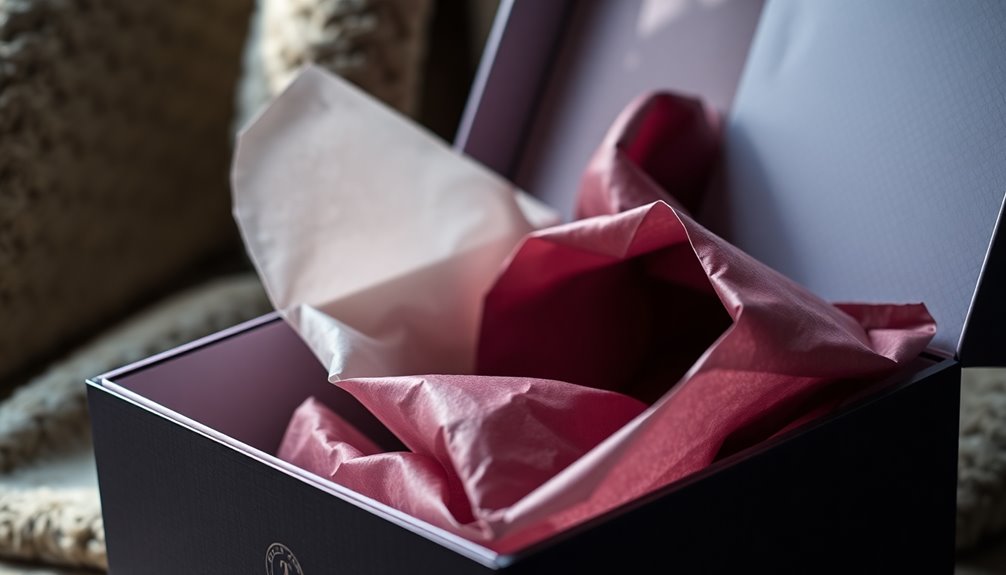
To bring your tissue paper projects to life, experimenting with different folding, crumpling, and layering techniques can create stunning effects. These methods enhance color blending and texture creation, making your artwork more dynamic. Try these techniques:
- Layer and overlap tissue paper pieces to blend colors seamlessly, creating smooth gradations.
- Crumple tissue paper into small balls before flattening to add textured, three-dimensional effects.
- Fold tissue paper accordion-style, then cut and unfold for intricate, ruffled designs.
- Use crumpled tissue as a background layer, providing rich texture and depth to your projects.
- Incorporating visualization techniques can help students better understand how different folding and layering methods produce various artistic effects. Additionally, understanding artistic techniques can inspire students to experiment further with their tissue paper creations. Exploring protective styling benefits of tissue paper can also help students learn how to preserve their artwork over time. Recognizing the material properties of tissue paper can guide students in selecting the best types for different projects. Furthermore, considering appliance maintenance plans can be useful for educators setting up classroom art stations to ensure equipment longevity.
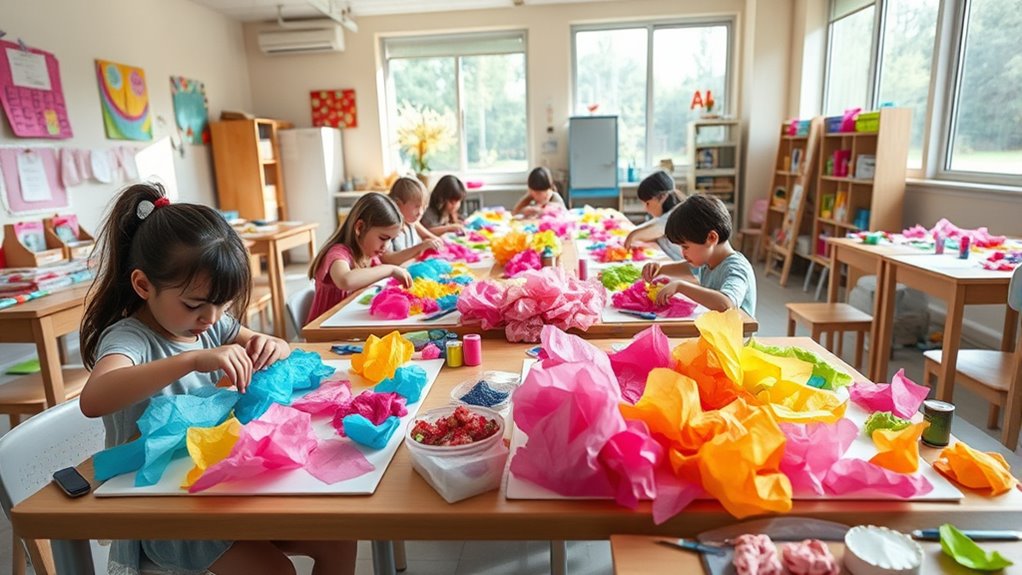
Inspiring Art Ideas and Projects for Students
Engaging students in inspiring art projects sparks creativity and allows them to explore their unique ideas. One effective approach is encouraging color blending with tissue paper, where students layer and overlap different hues to create smooth progressions and vibrant effects. This technique helps them understand how colors interact and develop their sense of harmony. Additionally, projects focused on texture exploration invite students to experiment with tearing, crumpling, and layering tissue paper to produce tactile and visually interesting artworks. Incorporating color preservation techniques ensures their artwork maintains vibrancy and longevity. Using proper storage methods can help prevent fading and damage over time. Exploring artistic expression can also empower students to communicate complex emotions more effectively. Teaching students about emotional support can help them express feelings through their art, fostering emotional growth alongside technical skill development. Furthermore, understanding persistence in art encourages students to refine their work and develop resilience in their creative endeavors. By combining these methods, you foster an environment where students can freely express themselves while developing important artistic skills. These ideas not only boost their confidence but also cultivate a deeper appreciation for the creative process through engaging, hands-on projects.
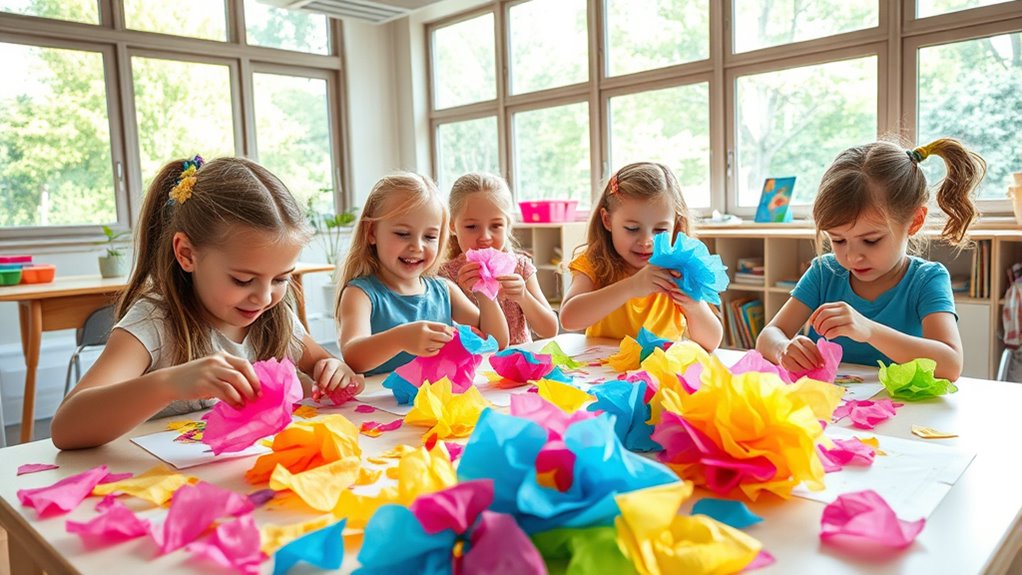
Tips for Teaching Fine Motor Skills Through Tissue Paper Crafts
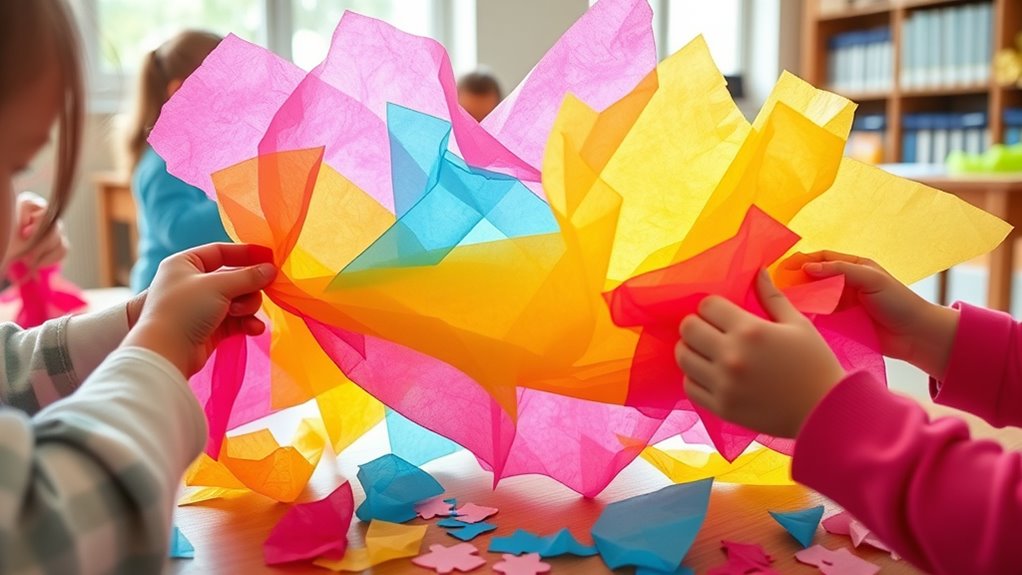
Since tissue paper crafts require precise manipulation, they are an excellent way to develop your students’ fine motor skills, such as cutting, tearing, and folding. To enhance finger dexterity and hand coordination, try these tips:
Tissue paper crafts boost fine motor skills through tearing, folding, and controlled cutting exercises.
- Encourage students to tear tissue paper into small, uneven pieces to improve grip strength.
- Use scissors that fit their hands well to practice controlled cutting and refine finger dexterity.
- Guide students to fold tissue paper multiple times before tearing or cutting to build hand coordination.
- Incorporate pinching and crumpling techniques to strengthen small hand muscles and improve precision.
- Incorporating proper filtration techniques can help keep craft tools clean and functioning effectively, ensuring smooth cutting and tearing experiences. Additionally, understanding how contrast ratio impacts image quality can inspire students to pay attention to detail in their craft projects. Being aware of credit card security measures can also serve as a useful analogy for understanding the importance of safety protocols in maintaining the integrity of their craft supplies. Practicing these techniques can also support overall fine motor development, which is essential for many other classroom activities.
Displaying and Celebrating Student Artwork

Have you ever wondered how showcasing student artwork can boost their confidence and enthusiasm? Displaying their creations in your classroom celebrates their effort and encourages pride. Incorporate cultural symbolism into the displays to deepen students’ understanding of different traditions and perspectives. Use bulletin boards, window spaces, or hallway exhibitions to create a vibrant, welcoming environment. When you celebrate student art as part of classroom decor, you foster a sense of ownership and respect for their work. This recognition motivates students to explore new techniques and express their ideas freely. Be intentional about rotating artwork regularly so each student feels valued. Additionally, utilizing self watering plant pots can improve the quality of your recordings and presentations, further enhancing the display experience. Incorporating low light office plants can also add a natural touch, making the display area more inviting. As technology advances, integrating intelligent tutoring systems can personalize feedback and support individual student growth in art projects. Understanding the benefits of Water Parks can inspire creative classroom themes and activities related to water and recreation, further enriching students’ learning experiences. Ultimately, highlighting their creativity transforms your classroom into a lively gallery that inspires ongoing artistic growth and cultural appreciation.
Frequently Asked Questions
What Safety Precautions Should Teachers Take During Tissue Paper Crafts?
When handling tissue paper crafts, you should prioritize safety by monitoring students for allergies, especially since some may react to certain dyes or adhesives. Always teach proper disposal of scraps to keep the workspace tidy and prevent choking hazards. Use non-toxic materials and supervise closely to ensure children handle everything carefully. Your proactive approach helps create a safe, enjoyable environment while fostering creativity in your classroom.
How Can Tissue Paper Art Be Adapted for Students With Special Needs?
Imagine transforming tissue paper art to open every student’s potential. You can adapt activities using sensory integration techniques, offering textured or lightweight materials for tactile exploration. Incorporate adaptive techniques like simplified steps or assistive tools to guarantee participation. By customizing your approach, you create an inclusive environment where students with special needs can enjoy and express themselves through vibrant tissue paper art, making the classroom a truly inspiring space for all.
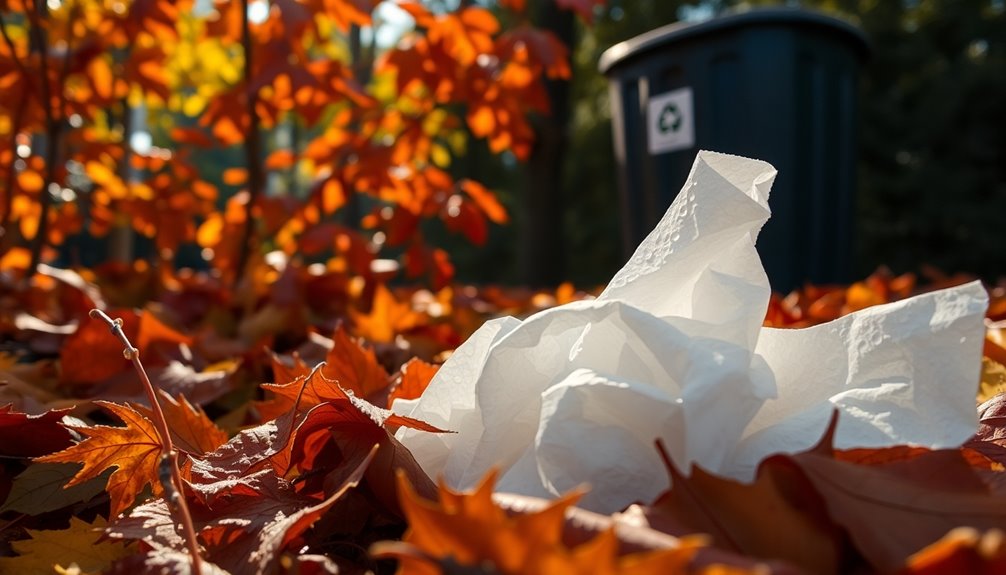
What Eco-Friendly Alternatives Exist for Traditional Tissue Paper Materials?
When exploring eco-friendly alternatives to traditional tissue paper, you can choose biodegradable options or recycled materials. These options help reduce waste and environmental impact while still allowing you to create vibrant, textured art. You might use recycled paper or plant-based biodegradable tissues. By selecting these sustainable materials, you encourage eco-conscious practices in your classroom and inspire students to contemplate environmental impacts in their creative projects.
How Do Tissue Paper Projects Support Interdisciplinary Learning?
You can see that tissue paper projects support interdisciplinary learning by encouraging collaborative projects that involve different subjects. As you guide students to create art, they also explore cultural connections through various patterns and colors. This hands-on approach helps them understand history, geography, and social studies while developing their creativity. By integrating tissue paper crafts into lessons, you foster teamwork and cultural awareness, making learning more engaging and meaningful across multiple disciplines.
What Are Cost-Effective Ways to Source Tissue Paper for Classrooms?
You can save money by bulk purchasing tissue paper, which reduces costs and guarantees you have enough for multiple projects. Check local suppliers or craft stores for discounts or wholesale options, often offering better prices than big retailers. Additionally, consider partnering with other teachers or schools to buy in larger quantities, spreading expenses. These strategies make sourcing tissue paper more affordable, helping you incorporate creative activities without stretching your budget.
Conclusion
As you guide your students through tissue paper art, remember you’re igniting their creativity like a painter’s first splash of color on a blank canvas. With patience and enthusiasm, you help them craft masterpieces that sparkle with their unique voices. Just as Van Gogh saw beauty in swirling colors, you’ll see their confidence grow with each delicate fold and tear. Keep inspiring, and watch your classroom become a vibrant gallery of young artists’ dreams.