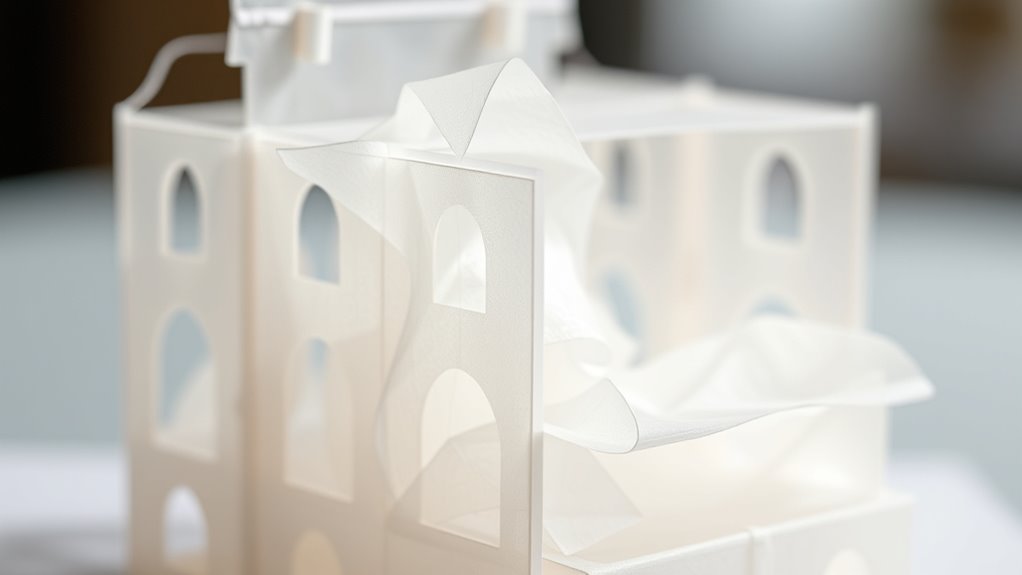
Model building with tissue paper and glue is a fun, affordable way to create detailed, lightweight models. You can easily craft everything from ships to landmarks by carefully scaling your designs and applying precise folding and gluing techniques. This method allows you to develop craftsmanship skills while connecting with history or art projects. Keep exploring the steps and tips, and you’ll discover how to make impressive models that showcase accuracy and creativity.
Key Takeaways
- Use scaled measurements and templates to ensure accurate proportions during tissue paper model construction.
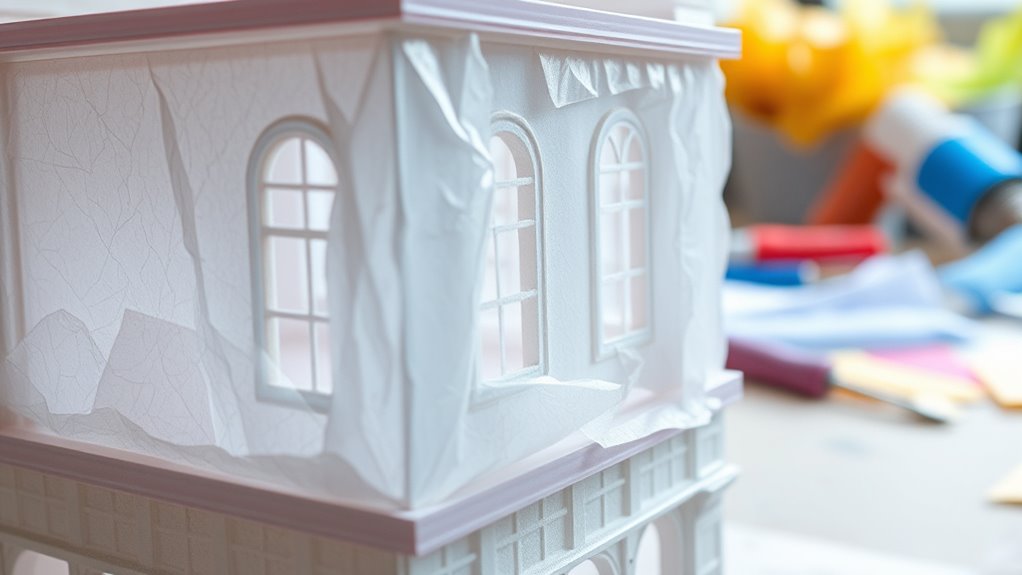
- Select lightweight tissue paper to allow for fine details and delicate structures.
- Apply glue evenly to assemble tissue pieces securely while maintaining the model’s shape.
- Practice scaling techniques to accurately enlarge or reduce components from blueprints or plans.
- Enhance craftsmanship by experimenting with different ratios and focusing on precise cutting and gluing skills.
Building models with tissue paper and glue is an enjoyable and affordable way to explore creativity and craftsmanship. Whether you’re recreating historical models or designing new structures, mastering scaling techniques helps guarantee your projects are proportionally accurate. When it comes to historical models, understanding how scaling works is essential. These models often depict famous landmarks, ships, or aircraft, and replicating them requires precise calculations to capture their dimensions correctly. By practicing scaling techniques, you learn how to enlarge or reduce details without losing their integrity, making your models more realistic and true to the original.
To start, familiarize yourself with basic scaling principles. For example, if you’re building a model of a historic ship, measure the actual ship’s length, then decide on your desired scale—say, 1:50. This means every inch on your model represents 50 inches of the real ship. Use this ratio to determine the size of each component. For example, if the ship is 200 feet long, your model should be 4.8 feet long at 1:50 scale, or adjust accordingly if you want a smaller model. Applying these techniques ensures your model maintains the correct proportions, making it a faithful replica of the original.
Creating historical models with tissue paper and glue is a rewarding process, but it demands patience and attention to detail. Once you grasp scaling techniques, you can accurately translate plans or blueprints into physical models. Start by sketching out your design at full scale on paper, then apply your chosen scale factor to downsize or enlarge your templates. Carefully cut tissue paper pieces to match these scaled dimensions, and use glue to assemble them into your desired shape. The lightweight tissue paper lends itself well to fine details and delicate structures, especially when you’re replicating intricate historical artifacts or architectural pieces. Understanding scaling techniques is fundamental to ensuring your models are both accurate and visually compelling.
As you gain experience, experimenting with different scaling techniques can enhance your craftsmanship. For instance, you might explore different ratios to create models of varying sizes or learn how to scale complex curves and details. When working on historical models, pay close attention to the accuracy of your scaled components, as this can considerably affect the overall realism of your project. With practice, you’ll develop a keen eye for proportion and a steady hand for cutting and gluing. Building with tissue paper and glue becomes not just a craft but a way to connect with history, giving you the skills to produce models that are both educational and visually impressive.
Frequently Asked Questions
What Types of Tissue Paper Work Best for Model Building?
You should choose lightweight, thin tissue paper with smooth textures for model building, as it’s easier to shape and manipulate. Brightly colored or patterned tissue papers add visual interest. Use suitable glue types like white glue or tissue adhesive, which dry clear and provide strong bonds without damaging the paper. Avoid heavy or textured tissue papers, as they’re harder to work with and may not hold shapes well.
How Long Does It Take for the Glue to Dry Completely?
On average, it takes about 30 minutes to an hour for glue to dry completely, depending on its consistency. If you use a thinner consistency, drying might be quicker, but thicker glue can take longer. Keep in mind, factors like humidity and temperature also influence drying time. For best results, allow ample drying time, and avoid handling your model until the glue is fully set to ensure durability.
Can I Paint or Decorate Tissue Paper Models Afterward?
Yes, you can paint or decorate tissue paper models afterward. Use gentle painting techniques like watercolor or diluted acrylics to avoid tearing the delicate paper. Decorating tips include adding glitter or using markers for fine details. Make sure the glue is fully dry before decorating, and consider applying a clear sealant afterward to protect your work. This way, your tissue paper model stays vibrant and intact.
What Safety Precautions Should I Follow While Working?
Think of safety as your building foundation—without it, everything risks toppling. You should wear safety equipment like gloves and masks to protect against glue fumes and sharp scissors. Make certain your workspace has good ventilation to avoid inhaling harmful vapors. Keep your work area tidy to prevent accidents. By following these precautions, you’ll create your tissue paper masterpiece safely and confidently, letting your creativity shine without worry.
Are There Alternative Adhesives Suitable for Tissue Paper?
Yes, you can use alternative adhesives like eco-friendly glues for tissue paper projects. Look for water-based or natural glues, such as white craft glue, starch-based adhesives, or homemade options like a flour and water mixture. These alternatives are safe, non-toxic, and environmentally friendly, making them perfect for delicate tissue paper. Just make certain the adhesive is lightweight and dries clear to avoid damaging or staining your project.
Conclusion
Now that you’ve finished your tissue paper masterpiece, imagine holding it up like a tiny, fragile spaceship ready for launch. With just glue and tissue, you’ve crafted something uniquely yours—like a modern-day Da Vinci in your own living room. Remember, every crease and fold is a step closer to your artistic empire. So, keep creating, because even in this pixelated age, your handmade models are the real treasure, more valuable than any iPhone upgrade.