To craft colorful tissue paper lanterns, you’ll first inflate a balloon to your desired size and cut tissue paper into strips or squares. Carefully layer and glue or tape the tissue onto the balloon, overlapping for a vibrant, textured look. Once the tissue dries thoroughly, pop the balloon and remove it, leaving behind a beautiful lantern. Punch holes at the top for hanging, and add a light inside. Keep exploring to learn more tips and tricks.
Key Takeaways
- Inflate a balloon and cut tissue paper into strips or squares for layered coverage.
- Attach tissue paper to the balloon with glue or tape, overlapping for a colorful, diffused glow.
- Let the tissue paper dry completely before popping the balloon and removing it from inside the lantern.
- Punch small holes at the top and bottom for hanging and insert a light or candle through the opening.
- Use bright, mixed colors and cultural motifs to enhance visual appeal and festive atmosphere.
Have you ever wondered how to create your own beautiful lanterns? Making lanterns with tissue paper is a fun and rewarding way to add a personal touch to your space. Whether you’re planning to enhance your home’s decor or participate in cultural celebrations, DIY decorations like these bring a festive, handmade charm that’s hard to beat. Tissue paper lanterns are simple to craft, affordable, and versatile, making them perfect for any occasion.
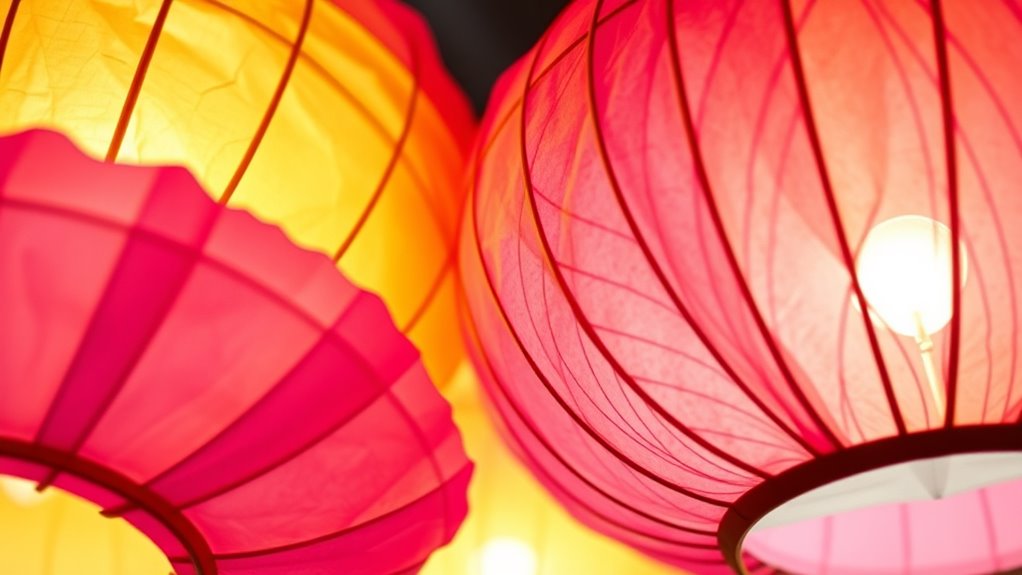
Create beautiful, handmade tissue paper lanterns to add a festive touch to any celebration or home decor.
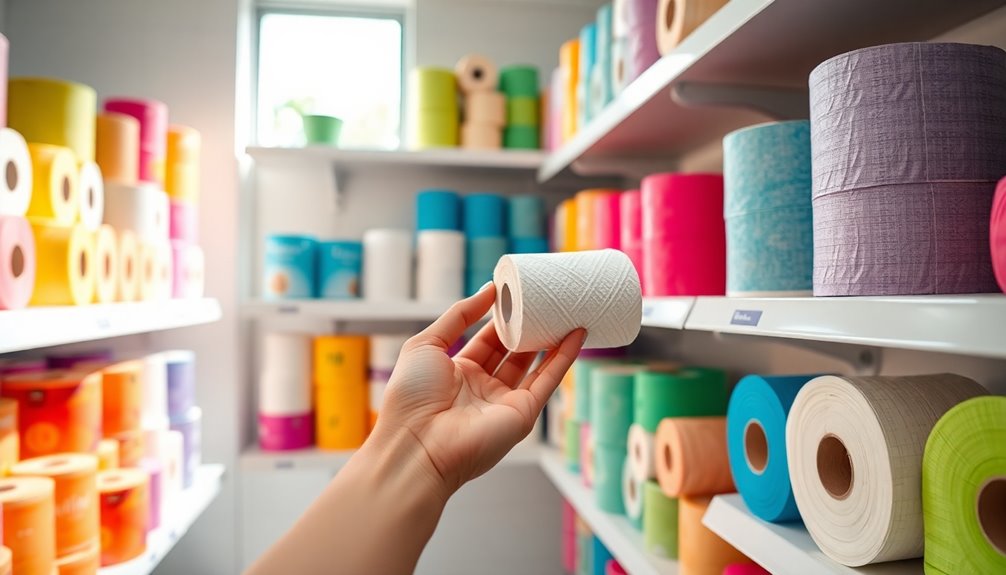
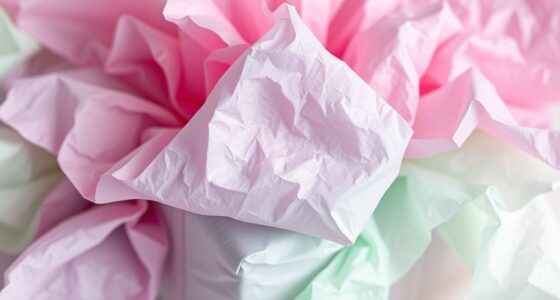
To start, gather your supplies: colorful tissue paper, scissors, tape or glue, string or ribbon, and a balloon or a cylindrical object to shape your lantern. Begin by inflating the balloon to your desired size, which will serve as the mold for your lantern. Then, cut tissue paper into strips or squares—bright hues like red, yellow, or gold are especially popular for celebrations, but feel free to mix colors for a more vibrant look. These tissue paper pieces will create the layered, delicate appearance characteristic of traditional lanterns.
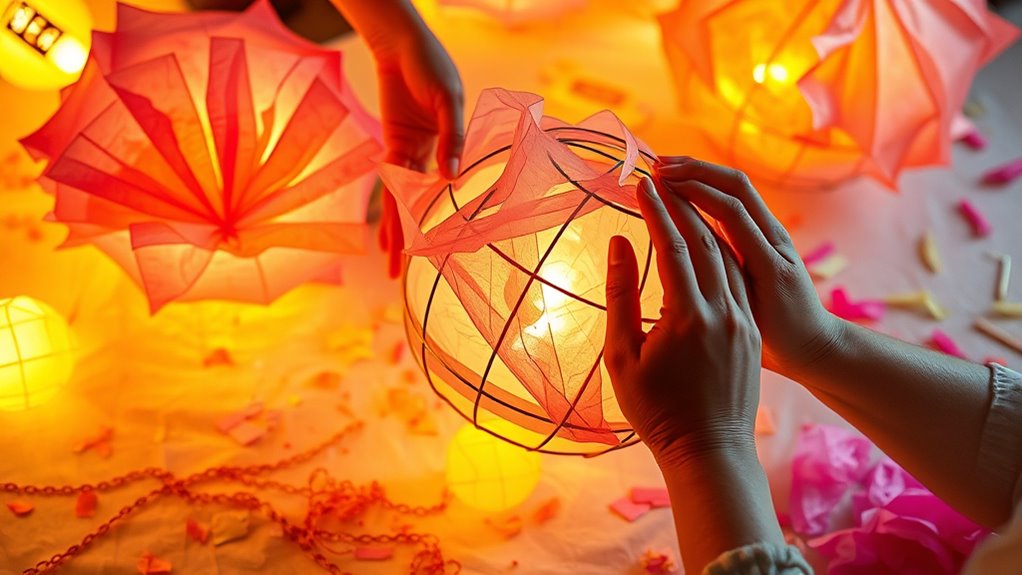
Next, apply a layer of glue or tape to your balloon’s surface. Carefully stick the tissue paper onto the balloon, overlapping the pieces slightly to ensure full coverage. You can create a pattern or keep it random—either way, the layered tissue will give your lantern a soft, diffused glow once lit. Be sure to leave a space at the bottom and top of the balloon to avoid sealing it completely, so you can insert a light or candle later. Once you’ve covered the balloon, let the glue dry completely, which might take a few hours.
Once dry, pop the balloon and gently remove the deflated sphere from inside your tissue paper shell. Now, you have a lightweight, hollow lantern ready for decoration. Punch small holes at the top and bottom to thread a string or ribbon through, allowing you to hang your creation easily. For added stability, you might reinforce the edges with more tape. When it’s time to display your lanterns, hang them around your home or use them as part of a festive setup for cultural celebrations like Chinese New Year, Diwali, or Lantern Festival. These handcrafted decorations add a warm, inviting glow and show off your creativity.
Creating tissue paper lanterns is more than just a craft; it’s a way to connect with cultural traditions and bring a personalized touch to your celebrations. They’re perfect for brightening up any space and creating memorable moments with friends and family. Incorporating biodiversity in your craft supplies by choosing eco-friendly materials can also help support sustainable practices. With a little patience and imagination, your DIY decorations will illuminate your festivities with charm and cultural significance.
Frequently Asked Questions
What Types of Tissue Paper Work Best for Lanterns?
You should choose lightweight, cellophane or tissue paper with vibrant decorative patterns and color combinations for lanterns. These types are easy to fold and cut, creating beautiful, durable lanterns. Opt for tissue paper that’s slightly translucent to let light shine through, highlighting the colors and patterns. Avoid thick or textured paper, as it’s harder to manipulate and may not produce the desired glowing effect.
How Long Do Tissue Paper Lanterns Last Outdoors?
Tissue paper lanterns typically last outdoors about one to two days, mainly due to weather impact and durability concerns. Rain, wind, and sun quickly weaken the delicate tissue, causing tears or discoloration. To extend their lifespan, you should place them in sheltered areas, avoid heavy rain, and consider applying a waterproof sealant. Keep in mind, even with precautions, tissue paper lanterns are best suited for short-term outdoor use.
Can I Use LED Lights Instead of Candles?
Yes, you can definitely use LED lights instead of candles for your tissue paper lanterns. LED alternatives are safer because they don’t produce heat, reducing fire risks, especially outdoors. Just make certain the LED lights are battery-operated and fit well inside your lanterns. Keep safety considerations in mind, like avoiding overly bright LEDs that might cause overheating or damage your delicate tissue paper. This way, you enjoy a beautiful, safe display.
What’s the Best Way to Store Completed Lanterns?
Did you know that storing decorations properly can extend their lifespan by up to 50%? To store your completed lanterns, gently fold or collapse them to avoid damage. Use acid-free tissue paper or bubble wrap for protection, and keep them in a sturdy, labeled container in a cool, dry place. These storage tips help prevent tears and fading, making your lanterns ready for future decorative ideas or special occasions.
Are There Eco-Friendly Tissue Paper Options Available?
Yes, eco-friendly tissue paper options are available. You can choose biodegradable options made from natural fibers that break down easily, reducing environmental impact. Recycled materials are also widely used in tissue paper production, giving new life to old paper and minimizing waste. When shopping, look for labels indicating biodegradable or recycled content, so you can craft your lanterns sustainably and help protect the environment.
Conclusion
Now that you’ve mastered the magic of making tissue paper lanterns, you can create colorful, enchanting decorations that cast cheerful charm. With simple supplies and your steady hands, your lanterns will light up any space with a delightful dazzle. So, gather your materials, embrace the art of assembly, and let your imagination illuminate every occasion. Remember, with a little patience and plenty of creativity, your beautiful, bright lanterns will bring boundless brightness and bliss to your celebrations.