
Discover 10 fun and colorful tissue paper crafts perfect for all ages! You can create vibrant flowers, lanterns, garlands, pom-poms, collages, stained glass effects, whimsical butterflies, quilling designs, and festive party hats. These projects are simple to follow and great for decorating, gifting, or just having fun. With a little creativity and the right techniques, you’ll craft stunning decorations and unique art. Keep exploring to unveil more exciting ideas!
Key Takeaways
- Create vibrant tissue paper flowers and arrangements for home decor or events using layering, folding, and color blending techniques.
- Make colorful tissue paper lanterns and garlands to add festive ambiance to celebrations and outdoor parties.
- Craft tissue paper pom-poms and tassels for party decorations or gift wrapping, perfect for all skill levels.
- Design personalized tissue paper gift wraps with printed photos, drawings, or messages for a heartfelt touch.
- Explore advanced techniques like tissue paper collage, stained glass effects, and quilling to develop intricate art projects.

Eersida 32 Pcs Spring Butterfly Suncatchers Ornament Craft Set DIY Butterfly Shaped Stained Glass Effect Tissue Paper Kits Bulk for Window Art Summer Party Activities Decor Favors Gift
Package Includes: you will receive 32 pieces of butterfly shaped templates in 8 different spring summer styles (…
As an affiliate, we earn on qualifying purchases.
As an affiliate, we earn on qualifying purchases.
Colorful Tissue Paper Flowers
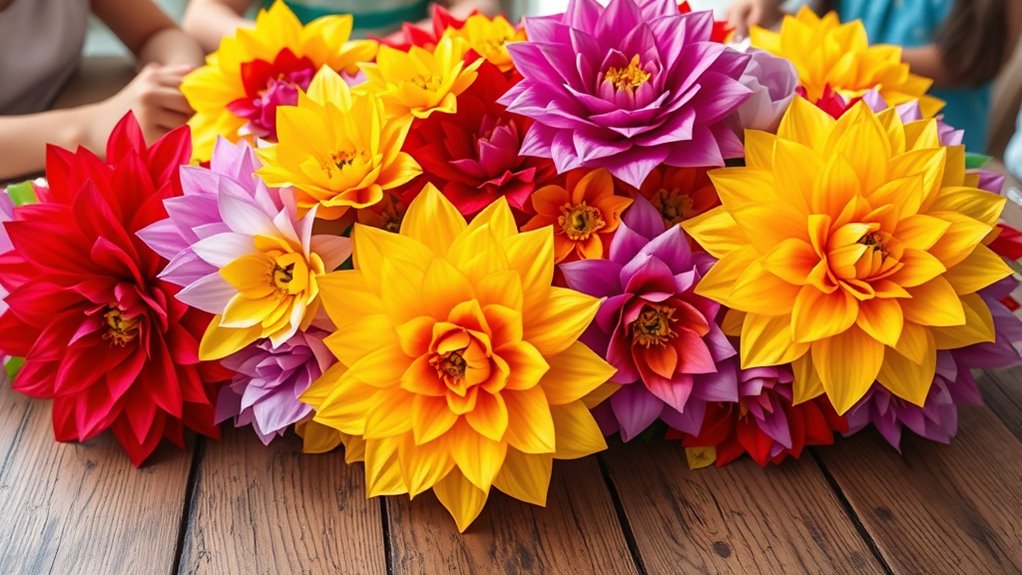
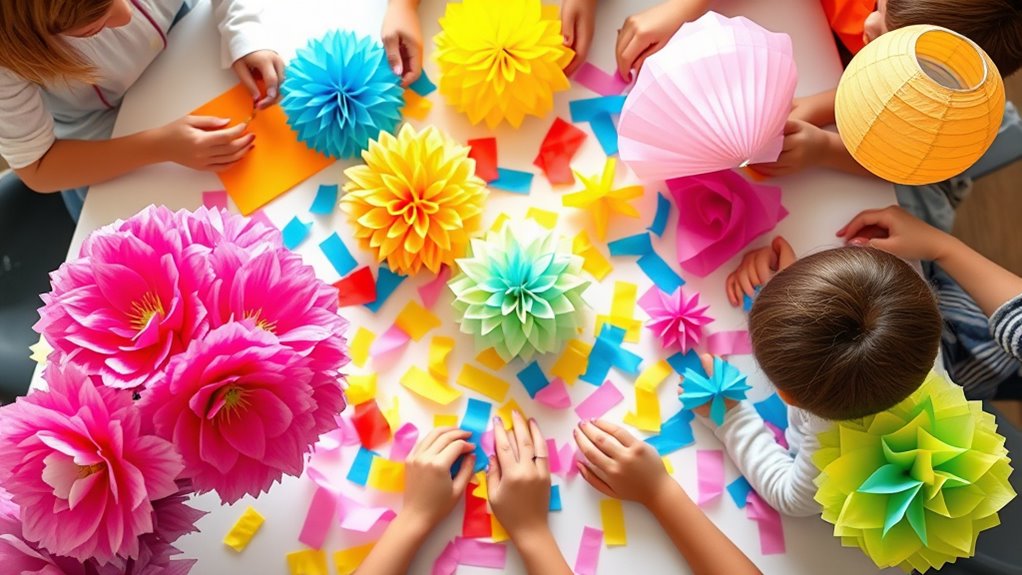
Making colorful tissue paper flowers is a fun and easy craft that instantly brightens any space. You can create beautiful flower arrangements by layering tissue papers in different hues, allowing for stunning color blending. Start by choosing several vibrant shades and folding or cutting them into petal shapes. As you assemble your flowers, mix the colors to achieve seamless gradations and a natural look. The key is to experiment with contrasting and complementary tones to make each flower stand out. These tissue paper flowers are lightweight, versatile, and perfect for decorating both indoors and outdoors. Whether you’re making a single bloom or a full bouquet, your skill in blending colors will produce eye-catching arrangements that add charm and cheer to any setting.

Shindel 330 Sheets Tissue Paper, 14×10 Inch Multicolor Wrapping Tissue Paper for Gift Bags DIY Crafts Birthday Wedding Holidays Decor 20 Colors
330 Sheets Ultimate Rainbow Pack: 20 Vibrant Colors for Every Occasion. A complete palette in one massive bundle….
As an affiliate, we earn on qualifying purchases.
As an affiliate, we earn on qualifying purchases.
Vibrant Tissue Paper Lanterns
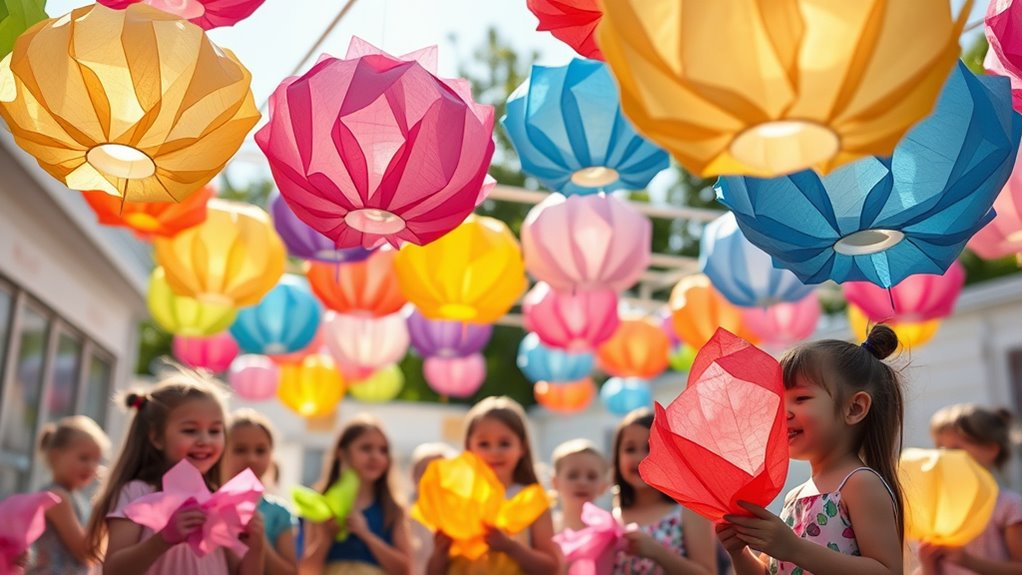
Vibrant tissue paper lanterns instantly add a festive and colorful touch to any celebration or space. You can create stunning lanterns by combining paper cutting techniques and bright tissue paper. Use flower arranging skills to layer different colors and shapes, making your lanterns stand out. To assemble, cut tissue paper into petal or leaf shapes, then glue or tape them onto a lantern frame. Incorporate patterns or designs for added visual interest. Here’s a quick guide:
| Step | Description |
|---|---|
| Cut | Use paper cutting to create various shapes |
| Assemble | Attach tissue layers to lantern frame |
| Decorate | Add flowers or accents for flair |
These vibrant lanterns are perfect for outdoor parties, festivals, or cozy indoor gatherings, bringing lively energy wherever they hang. Additionally, cultural celebrations often feature such colorful decorations to enhance the festive atmosphere. Creating these lanterns can also be a fun craft activity suitable for all ages. Incorporating recycled materials can make your decorations more sustainable and eco-friendly. Considering the weight of wind turbine blades can inspire the use of lightweight materials in your craft projects, making them easier to transport and hang. For those interested in event planning, these decorations can elevate the ambiance of any celebration.
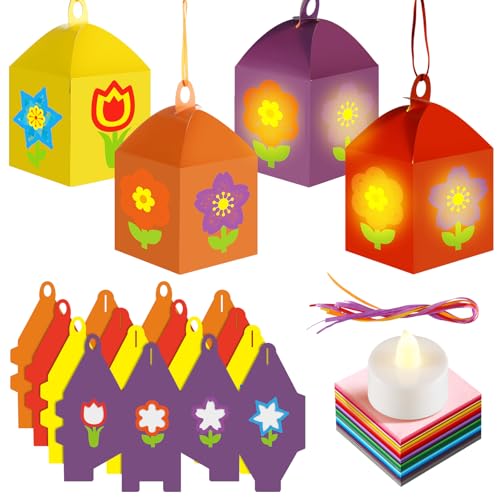
Simgoing 12 Sets Spring Floral Flower Craft with LED Lights Colorful Flower Tissue Paper Crafts Kits DIY Hanging Suncatchers Lanterns Kits for Window Decor Spring Summer Favors Home Activities
Spring floral Flower Lantern Crafts: you will receive 12 flower craft kits, complete with 48 sheets of PVC…
As an affiliate, we earn on qualifying purchases.
As an affiliate, we earn on qualifying purchases.
Decorative Tissue Paper Garland
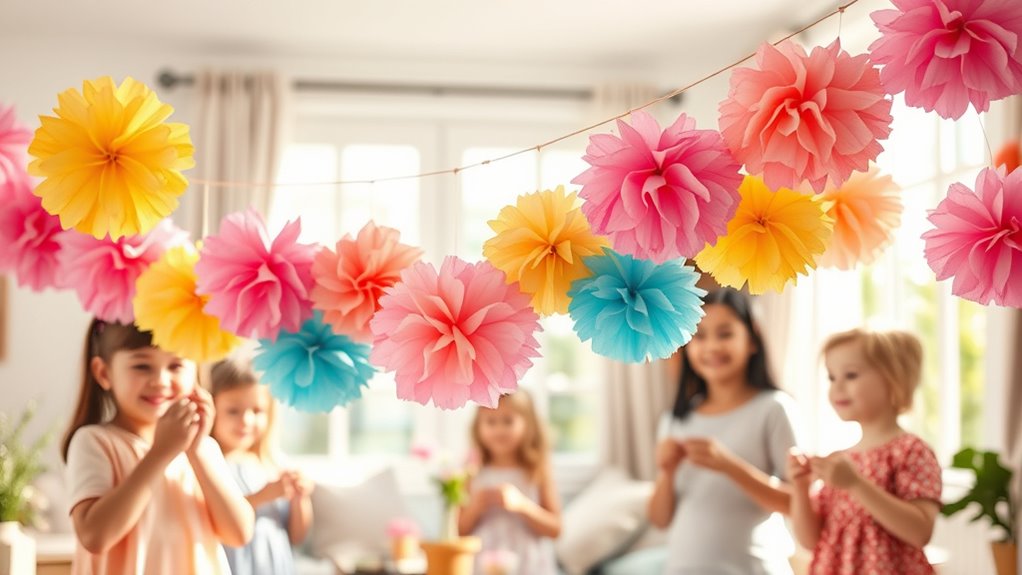
Choosing the right colors can make your tissue paper garland stand out, so consider coordinating shades for a cohesive look. When hanging your garland, think about the best spots to display it for maximum impact and easy viewing. With simple hanging tips, you’ll create a charming decoration that enhances any space effortlessly.
Color Coordination Ideas
To create a visually appealing tissue paper garland, selecting the right color scheme is essential. Focus on color matching to guarantee your garland looks cohesive and vibrant. Start by choosing a palette that complements the occasion or room decor—think about contrasting colors for a bold effect or harmonious shades for a subtle look. Consider palette harmony by using colors within the same family or those that blend well together, creating a balanced appearance. Mixing patterns and textures can add depth, but keep the color coordination consistent. Use color wheels or online tools to help identify complementary or analogous colors. Remember, well-chosen colors make your tissue paper garland stand out and enhance your overall decor. Additionally, understanding the regulations and compliance related to decorative crafts can help ensure your project aligns with safety standards and best practices. Incorporating personality insights can also assist in selecting colors that reflect your personal style or mood. Being aware of safety considerations in crafting materials ensures your decorations are both beautiful and safe for all ages. Exploring current trends in color palettes can inspire innovative and modern designs for your garland, and staying informed about international market influences can introduce diverse color options influenced by global trends.
Hanging and Display Tips
Hanging and displaying your tissue paper garland effectively can make a big difference in how it transforms your space. To enhance its visual impact, consider lighting ideas like string lights or spotlights to highlight the garland’s colors and textures. When choosing a location, think about where natural light hits or where additional lighting can accentuate your display. For storage solutions, fold or roll your tissue paper garlands carefully to prevent damage, then store them in a labeled box or drawer for easy access. Use hooks, removable adhesive strips, or curtain rods to hang the garland securely. Additionally, being aware of cybersecurity risks related to online storage and sharing can help protect your digital assets when managing craft project photos or instructions. Properly organizing your craft supplies can also streamline your decorating process and keep everything in good condition. Here’s a quick guide:
| Hanging Methods | Storage Solutions |
|---|---|
| Command hooks | Zip-top bags |
| Curtain rods | Plastic containers |
| Wall-mounted hooks | Flat storage boxes |

12" White Tissue Pom Poms DIY Hanging Paper Flowers for Party Decorations, 12 pcs
12pcs white tissue pom poms, each measure 12 inch in diameter
As an affiliate, we earn on qualifying purchases.
As an affiliate, we earn on qualifying purchases.
Tissue Paper Pom-Poms for Decor

Start by selecting bright, vibrant colors to make your pom-poms stand out. Use proper folding techniques to guarantee even layers, then fluff them carefully for maximum volume. With these simple steps, you’ll create eye-catching decorations that brighten any space.
Choosing Bright Colors
Bright colors instantly catch the eye and add lively energy to your decorations. When choosing tissue paper, consider color psychology to evoke specific moods—yellow brings happiness, while red adds excitement. Bright hues make your pom-poms stand out and create a cheerful atmosphere. To enhance your color palette, practice color mixing by combining different tissue paper shades; this color blending allows you to craft unique, personalized colors that perfectly match your theme. Opt for vibrant shades to ensure your decorations are eye-catching from afar. Remember, selecting the right bright colors can transform a simple space into a festive celebration. Incorporating color coordination techniques can further elevate your decor and create harmonious visual effects. Additionally, choosing high-quality tissue paper ensures your decorations look professional and last longer during celebrations. Being mindful of yarn yardage when creating decorations can help you estimate how much tissue paper you’ll need for larger projects. Using proper lighting can also enhance the vibrancy of your tissue paper colors and make your decorations even more striking. Trust your instincts, experiment with different combinations, and embrace the boldness that bright colors offer for stunning tissue paper pom-poms.
Proper Folding Techniques
To achieve perfectly shaped tissue paper pom-poms, mastering proper folding techniques is essential. Think of origami folding—each fold must be precise to guarantee a balanced, symmetrical look. Start by stacking multiple sheets evenly, then fold them accordion-style, making sure each fold aligns perfectly. Maintain crease precision by pressing firmly along each fold to create sharp edges, which helps in shaping the pom-pom evenly. Avoid rushing; careful, deliberate folds result in cleaner, more professional-looking decorations. Consistency is key—measure your folds if needed to keep them uniform. Once folded, secure the center tightly with string or wire before fluffing. Proper folding techniques ensure your tissue paper pom-poms look full, neat, and ready to brighten any space. Additionally, understanding the importance of safety considerations can help prevent mishaps during crafting.
Fluffing for Volume
Once you’ve secured the center and carefully fluffed the tissue paper, it’s time to give your pom-pom the desired volume. Gently lift and separate each layer, working from the inside out to create a full, rounded shape. To maintain tissue care, handle the paper gently to prevent tearing or crushing. Proper storage solutions are essential for keeping your pom-poms looking fresh—store them in a breathable container or hang them to avoid flattening. When fluffing, consider the following tips:
- Use your fingers or a small tool to lift layers evenly
- Avoid over-fluffing, which can cause tearing
- Keep tissue paper away from moisture and direct sunlight
- Store in a cool, dry place to preserve their shape
- Choosing the right material can enhance the durability and appearance of your tissue paper decor.
These steps ensure your tissue paper decor stays vibrant and voluminous.
Bright Tissue Paper Collage Art

If you’re looking to create eye-catching artwork, bright tissue paper collage art offers a vibrant and engaging way to do so. You’ll want to explore tissue paper textures, which add depth and dimension to your pieces. Layering different shades creates a lively, dynamic look. To enhance your colors, try dye mixing techniques—dipping or blending tissue papers in various hues to produce custom shades. This approach allows for more control over brightness and tone, making your collage truly unique. Carefully arrange your tissue papers on a sturdy surface, overlapping and shaping them to form your desired design. The combination of varied textures and freshly mixed dyes will give your collage a bold, colorful finish that captures attention and expresses your creative flair. For a more refined result, incorporating tuning techniques can inspire innovative ways to elevate your artwork. Additionally, understanding color theory can help you select and combine hues more effectively for striking visual impact. Exploring texture blending can add even more dimension and richness to your finished piece.
Personalized Tissue Paper Gift Wrap
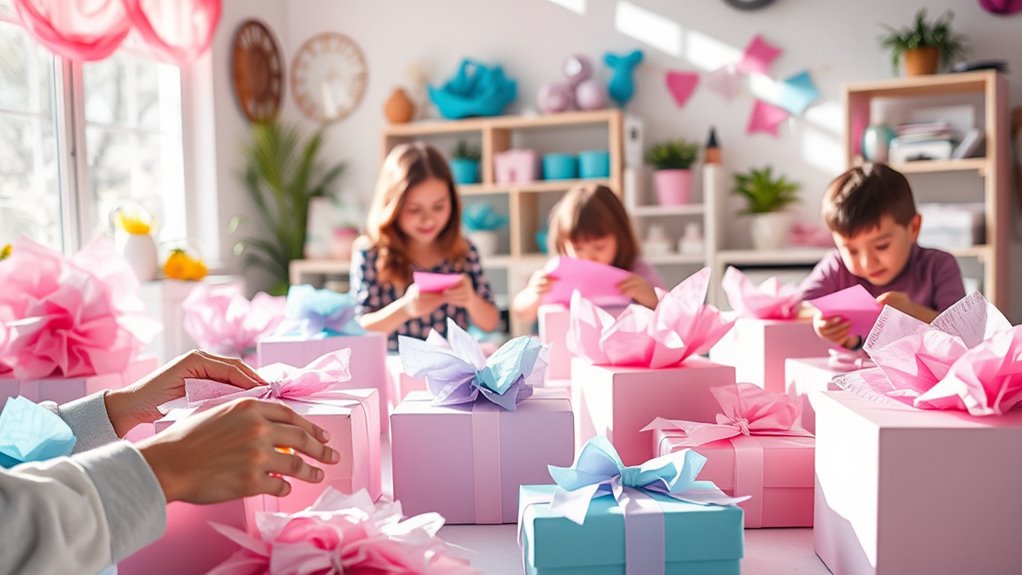
Creating personalized tissue paper gift wrap is a fun way to add a special touch to your presents. You can customize tissue paper by printing photos, drawings, or messages directly onto it, making your gift wrapping unique. Use different tissue paper textures like crinkled, smooth, or embossed to add variety and tactile interest. To make your wrapping stand out, consider these ideas:
Personalize your gift wrapping with photos, drawings, or messages on textured tissue paper for a unique, heartfelt touch.
- Incorporate hand-drawn designs or stamps for a personal touch
- Mix tissue textures for contrast and visual appeal
- Use markers, stickers, or washi tape for decoration
- Experiment with layering tissue papers of different colors and textures
This approach transforms simple gift wrapping into a heartfelt craft, perfect for all ages. Personalizing tissue paper makes your gifts memorable and shows extra care for the recipient.
Tissue Paper Stained Glass Windows
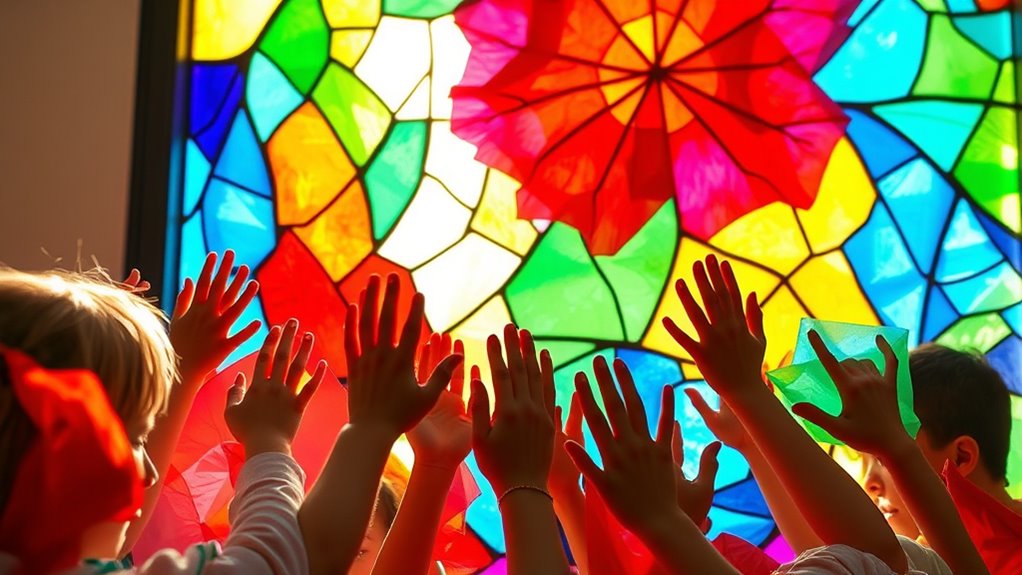
Tissue paper stained glass windows are a beautiful and accessible craft that transforms simple materials into colorful, luminous art. To create stunning effects, you’ll want to explore stained glass techniques, which involve layering tissue paper to mimic the vibrant look of real stained glass. Use glass painting methods by carefully adhering tissue pieces to clear plastic or glass surfaces with glue or Mod Podge, allowing light to pass through and illuminate your design. Experiment with different colors and shapes to craft intricate patterns or simple imagery. This craft is perfect for all ages, offering a fun way to learn about color blending and design while producing a striking decorative piece. With patience and creativity, your tissue paper stained glass windows will brighten any space.
Whimsical Tissue Paper Butterflies
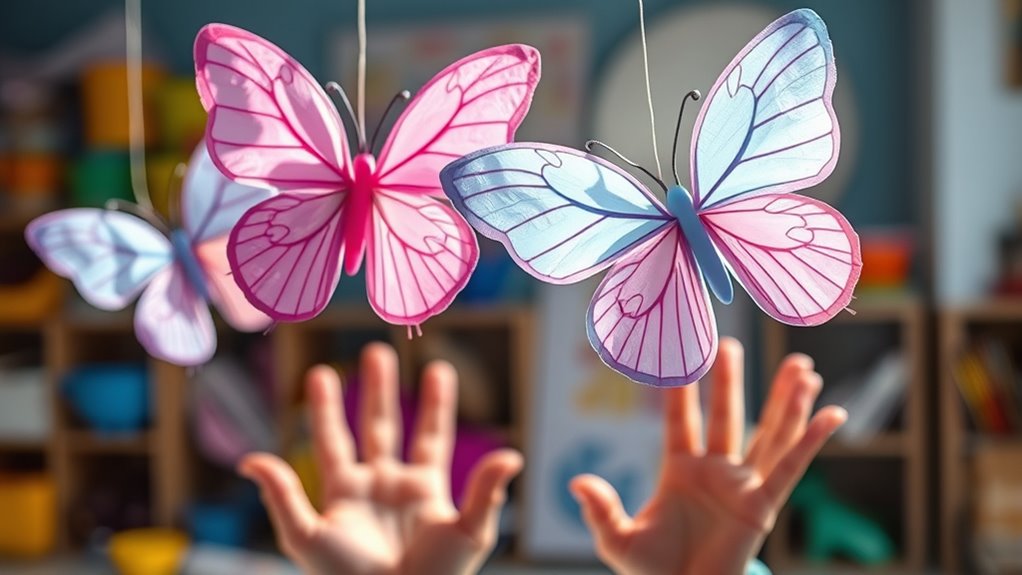
Whimsical tissue paper butterflies bring a touch of magic and charm to any craft project. They’re perfect for adding a playful, colorful element to your decor or gift wraps. To create these charming butterflies, you might explore butterfly origami techniques or experiment with layered tissue paper for a delicate look. Keep in mind tissue paper myths, like it being too fragile for intricate designs—trust that with gentle handling, your butterflies will come to life. Here are some tips to get started:
Whimsical tissue paper butterflies add magic to crafts with vibrant colors and delicate layers.
- Use vibrant tissue paper for eye-catching colors
- Fold carefully to mimic real butterfly wings
- Mix and match different shades for a whimsical effect
- Secure with transparent glue or wire for durability
These tips will help you craft whimsical butterflies that are both fun and visually stunning.
Tissue Paper Quilling Designs

Tissue paper quilling is a fun way to create intricate designs using simple techniques. You’ll explore basic quilling methods, come up with creative ideas, and learn how to display and preserve your artwork. With a little practice, your tissue paper creations can become stunning decorative pieces.
Basic Quilling Techniques
Although quilling is often associated with paper strips, you can also create stunning designs using tissue paper. The basic quilling techniques involve simple steps like rolling, shaping, and gluing tissue paper to form intricate patterns. To start, use your fingers or quilling tools for paper folding and shaping. Here are key techniques to master:
- Rolling tissue paper tightly or loosely to create different effects
- Using quilling tools to achieve precise, consistent coils
- Pinching and shaping edges to add dimension
- Gluing carefully to secure each coil without excess
These methods help you develop control and precision. Remember, tissue paper is delicate, so handle it gently. Practice these techniques to build confidence before moving on to more complex designs.
Creative Design Ideas
Once you’ve mastered basic quilling techniques, you can explore a variety of creative design ideas to make your tissue paper projects stand out. Use tissue paper techniques like layering, curling, and shaping to create intricate floral patterns, abstract art, or whimsical animals. Experiment with color combinations and textures to add depth and vibrancy. When working on your designs, remember crafting safety tips: keep scissors sharp, handle glue carefully, and work in a clutter-free space to prevent accidents. Incorporate different tissue paper sizes and shades to enhance visual interest, and don’t hesitate to combine quilling with other craft methods, like paper cutting or collage. These creative design ideas help you craft personalized, eye-catching pieces that showcase your artistic flair.
Display and Preservation
To guarantee your beautiful quilling designs last and remain vibrant, proper display and preservation are essential. Handling your tissue paper flower arrangement carefully prevents damage and preserves its charm. Use acid-free framing materials to protect your paper from yellowing over time. Keep your artwork away from direct sunlight to avoid fading. Regularly dust your quilling pieces with a soft brush to maintain their appearance. Consider sealing delicate designs with a clear, matte spray to enhance durability. When storing, place your paper preservation projects in a cool, dry place to prevent moisture damage. Properly displayed and preserved, your tissue paper creations can brighten your space for years to come. Remember, thoughtful care keeps your vibrant designs looking fresh and beautiful.
Festive Tissue Paper Party Hats
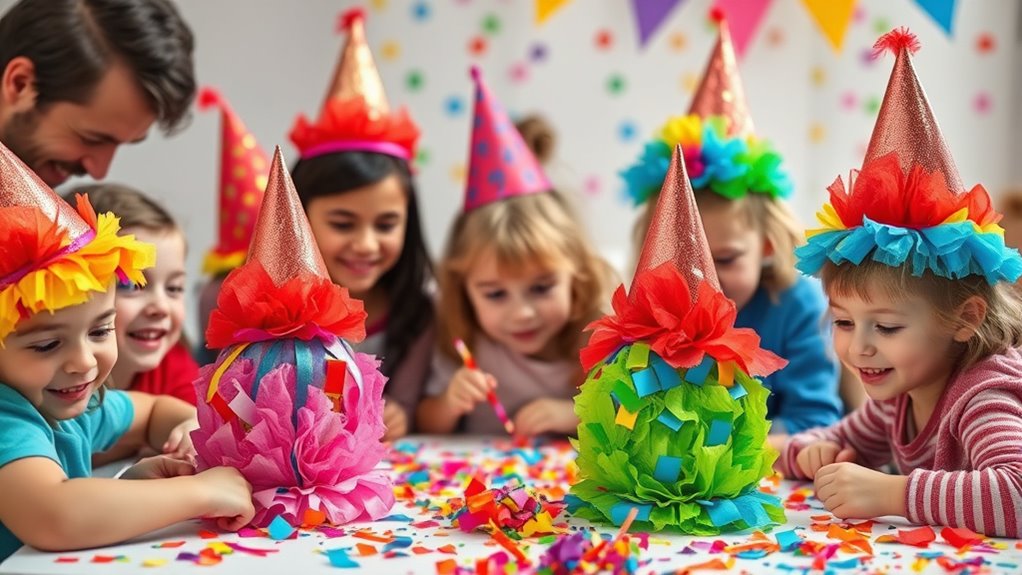
Festive tissue paper party hats are a fun and easy craft that instantly adds a splash of color to any celebration. To create your hats, start by choosing fun party hat patterns that suit your style, whether tall and pointed or short and rounded. You’ll want to carefully select tissue paper sourcing—bright, vibrant colors work best for a lively look. Cut the tissue paper into small squares or strips, then layer and glue them onto your hat base, creating a textured, colorful surface. Be sure to secure the tissue paper well so it stays in place during the party. With a little planning and some basic supplies, you can craft eye-catching, festive hats perfect for birthdays, holidays, or any special occasion.
Frequently Asked Questions
What Safety Tips Should I Consider When Working With Tissue Paper?
When working with tissue paper, you should prioritize safety precautions to prevent accidents. Handle scissors carefully, always cutting away from your body, and keep sharp tools out of children’s reach. Use non-toxic glue or adhesive, and supervise young kids to avoid choking hazards. Follow handling tips like tearing gently to prevent paper pieces from flying and maintaining a clean workspace. These steps help guarantee a fun, safe crafting experience for everyone involved.
How Can I Make Tissue Paper Crafts More Eco-Friendly?
Imagine turning your vibrant tissue paper creations into eco-friendly masterpieces. You can do this by using recycling techniques, repurposing leftover paper into new crafts, and choosing biodegradable tissue options. Enhance your designs with natural dyeing, using plant-based colors instead of synthetic dyes. These simple steps help reduce waste, protect the environment, and make your craft time more sustainable and colorful, giving new life to every piece you create.
Are There Specific Tools Recommended for Tissue Paper Crafting?
When exploring tissue paper techniques, you’ll find that choosing the right craft tool options can make your projects easier and more precise. For tearing and shaping, use scissors or craft knives, while for smoothing or layering, a bone folder or spatula works well. You might also consider tweezers for delicate details. These tools help you achieve cleaner, more professional-looking results, enhancing your overall tissue paper crafting experience.
How Do I Preserve Tissue Paper Art Over Time?
Sure, preserving delicate tissue paper art is a breeze—if you enjoy irony. You might think it’s impossible, but with proper preservation techniques, it’s doable. Use archival materials to prevent fading and damage over time. Keep your artwork away from sunlight and humidity, and frame it behind glass for extra protection. These simple steps help guarantee your tissue paper creations stay vibrant and beautiful for years to come.
Can Tissue Paper Be Used for Outdoor Decorations Safely?
You can use tissue paper for outdoor decorations, but you need to consider weather conditions. Moisture effects can cause the delicate paper to tear or fade quickly, especially in rain or high humidity. To ensure safety and durability, seal the tissue paper with a clear outdoor spray or laminate it. Avoid using tissue paper in exposed areas where it’ll face constant weather challenges, and always check the forecast before decorating outdoors.
Conclusion
Now that you’ve explored these creative tissue paper crafts, you’re ready to bring vibrant color and fun to any occasion. Imagine transforming your backyard with a DIY tissue paper lantern for a summer party, just like Sarah did last year. Whether you’re making whimsical butterflies or festive garlands, these crafts spark joy and creativity for all ages. So grab your supplies and start creating—your next beautiful masterpiece is just a tissue paper away!