To master placing tissue paper in a gift bag, start by laying it flat and swirling it to create volume. Use two sheets for smaller bags and four for larger ones to give a fuller look. Once you've inserted the tissue paper into the bag, fluff it up to enhance its visual appeal. Mixing colors and patterns can create a unique presentation that reflects the occasion and the recipient's personality. This simple trick not only elevates your gift presentation but also adds an extra layer of excitement. Keep going, and you'll discover even more helpful tips!
Key Takeaways
- Lay tissue paper flat and swirl it gently to create volume before placing it in the gift bag.
- Use two sheets for smaller bags and four sheets for larger ones to achieve fullness and impact.
- Coordinate tissue paper colors with the gift bag for a cohesive and visually appealing presentation.
- Fluff the tissue paper after placement to enhance its aesthetic and protect fragile items.
- Experiment with mixing colors and patterns to personalize the gift and make it more memorable.
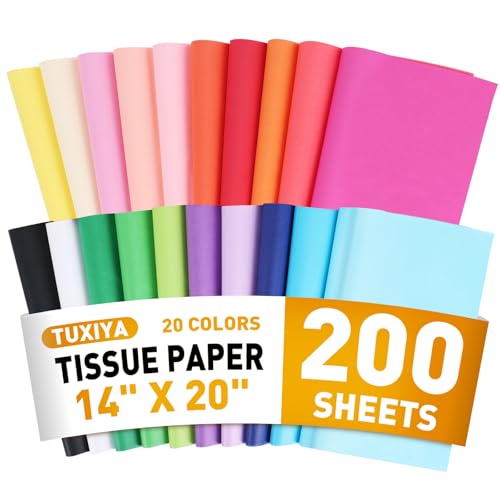
200 Sheets Tissue Paper, 20 Colors 14" X 20" Tissue Papers for Gift Bags Birthday Party Flower Decoration, Colored Tissue Paper Bulk for Packaging
20 COLORS AVAILABLE – This colorful tissue paper provides 20 classic colors (10 pieces of each color), such…
As an affiliate, we earn on qualifying purchases.
As an affiliate, we earn on qualifying purchases.
Creative Gift Presentation Tips
When it comes to making your gift stand out, mixing and matching colors and patterns of tissue paper can really elevate your presentation. Start by selecting a few sheets of tissue paper that reflect both the occasion and the recipient's personality. Using fun prints alongside solid colors injects creativity and surprise into your gift wrapping, making it more memorable.
To ensure a cohesive look, coordinate the tissue paper with your gift bag color. This connection creates a polished, inviting appearance. For seasonal occasions, consider incorporating themed tissue paper that resonates with the holiday's vibe, adding a personal touch that will delight the receiver.
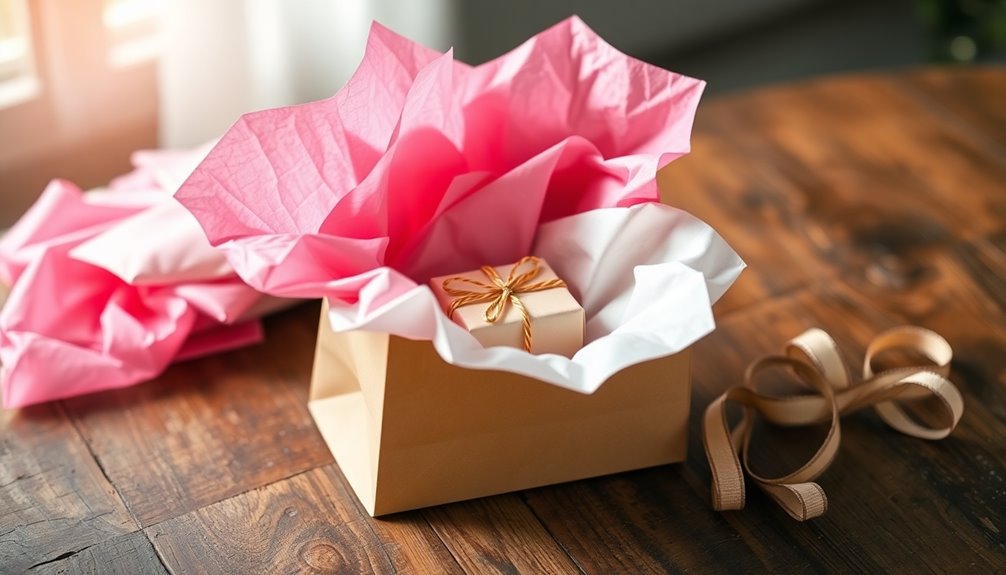
Don't forget about the finishing touches! A cute raffia or satin bow can significantly enhance the overall look, giving your gift a thoughtful and special feel. Layer the sheets of tissue paper inside the bag, allowing some to peek out, which adds dimension and intrigue. By thoughtfully selecting your tissue paper and adding those final details, you're not just wrapping a gift; you're creating an unforgettable presentation that will leave a lasting impression.
200 Sheets Tissue Paper, 20 Colors 14" X 20" Tissue Papers for Gift Bags Birthday Party Flower Decoration, Colored Tissue Paper Bulk for Packaging
20 COLORS AVAILABLE – This colorful tissue paper provides 20 classic colors (10 pieces of each color), such…
As an affiliate, we earn on qualifying purchases.
As an affiliate, we earn on qualifying purchases.
Gift Wrapping Fundamentals

Gift wrapping isn't just about putting a present in a bag; it's an art that enhances the excitement of giving and receiving. To elevate your gift's presentation, start by laying the tissue paper flat. Pinch it in the center and swirl it to create volume. This technique adds a visually appealing effect that draws the eye.
For smaller Rose size bags, use two sheets of tissue paper, while four sheets work best for larger Vogue size bags. This ensures you fill the space adequately and secure the gift inside. Mixing colors and patterns can create a dynamic look, but make sure the tissue paper coordinates with the bag color for a cohesive presentation.
Once you've placed the tissue paper in the bag, fluff it up as needed. This step is crucial for achieving an aesthetically pleasing display. Finally, consider adding a cute raffia bow or a pre-tied satin bow as a finishing touch. These small details can significantly elevate the overall appearance of your gift bag, making it even more special for the recipient. Remember, the goal is to create an inviting and exciting experience right from the first glance!

White Glitter Tissue Paper for Gift Bags 36 Sheets 14×20 Inch – Recyclable Wrapping Paper for Weddings, Birthdays, Party & Festival Decorations DIY Craft Supplies
Subtle & Elegant Embedded Glitter: Our tissue paper features glitter embedded directly into the paper, ensuring a luxurious…
As an affiliate, we earn on qualifying purchases.
As an affiliate, we earn on qualifying purchases.
Layer Colors for Visual Impact
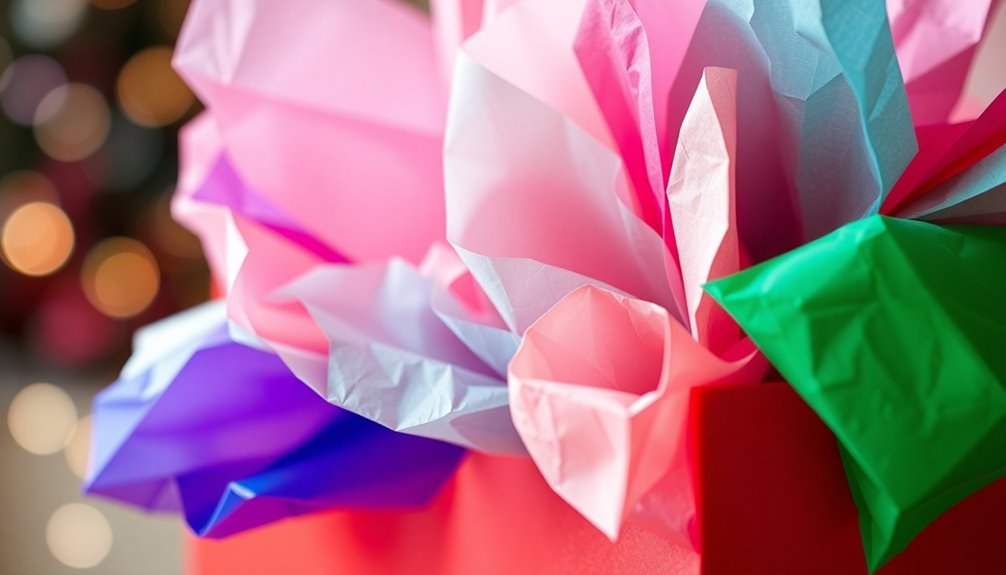
Creating a visually striking gift bag starts with layering colors of tissue paper. Mixing different colors and patterns not only adds vibrancy but also catches the eye. To achieve a cohesive look, coordinate the tissue paper colors with your gift bag; complementary colors or varying shades of the same hue work wonders.
Don't shy away from seasonal themes—select tissue paper colors and prints that reflect the occasion. For instance, use pastels for spring celebrations or rich tones for autumn gatherings. Layering different textures also enhances the visual appeal; combining solid colors with fun prints adds depth and interest.
When it comes to volume, consider the size of your bag. For smaller bags, using two sheets creates a pleasing fullness, while larger bags benefit from four sheets. This ensures your layered colors stand out beautifully, resulting in a fuller presentation.
White Glitter Tissue Paper for Gift Bags 36 Sheets 14×20 Inch – Recyclable Wrapping Paper for Weddings, Birthdays, Party & Festival Decorations DIY Craft Supplies
Subtle & Elegant Embedded Glitter: Our tissue paper features glitter embedded directly into the paper, ensuring a luxurious…
As an affiliate, we earn on qualifying purchases.
As an affiliate, we earn on qualifying purchases.
Advantages and Disadvantages

Layering tissue paper adds visual appeal, but it's important to consider the advantages and disadvantages. One significant advantage is the enhanced presentation. Tissue paper adds volume and color, making your gift visually exciting to unwrap. You can mix and match different colors and patterns to create a unique aesthetic that reflects the recipient's personality or the occasion. Plus, if you fluff the tissue paper properly, it can provide additional protection for fragile items, helping to prevent damage during transport.
However, there are downsides to using tissue paper. Excessive use can lead to waste, especially if you're wrapping smaller items, which might increase your costs. You don't want to overdo it and end up throwing away unused paper. Additionally, if you place the tissue paper poorly or let it become overly crumpled, it can detract from the overall presentation. Instead of looking thoughtfully arranged, your gift might come across as haphazard. Balancing the use of tissue paper while being mindful of its potential downsides ensures your gift looks both beautiful and intentional.
Successful Birthday Party Gifts
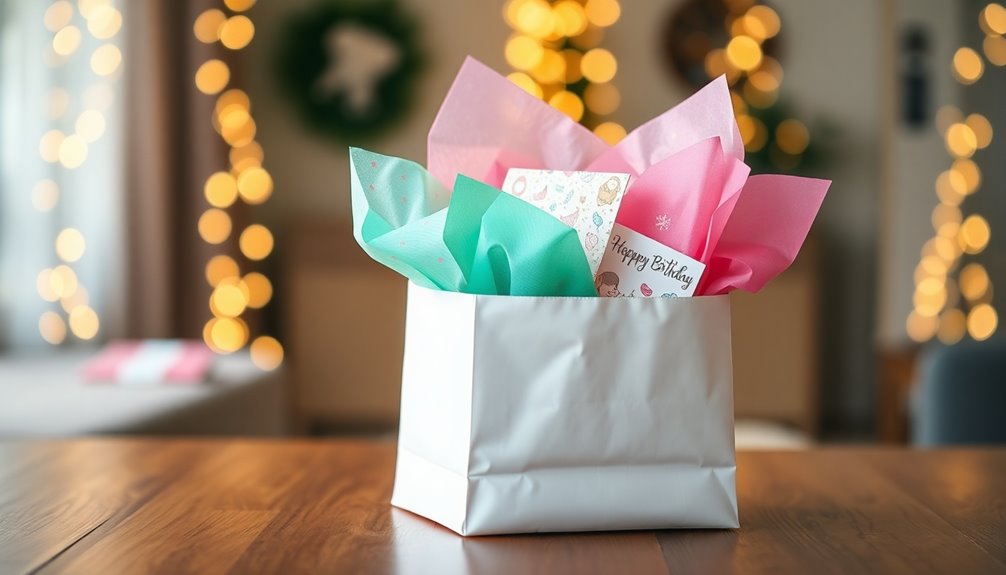
Celebrating a birthday is all about joy and thoughtfulness, and how you present your gift can amplify that experience. To create an eye-catching presentation, opt for vibrant tissue paper, like hot pink, to set a festive mood. For smaller gift bags, using two sheets of tissue paper can enhance the visual appeal, while one sheet or half sheet is perfect for less bulky items.
Mixing and matching colors and patterns can lead to unique, personalized gift presentations that reflect the recipient's personality or interests. Think about incorporating seasonal themes or fun prints that align with the birthday celebration's vibe, making the gifting experience memorable.
Don't forget the finishing touch! Adding a cute raffia or satin bow can elevate the overall presentation, making your gift even more exciting to unwrap. This small detail can make a big difference, showing the recipient that you put extra thought into their gift. By carefully selecting tissue paper and embellishments, you'll create a delightful and memorable gift that brings even more joy to the celebration. So, get creative and let your gift stand out at the next birthday party!
Tissue Paper Arrangement Techniques
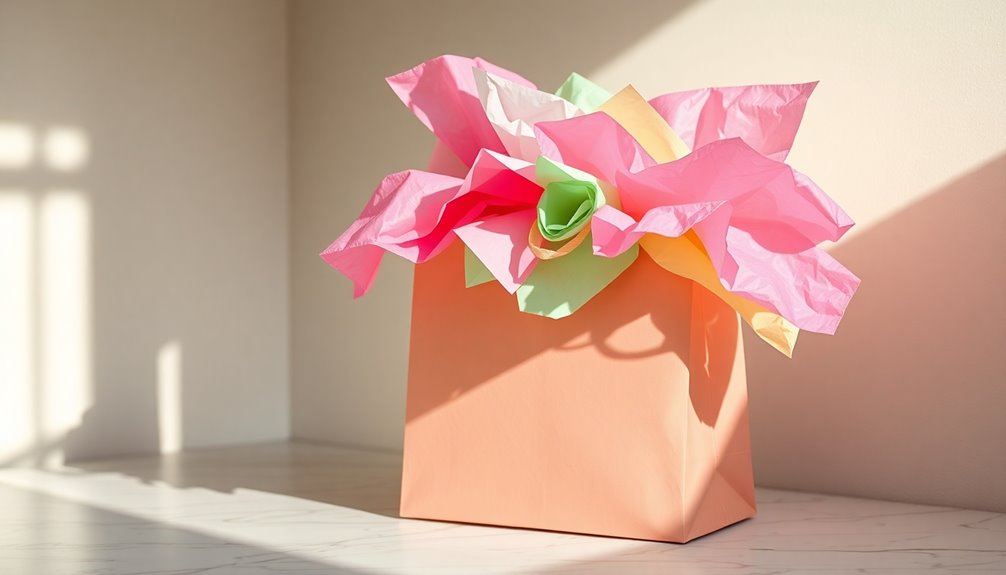
When you want to make your gift bag pop, mastering tissue paper arrangement techniques is key. Start by opening your tissue paper flat, then pinch it in the center and swirl it gently. This creates volume and gives your bag a playful touch.
For smaller Rose size bags, using two sheets of tissue paper will provide a nice lift. If you're working with even smaller bags, a single sheet or half can save resources while still looking great. On the flip side, for larger Vogue size bags, aim for four sheets of tissue paper to ensure it looks full and inviting.
Don't shy away from mixing colors and patterns! This not only enhances the visual appeal but also adds a festive vibe to your gift. After placing the tissue paper in the bag, take a moment to fluff it up as needed. Adjusting the paper ensures it looks well-arranged and adds to the overall presentation. With these simple techniques, you'll elevate your gift bag and delight the recipient even before they see what's inside!
Frequently Asked Questions
What Is the Proper Way to Put Tissue Paper in a Gift Bag?
To properly put tissue paper in a gift bag, start by laying it flat and pinching the center to create some volume. For smaller bags, use two sheets, and for larger ones, aim for four for a fuller look. Once you place the paper inside, fluff it up to enhance its appearance and cover the gift. Coordinate colors and patterns with the bag, then finish off with a decorative bow for that extra touch.
How Many Sheets of Tissue Paper per Gift Bag?
When you're deciding how many sheets of tissue paper to use, think about the size of your gift bag. For smaller bags, two sheets usually offer enough coverage, while very small items might only need one or even half a sheet. Larger bags typically require four sheets for a full look. Mixing colors and patterns can enhance the presentation, but always fluff and arrange the tissue paper for the best effect!
How to Fill a Gift Basket With Tissue Paper?
To fill a gift basket with tissue paper, start by choosing vibrant colors that complement your gifts. Use two to four sheets, depending on the basket's size. Open the tissue paper flat, pinch it in the center, and swirl it for a fluffy look. Layer the sheets around your items, tucking them in between gifts and letting some overflow. Finish with decorative accents like bows or ribbons for an eye-catching presentation.
How Do You Put a Gift in a Paper Bag?
To put a gift in a paper bag, start by identifying the front and back by locating the seam. Position your gift inside the bag, ensuring it fits comfortably without any force. Next, take a sheet of tissue paper, open it flat, and pinch the center to create volume. Place it over the gift and fluff it for a nice presentation. Finally, consider adding a bow or raffia for that extra touch!