To fold gift wrapping paper like a pro, start by measuring enough paper to extend 2-3 inches beyond your gift box edges. Lay your gift face down, then snugly fold over one short side and secure it with tape. Tuck the corners into neat triangles along the long sides. Pull the paper tight and crease the edges firmly for a polished look. Use double-sided tape for a seamless finish. If you're working with unusual shapes, just remember to measure carefully. There are great tips to make your gift presentation even more special waiting to be explored.
Key Takeaways
- Lay the gift face down on the wrapping paper, ensuring it covers the entire item adequately.
- Fold the paper over the short side snugly and secure it with tape for a clean start.
- Tuck the corners to form neat triangles on the long sides, creating sharp edges.
- Use double-sided tape for a seamless finish and to minimize visible adhesive on the wrapping.
- Firmly crease all edges and corners to maintain a polished and professional appearance.

Little ELF Wrapping Paper Cutter (2-Pack) | As seen on Shark Tank | Made in USA | Green | Holiday Gift Wrap Paper Roll Holder and Cutter
Gift Wrapping Made Fun and Easy! – As Seen on Shark Tank, Little ELF Gift Wrap Cutter has…
As an affiliate, we earn on qualifying purchases.
As an affiliate, we earn on qualifying purchases.
Choosing the Right Paper
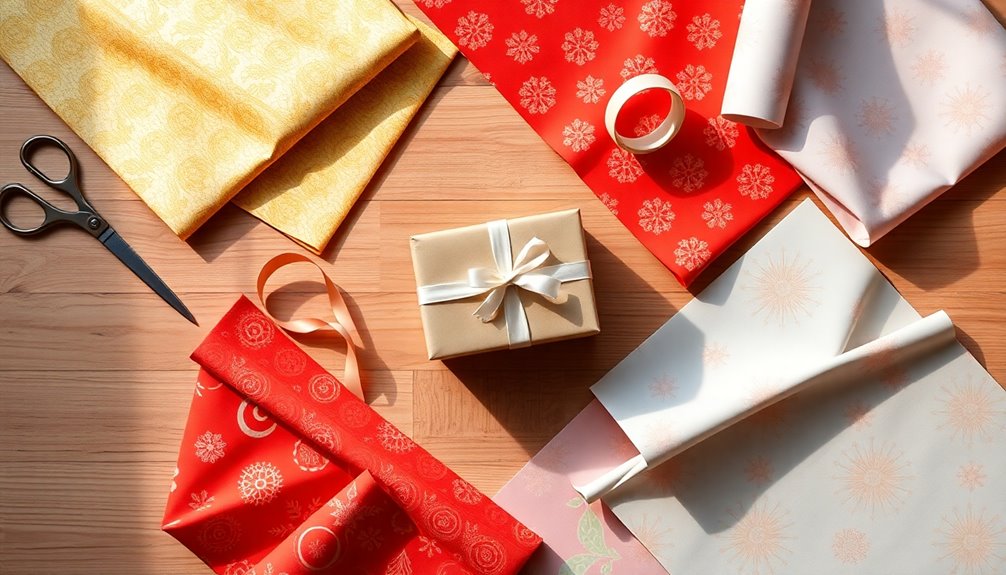
When you're choosing the right wrapping paper, it's important to contemplate both the gift and the occasion. You want to select sturdy paper that can handle the weight and shape of your present. If you pick flimsy paper, you might find yourself in a frustrating situation where you can't tell if it'll withstand the wrapping process without tearing.
Reflect on the size of the wrapping paper roll too. Standard rolls are usually 30 inches wide and can wrap multiple gifts, which is ideal for larger projects.
For visual appeal, opt for patterned or textured paper; these options help disguise any tape you use and elevate the overall look of the gift.
Also, think about the finish of the paper. Glossy paper can bring an elegant touch for formal occasions, while matte paper fits a more casual or rustic vibe.
Finally, don't forget to reflect on the recipient's preferences and the theme of the event. The right wrapping paper can enhance the presentation and make your gift even more special! Additionally, consider using eco-friendly options that can minimize waste and contribute to a more sustainable gifting experience.

Scotch Double-Sided Tape, 1/2 in x 250 in (12.7 mm x 6.35 m), 3 Pack
DOUBLE SIDED TAPE FOR ARTS AND CRAFTS: 3 rolls of Scotch Double Sided Tape, each with a Tape…
As an affiliate, we earn on qualifying purchases.
As an affiliate, we earn on qualifying purchases.
Preparing the Gift
To prepare your gift for wrapping, start by ensuring you have a flat, clean surface to work on. This makes it easier to manipulate the wrapping paper without any distractions.
Next, choose a sturdy wrapping paper that complements the gift and suits the occasion. Once you have your paper ready, place the gift box in the center and measure the paper. You'll want to cut enough paper so it extends about 2-3 inches beyond the box edges on all sides.
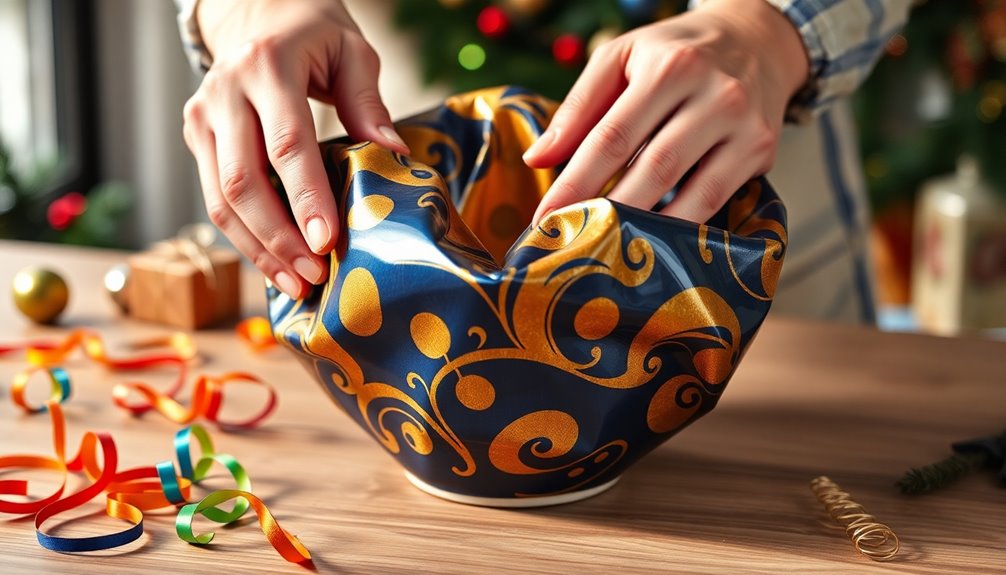
Now, flip the gift box onto its bottom side. This technique allows you to secure the first folds without exposing the top of the box, keeping it hidden until the big reveal.
Carefully fold the paper over the sides of the box, making sure the edges are creased firmly. A crisp crease will give your gift a polished look.
Before you finish, check that everything looks neat and tidy, and then secure the folds with tape. With these steps, your gift will be well-prepared for the next stage of wrapping, ensuring it looks as great as the gift itself!
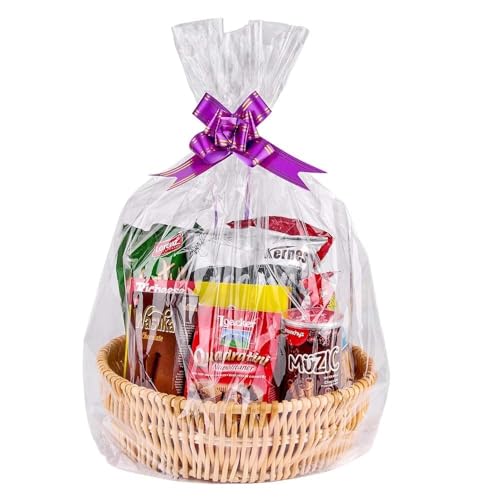
Awpeye Clear Basket Bags 20Pack Large Cellophane Gift Bags for Baskets Cellophane Wrap for Gift 2 Mil Thick (24"x30")
Large Size Value Pack – 20 pack, 24 x 30 inches (60 x 76 cm). Each bag fits…
As an affiliate, we earn on qualifying purchases.
As an affiliate, we earn on qualifying purchases.
Mastering the Basic Fold

With your gift securely wrapped and the edges neatly folded, it's time to master the basic fold. Start by laying your gift face down on the wrapping paper, making certain the paper extends 2-3 inches beyond the edges of the box for adequate coverage.
Next, fold the paper over the short side of the gift, pulling it snugly to create clean edges, and secure it with tape.
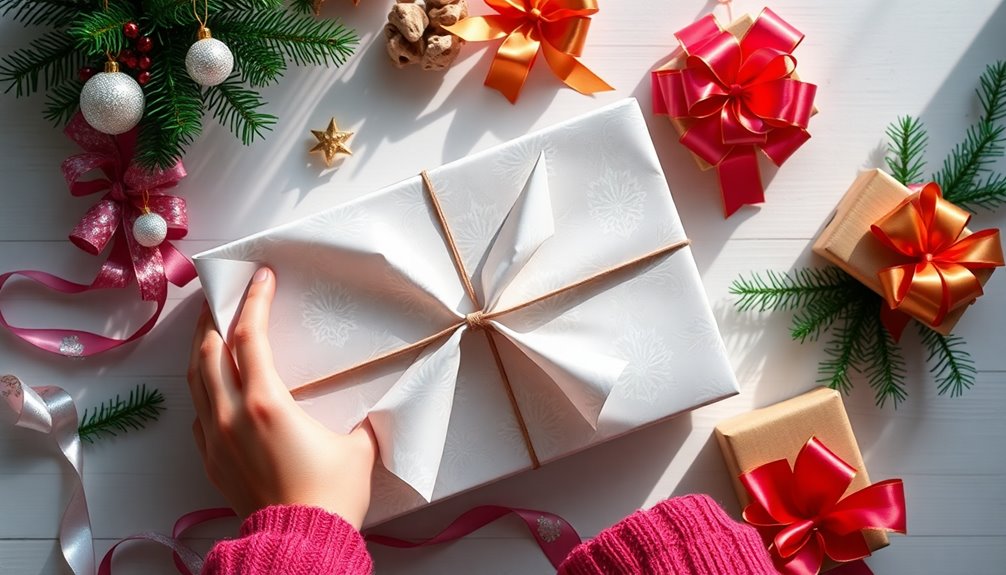
Now, move to the long sides. Fold the paper over the gift, tucking in the corners to form neat triangular shapes. This step is essential for a polished look, so take your time to guarantee the corners are well tucked. Once you've done that, secure the folded paper with tape.
Finally, for a seamless finish, fold down the top flap and apply double-sided tape. This technique hides the tape and gives your gift a professional appearance.
Remember to practice creasing the edges firmly while folding to prevent any loose wrapping. Following these steps will help you achieve a beautifully wrapped gift that's sure to impress!
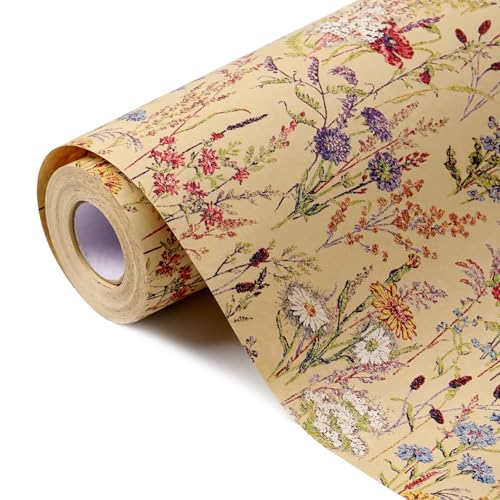
Tyzarglef Wild Flower Wrapping Paper Roll, 17 Inches x 32.8 Feet Kraft Floral Design Wrapping Paper for Women Girls Gifts, Birthdays, Weddings, Bridal Shower and Engagement
FLORAL PATTERN WRAPPING PAPER ROLL: Elevate your gifts with our charming wild flower wrapping paper, Each design features…
As an affiliate, we earn on qualifying purchases.
As an affiliate, we earn on qualifying purchases.
Neat Corner Techniques

Creating neat corners is essential for achieving that polished look you want in your gift wrapping. To start, fold the wrapping paper down to cover the end of the box, making sure it fits snugly against the sides. Next, tuck in the sides to form a triangle shape, then flatten the triangle against the box for a clean edge.
Here are some tips to help you master neat corners:
- Use double-sided tape to secure the corners, minimizing visible tape and enhancing your gift's appearance.
- Pull the paper tight and crease firmly at the corners to maintain that crisp, professional look.
- Experiment with different folding techniques to find what works best for you; practice makes perfect!
- Check for symmetry as you wrap, ensuring the corners look balanced and neat from every angle.
With these techniques, you'll elevate your gift wrapping game and impress everyone with your attention to detail.
Wrapping Unusual Shapes
When you're wrapping unusual shapes, measuring your paper needs accurately is key.
Use a ball or similar object to help visualize how much paper you'll require for proper coverage.
Once you've got your paper cut, focus on securing any odd edges with tape to keep everything neat and tidy.
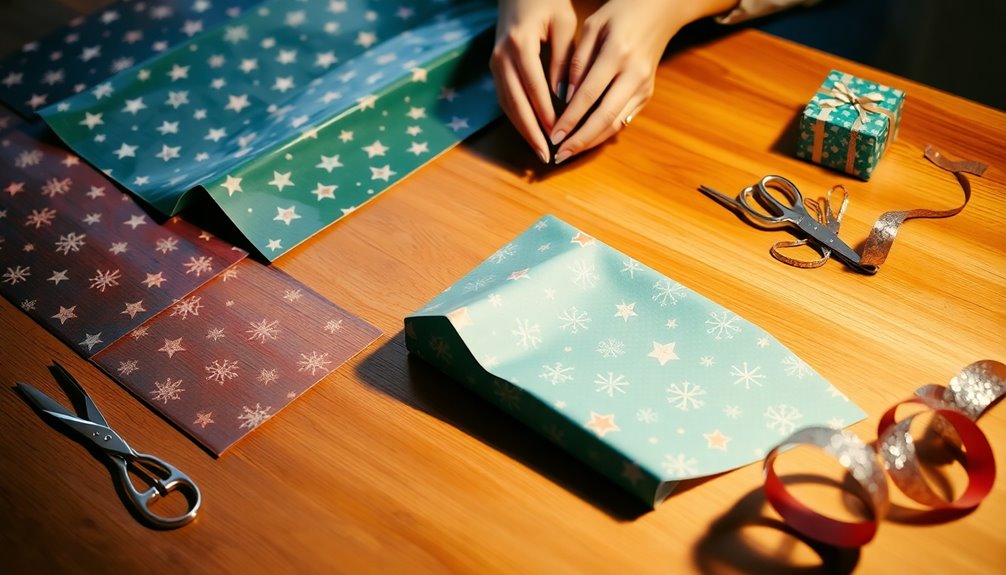
Measuring Paper Requirements
Measuring the right amount of wrapping paper for unusually shaped gifts can be tricky, but it's essential for a neat presentation.
Start by placing the gift in the center of your flat sheet of paper. Fold the paper over to guarantee it covers the entire item, leaving a few extra inches on each side. If the gift is round or has an irregular shape, you can use a ball or similar object to estimate how much paper you'll need. Wrap the paper around the object to visualize the coverage.
To make wrapping easier, fold the paper in half lengthwise, bringing the edges toward the center. This creates a more manageable size for odd shapes.
Consider these tips:
- Create a diamond shape at the bottom to stabilize awkwardly shaped items.
- Always use extra paper to allow for easier folding and securing.
- Visualize coverage using a similar object for better estimation.
- Practice makes perfect; don't hesitate to measure and adjust as needed.
With these strategies, you'll guarantee that your unusual gifts are wrapped beautifully!
Securing Odd Edges
Once you've got your wrapping paper in place, focusing on securing odd edges becomes essential for a polished finish. For gifts with unusual shapes, you'll want to fold the wrapping paper inwards at the top corners to create a triangular flap. This not only stabilizes the paper but also gives a neat appearance. Use ample tape on all edges to prevent any unraveling.
To secure the base, create a diamond shape by folding the paper inwards from the sides. This technique makes handling odd shapes much easier. Tuck under any excess paper at the seams for a clean finish. For an even sleeker look, consider using double-sided tape to hide the adhesive.
If you're wrapping rounded or irregular items, opt for thinner wrapping paper. It's more pliable and will contour better to your gift's shape.
| Tip | Emotion Evoked |
|---|---|
| Triangular Flaps | Satisfaction in neatness |
| Ample Tape | Security and assurance |
| Thinner Paper | Flexibility and creativity |
Adding Creative Finishing Touches
When you're ready to add those creative finishing touches, think about unique bow ideas that can really elevate your gift.
You can also personalize your wrapping with custom tags or labels that show you put thought into it.
These small details can make your present feel extra special and memorable for the recipient.
Unique Bow Ideas
Adding a unique bow can elevate your gift wrapping to a whole new level. Instead of sticking to the standard bow, get creative with various materials and techniques that will make your gift stand out.
Here are some ideas to inspire you:
- Classic Ribbon Bow: Cut a length of ribbon, make loops, and secure the center with wire or string for a sophisticated look.
- Floral Accent Bow: Gather small faux flowers or leaves and attach them at the center of a simple bow for a whimsical touch.
- Paper Bow: Use leftover wrapping paper by cutting strips, twisting them into loops, and layering them for a textured effect.
- Rustic Fabric Bow: Craft a bow from burlap or fabric to add a charming, homemade feel to your gift.
Experiment with different materials like twine or metallic foil to create eye-catching bows that pop against your wrapping paper.
Whether you opt for something classic or whimsical, these unique bow ideas will add that special finishing touch to your beautifully wrapped gifts.
Personal Touches
To make your gift truly memorable, incorporating personal touches can take your wrapping to the next level. Start by creating handmade gift tags using decorative paper or cardstock. Personalize these tags with the recipient's name or a heartfelt message that shows you care.
Next, consider adding natural elements like twine, dried flowers, or sprigs of pine. These embellishments give your gift a rustic, organic feel that stands out.
If you're looking to elevate the overall appearance, layer different types of wrapping paper or use patterned paper. This creates an eye-catching visual effect that draws attention.
Don't forget about the bows! Craft unique bows using fabric or ribbon in various textures and colors to make your gift pop.
Finally, think about the recipient's interests or the occasion when choosing decorations. Whether it's a favorite color or a seasonal theme, these small details make your gift feel more thoughtful.
Frequently Asked Questions
How Do You Fold Wrapping Paper Nicely?
To fold wrapping paper nicely, start by cutting it to size, allowing extra for clean edges.
Tuck the corners under, forming neat triangles for a polished finish. When you fold the long sides, pull the paper tight and crease it well for definition.
For the top flap, use double-sided tape to keep everything looking seamless.
Finally, practice diamond folds on the ends for a stable and attractive wrap around any gift.
How to Get the Perfect Amount of Wrapping Paper?
To get the perfect amount of wrapping paper, start by measuring your gift box's dimensions.
Add 2-3 inches to each side to guarantee full coverage. For height, the paper should extend at least three-quarters the box's height.
When cutting, make certain the width wraps around completely, adding those extra inches.
If the item's oddly shaped, using something like a ball can help you gauge the right amount needed for a tailored cut.
How to Cut Gift Wrapping Paper?
To cut gift wrapping paper, first measure your gift box and add 2-3 inches on all sides for a proper fit.
Use sharp scissors to guarantee clean cuts, avoiding jagged edges.
Lay the paper flat on a surface to keep it steady while you cut.
If your item is oddly shaped, wrap a similar object to gauge how much paper you'll need before making your cuts.
This'll help you achieve a neat wrap!
How to Wrap a Gift Cleanly?
To wrap a gift cleanly, start by cutting your wrapping paper so it's a few inches larger than the box.
Flip the gift upside down and tape the short side first.
Pull the long sides snugly around the box, creasing the edges for sharp lines.
Tuck the corners into triangles for the ends and secure with tape.
Finally, finish by taping the top flap neatly, ensuring a professional appearance all around.
Conclusion
Now that you know how to fold gift wrapping paper like a pro, you can tackle any gift with confidence! Remember to choose the right paper, prepare your gift properly, and master those corner techniques for a polished look. Don't shy away from wrapping unusual shapes or adding your personal touch with creative finishes. With these skills, every gift you wrap will impress and delight the recipient. Happy wrapping!