To screen print on paper, start by creating a stencil using thin newsprint. Tape your screen securely to a stable hinged board to guarantee accurate alignment. Make sure to mark hinge positions on the paper for consistency. Apply ink with a squeegee held at a near-upright angle, maintaining a 1/16 inch off-contact distance for the best transfer. Consider preheating the surface briefly to improve adhesion. Finally, clean your screen promptly after use to keep it in great shape. There's a lot more to explore, including tips for vibrant colors and multi-layer prints, so be sure to discover additional insights!
Key Takeaways
- Design your stencil on newsprint, ensuring it is thin and strong for effective ink transfer onto printed paper.
- Securely tape the screen to the printing surface to prevent movement and ensure clean prints during application.
- Use a squeegee at a near-upright angle to apply even pressure and achieve consistent ink coverage on the paper.
- Maintain an off-contact distance of 1/16 inch between the screen and paper for optimal ink flow and transfer.
- Clean the screen promptly after printing to prevent ink clogging and maintain screen quality for future use.
Overview of Screen Printing
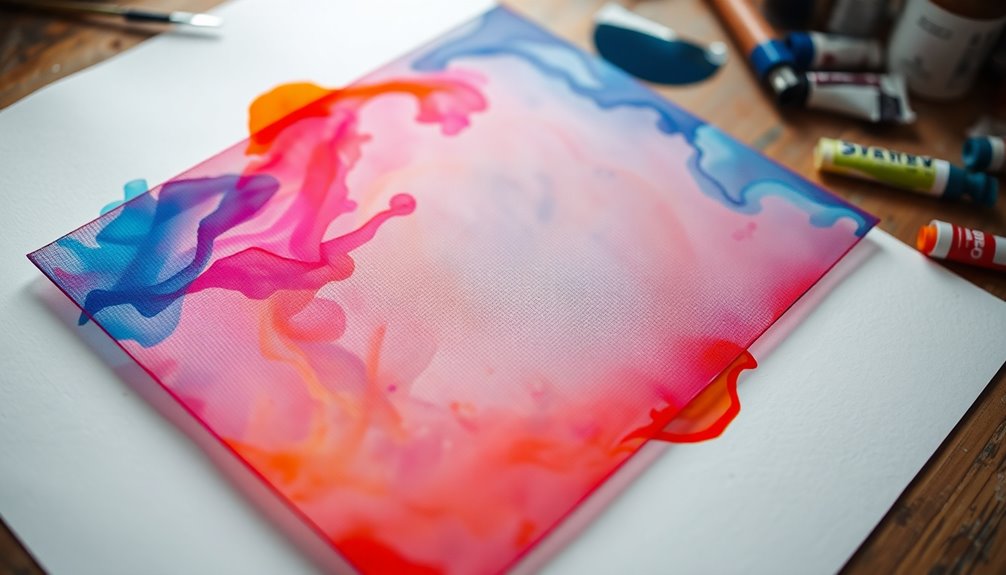
Screen printing is a dynamic technique that lets you push ink through a fine mesh screen onto various surfaces, like paper and fabric. This method involves creating a stencil that blocks out specific areas of the screen, allowing ink to pass through only where you want your design to appear.
The versatility of screen printing means you can use it on different flat surfaces, including wood and metal, opening up a world of creative possibilities.
For beginners, starting with paper stencils is a great choice. They're simple to make and effective for producing multiple prints quickly. You can experiment with various designs without worrying too much about the complexity of your setup.
While you're getting the hang of screen printing, remember that proper cleaning and maintenance of your screens and tools are essential. Keeping your equipment in good condition prevents ink clogging and guarantees that your screens last longer.
As you immerse yourself in this exciting art form, you'll find that mastering the intricacies of screen printing can lead to stunning results in your projects. So, grab your screen and start exploring the creative potential of this engaging technique!
Necessary Tools and Materials

To successfully commence your screen printing journey, you'll need a few essential tools and materials that streamline the process and enhance your results.
First, a hinged board is fundamental for providing a stable setup, ensuring accurate alignment and registration of your prints. This stability allows you to work with fine mesh screens effectively.
Next, registration film will help you align prints accurately on your substrate, maintaining consistency across multiple layers or colors.
Don't forget about paper stencils; they're important for creating designs and can be easily cut and applied to your screen for quick printing sessions.
High-quality screen printing inks are also necessary; choose inks specifically formulated for the medium you're working with, such as acrylic inks for paper, to achieve vibrant and durable prints. Make sure you have enough ink to cover your designs fully without running dry.
Lastly, secure your screen using tape to prevent any movement during printing. This step is essential for maintaining both the integrity of your design and proper alignment throughout the process.
With these tools and materials, you're well on your way to successful screen printing!
Steps for Stencil Application
Applying a stencil correctly is essential for achieving crisp and vibrant prints. Follow these steps to guarantee a successful stencil application:
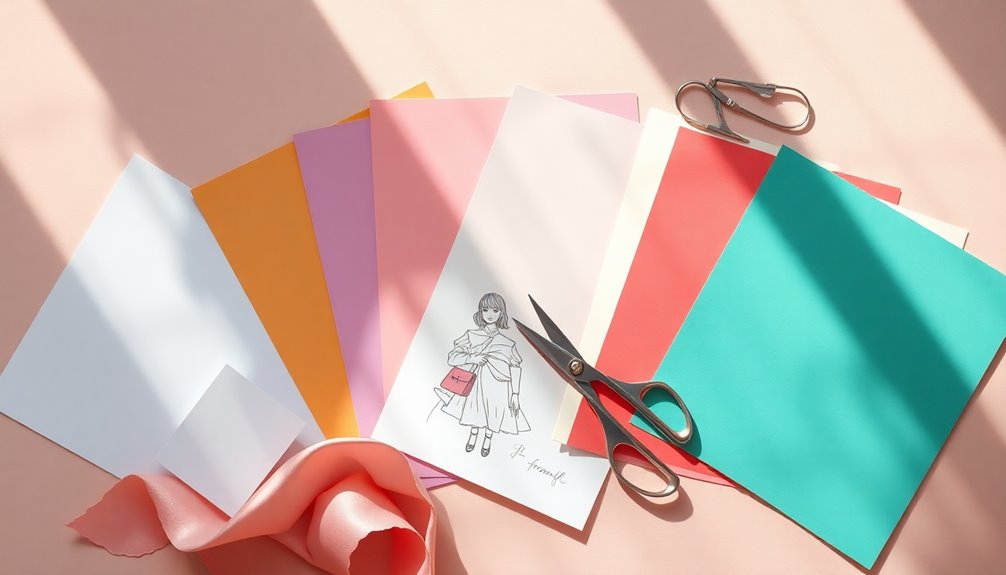
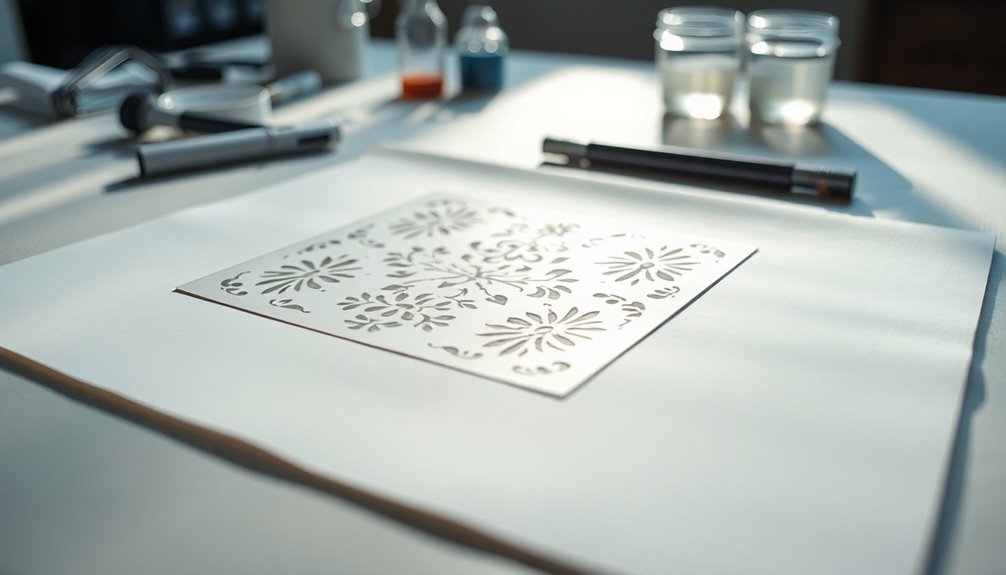
- Design your stencil: Start by creating a stencil design and cut it out from newsprint. This material is preferred for its thin yet strong properties, making sure it adheres well to the screen.
- Mark hinge positions: Use a chinagraph or All Surface pencil to mark hinge positions on the printing paper. This helps align your stencil accurately during the printing process.
- Tape the screen edges: Secure the edges of the screen with parcel or blue tape. This prevents ink leaks and guarantees a clean application when the stencil is placed on the screen.
- Test your stencil: Position the stencil and test it on scrap paper first. This allows you to evaluate design clarity and registration before moving on to the final prints.
- Use registration guides: Tape registration guides to the board to maintain consistent placement for multiple prints. This guarantees layers align correctly for best results.
Printing Techniques and Tips
Precision in printing makes all the difference in achieving professional-quality results.
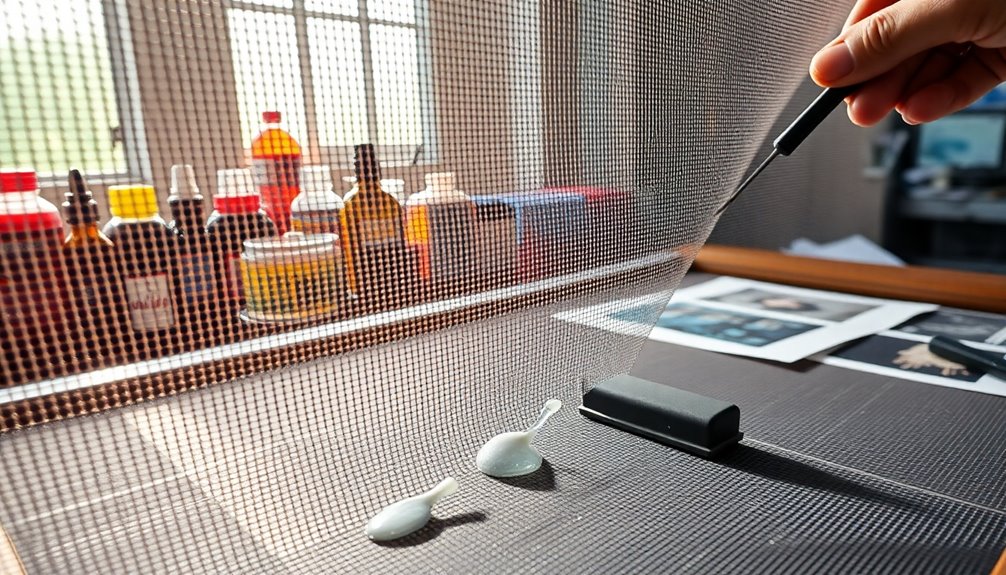
To start, use a squeegee at a near-upright angle. This technique helps you apply even pressure while flooding the screen with ink, guaranteeing a consistent layer across the stencil. Maintaining a proper off-contact distance of about 1/16 inch between the back of the screen and the printing surface allows for better ink transfer and prevents smudging.
For best results, perform two passes of ink application, especially when printing on darker papers or fabrics. This extra step guarantees full coverage and enhances the final look.
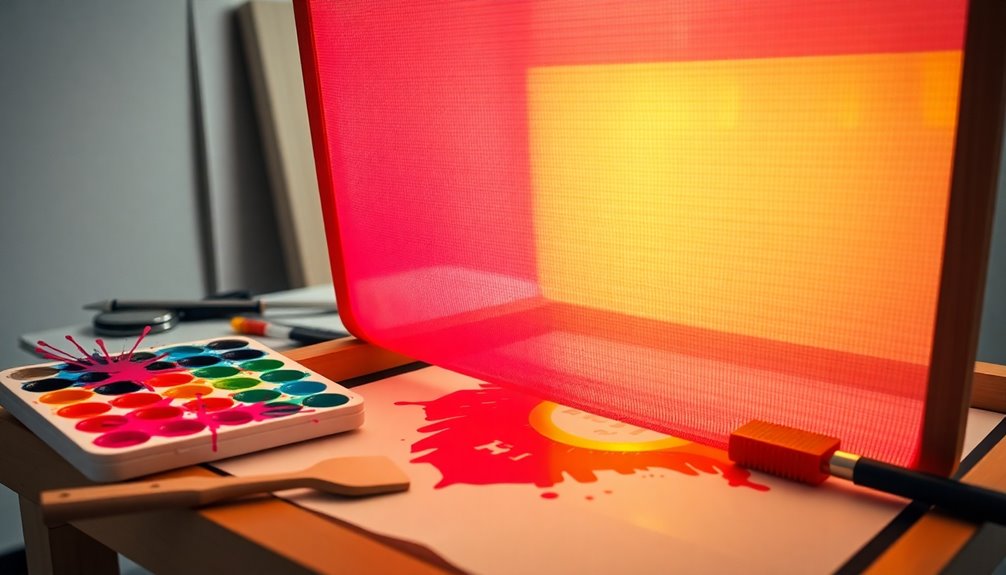
Additionally, preheating your printing surface for 3-5 seconds before placing the stencil can make it easier to print, as it prevents shrinkage and enhances adhesion during the process.
Finally, always clean the screen promptly after printing. Use water and a sponge to avoid ink clogging, which can compromise the integrity of the mesh for future projects.
Resources for Further Learning
Diving deeper into screen printing can greatly enhance your skills and creativity. By exploring various resources, you'll see how each can make a big difference in your projects.
Here are some valuable materials to help you on your journey:
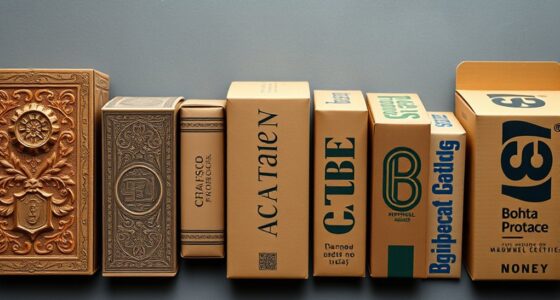
- "Screen Printing With Dave Buonaguidi": This book offers practical insights into techniques and best practices, perfect for beginners and seasoned printers alike.
- "A Guide to Inks": Learn about different ink types to choose the right one for your projects and surfaces.
- "Screen Printing With Screentec Aqua Art": Focuses on water-based inks, providing tips for quality prints while being eco-friendly.
- jacksonsart.com: An online platform offering a variety of materials, tools, and tutorials to enhance your learning experience.
- Tracing paper: Use this to map out layer placements for multi-color prints, aiding in precision and ensuring accurate registration.
These resources will help you understand how different elements work with one another.
Frequently Asked Questions
Can You Screen Print Paper?
Yes, you can definitely screen print on paper! It's a fun and creative way to make unique prints.
You'll need a fine mesh screen and a squeegee to push ink through your stencil onto the paper. For beginners, using paper stencils is a great choice since they're easy to work with.
Just remember to have a sturdy setup for stability and clean your tools right after to keep everything in top shape for next time!
How to Screenprint on Paper at Home?
To screen print on paper at home, start by setting up a sturdy workspace and securing your screen with clamps.
Create a stencil using newsprint, ensuring it's properly aligned.
Apply ink to the screen's edge, then use a squeegee to pull it across the stencil, maintaining even pressure.
After printing, clean the screen immediately with water.
Practice on scrap paper first to perfect your technique before moving on to your final designs.
How Do You Screen Print?
To screen print, you start by creating a stencil on a screen, typically using a photo emulsion.
Once your stencil's ready, lay your screen on top of the material you want to print on.
Apply ink at one end and use a squeegee to push it across the screen, transferring the design onto the surface below.
Lift the screen carefully, and let the ink dry completely before using or handling the printed item.
How Do You Screen Print Materials?
To screen print materials, you start by preparing a mesh screen with a stencil that blocks certain areas for your design.
Secure the screen to a hinged board with clamps, ensuring stability.
Mix your ink well and apply it along the screen's edge.
Use a squeegee at a near-upright angle to flood the screen.
Maintain a small gap between the screen and material for ideal ink transfer, and clean the screen promptly after printing.
Conclusion
Now that you've learned about screen printing, you're ready to get started on your own projects. With the right tools and techniques, you can create stunning prints that showcase your creativity. Remember to practice your stencil application and experiment with different printing methods to find what works best for you. Don't hesitate to explore additional resources to deepen your understanding. So, grab your materials, release your imagination, and enjoy the process of making art!