
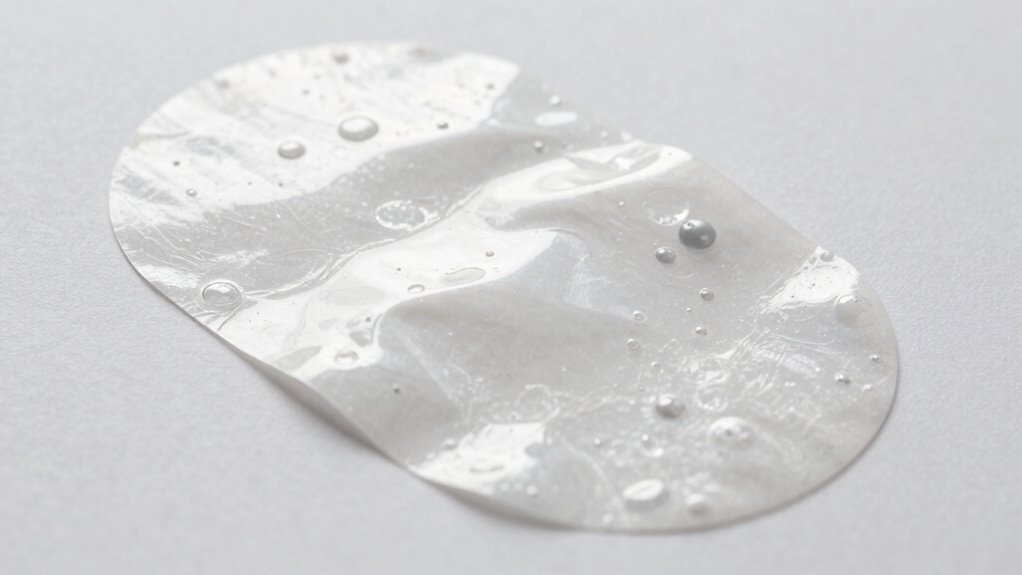
Applying labels crookedly, creating bubbles or wrinkles, and peeling edges make your packaging look unprofessional and cheap. Poor surface preparation or using the wrong adhesive can cause these mistakes, signaling rushed work or low quality. Inconsistent application and improper tools worsen the look, hurting your brand image. To avoid these issues and guarantee your packaging appears polished, you’ll discover effective techniques and tips that can elevate your label application process as you go along.
Key Takeaways
- Crooked or misaligned labels create an unprofessional, cheap appearance.
- Bubbles, wrinkles, or uneven edges signal rushed application and reduce product credibility.
- Poor surface preparation causes poor adhesion, resulting in peeling and an unpolished look.
- Using inappropriate or low-quality adhesive leads to peeling or lifting, making packaging look cheap.
- Inconsistent or hurried application techniques produce uneven, unappealing packaging presentation.
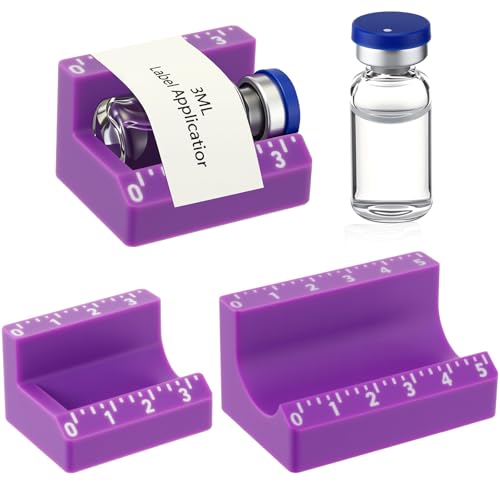
Fiwochic 2 Pcs Vial Label Applicator Bottle Labeling Application Tool for Small Jars Essential Oils Containers Bottles(Purple,3ml and 10ml)
Efficient Label Application: this label applicator set includes two sizes designed for 3ml and 10ml bottles; It ensures…
As an affiliate, we earn on qualifying purchases.
As an affiliate, we earn on qualifying purchases.
How Do You Recognize Poor Label Application That Looks Cheap
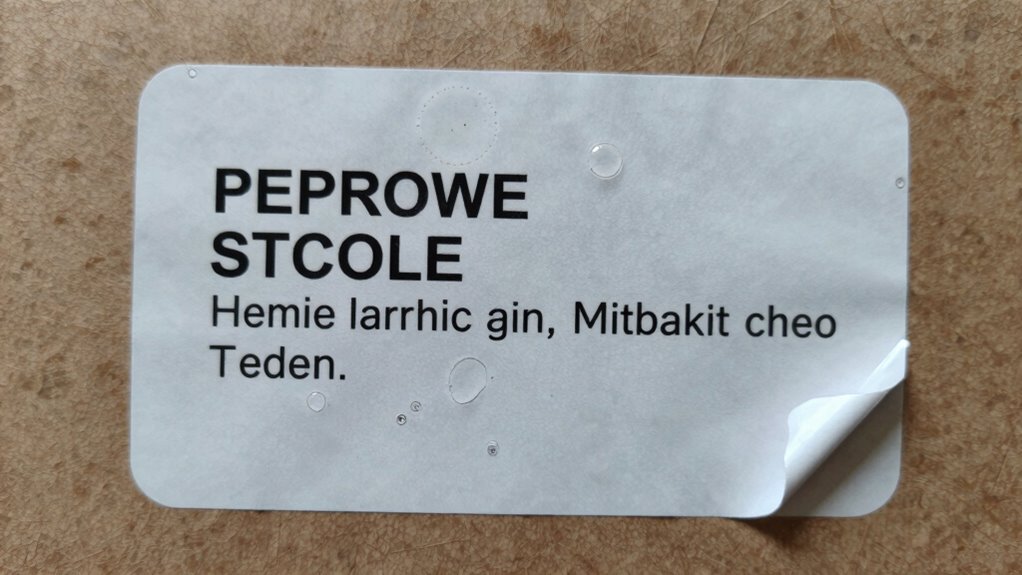
Have you ever noticed a label that looks uneven, wrinkled, or poorly aligned? These are clear signs of poor label application that can make your product appear cheap. Pay close attention to the label design—if elements are crooked or misaligned, it signals rushed work or inadequate attention to detail. Color coordination also plays a key role; mismatched or clashing colors can make the label look unprofessional. When applied correctly, labels should sit smoothly without bubbles or wrinkles, and all design elements should be perfectly aligned. If you spot uneven edges or inconsistent placement, it’s a sign that your labeling process needs improvement. Proper application guarantees your packaging looks polished and trustworthy, boosting your brand’s image. Additionally, understanding digital content accuracy can help ensure your labels are designed and displayed effectively across various platforms. Ensuring adhesive quality is also crucial, as poor adhesion can cause labels to peel or bubble over time, further diminishing perceived quality. Paying attention to quality control procedures can help catch these issues before products reach consumers. Implementing regular inspection protocols can further improve the overall appearance and durability of your labels, especially when considering factors like temperature sensitivity in different storage environments.
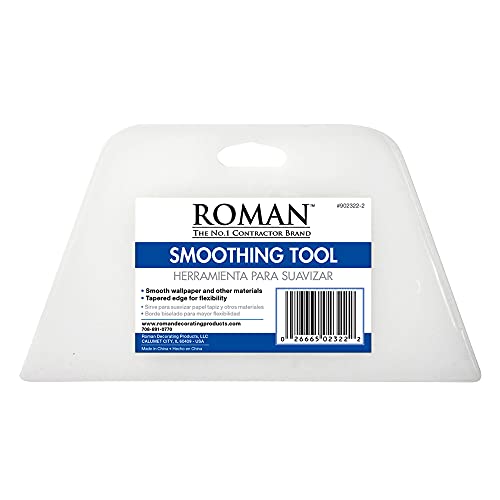
ROMAN’s Wallpaper Smoothing Tool for Home Improvement, Wallpaper Smoother for Installation, 7.75-Inch Wide, Plastic, White
PROFESSIONAL SMOOTH – The tool’s flexible tapered edges will create a professional smooth finish, eliminating stubborn bubbles on…
As an affiliate, we earn on qualifying purchases.
As an affiliate, we earn on qualifying purchases.
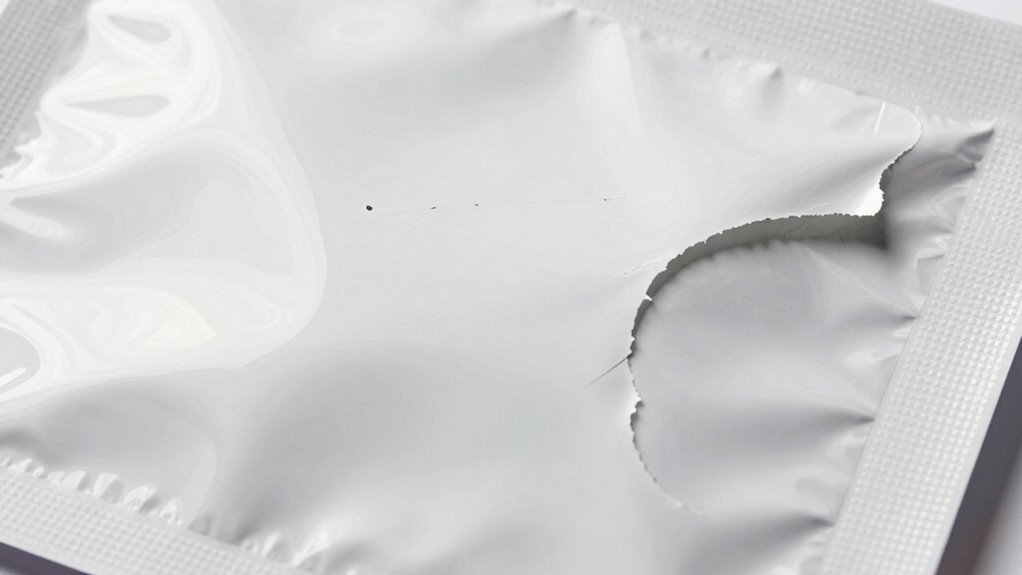
Why Crooked Labels and Bubbles Hurt Your Brand Perception
Crooked labels and bubbles can instantly diminish the professional look of your product, making it appear poorly manufactured or rushed. These imperfections directly impact your label quality, sending a message that you don’t care about detail. When labels aren’t applied straight or have air pockets, customers may perceive your brand as cheap or untrustworthy. This negative perception can deter buyers and harm your reputation, even if the product inside is high quality. Consistent, flawless label application shows that you prioritize presentation and quality control. By avoiding crooked labels and bubbles, you reinforce a positive brand perception and demonstrate professionalism. Proper label application techniques can help ensure your packaging looks polished and premium. In turn, customers are more likely to trust your brand and perceive your products as premium, helping you stand out in a competitive market.
Layver Manual Label Applicator, Handheld Labeling Tool, Portable Barcode Applicator Gun, Bubble-Free Label Applicator for Home Office Industrial Use 1” 3” Label Core
[Wide Label Compatibility]: Suitable for labels 0.8–1.8” (20–45mm) in length and 0.8–3.0” (20–75mm) in width. Compatible with label…
As an affiliate, we earn on qualifying purchases.
As an affiliate, we earn on qualifying purchases.
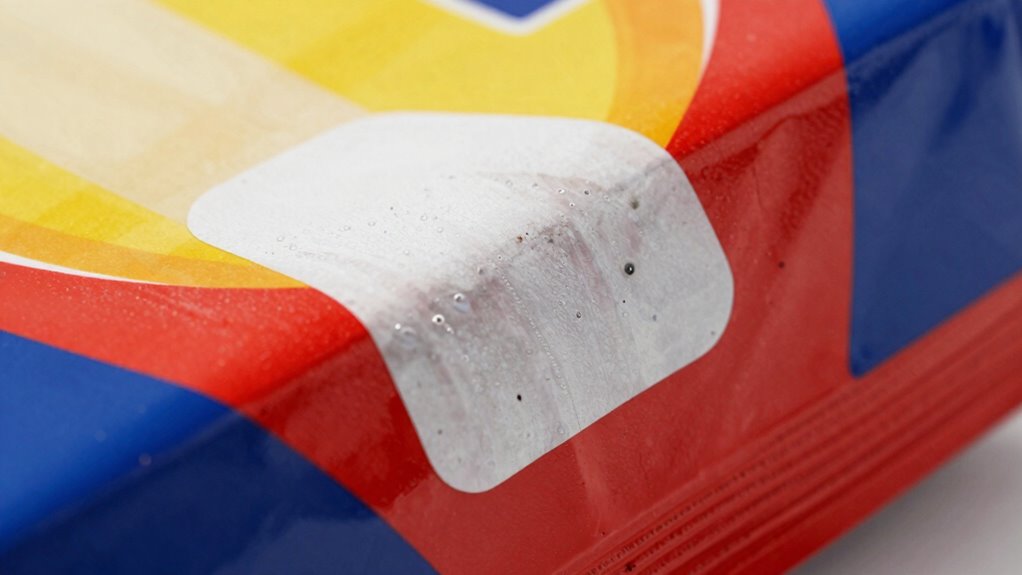
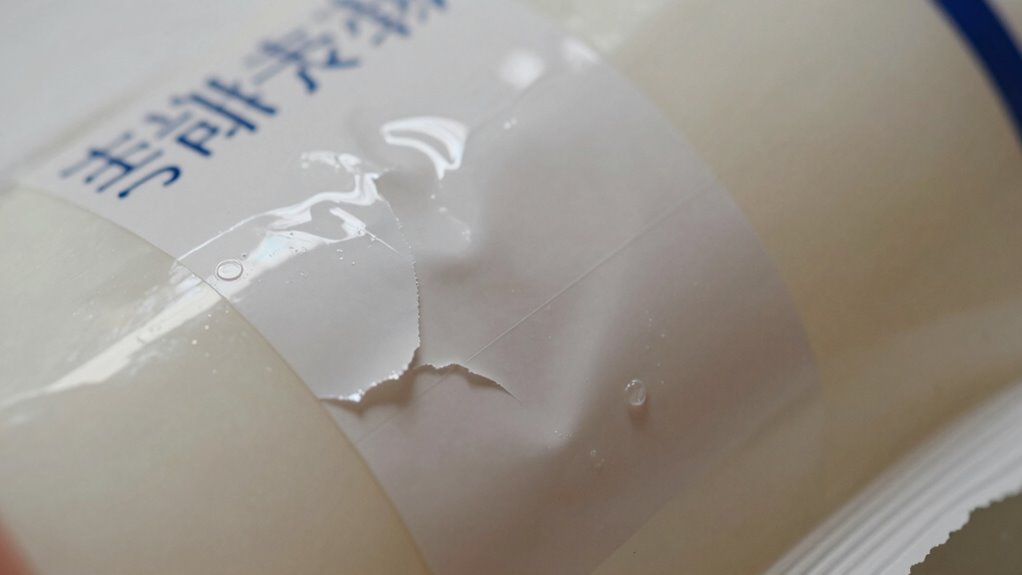
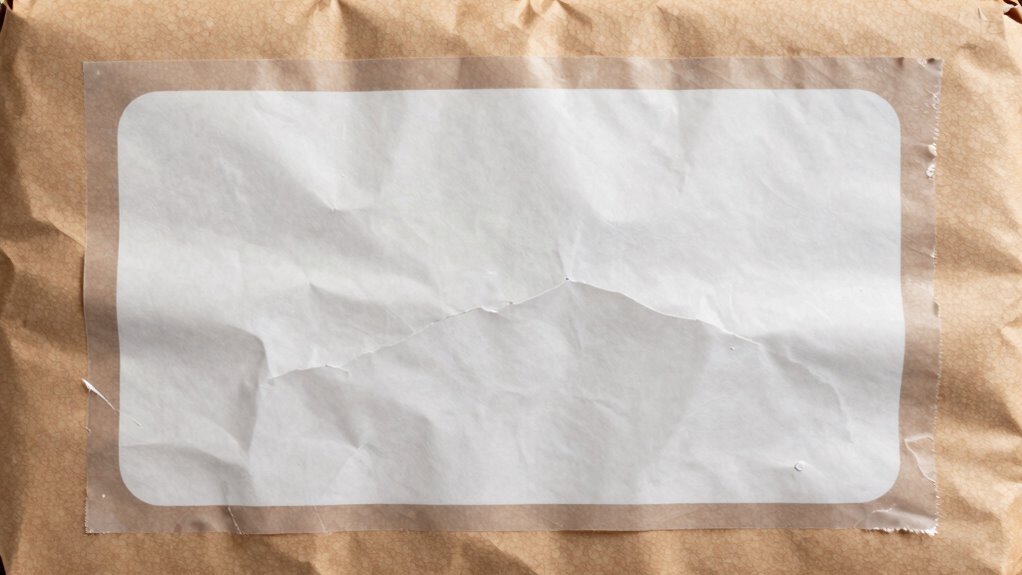
How Peeling Edges and Wrinkles Make Your Packaging Look Low-Quality
Peeling edges and wrinkles instantly signal low-quality packaging and can undermine your product’s overall appeal. When you see peeling edges, it suggests poor adhesive application or improper surface preparation, making the label look unprofessional. Wrinkled surfaces create an uneven appearance that distracts customers and implies carelessness. These issues can also cause labels to lift or peel further over time, reducing durability and appearance. If your packaging has peeling edges or wrinkles, it appears cheap and poorly made, damaging your brand’s credibility. To avoid this, guarantee the label adheres smoothly without bubbles or creases. Proper application techniques and quality materials help you achieve a clean, polished look that enhances your product’s perceived value. Additionally, selecting eco-friendly disposal methods and recyclable packaging can improve your brand image and demonstrate environmental responsibility. Paying attention to packaging standards and using reliable adhesives can prevent these issues from recurring. Ensuring proper surface preparation is essential for achieving a seamless finish and preventing adhesion failure. Using high-quality adhesives designed for specific surfaces can significantly reduce the risk of peeling and wrinkles. Employing proper surface preparation techniques is crucial for optimal adhesion and a professional appearance. Don’t let peeling edges and wrinkles sabotage your packaging’s professionalism.

(Upgraded – XL Size) Tshirt Ruler Guide Vinyl Alignment – Shirt Measurement Tool Placement Center Design, DTF Template, Left Chest Logo, Accessories for Cricut, Heat Press Sublimation Iron on HTV
Perfect Alignment, Less Stress – For XL Size: Say goodbye to crooked prints. Urboni’s "Triple Reference" Technique helps…
As an affiliate, we earn on qualifying purchases.
As an affiliate, we earn on qualifying purchases.
How to Choose the Right Adhesive for a Smooth, Professional Finish

Choosing the right adhesive is essential for achieving a smooth, professional finish on your labels. The key is selecting an adhesive that offers ideal label durability, ensuring your labels stay intact and look polished over time. Consider the surface material—smooth, rough, or textured—as different adhesives perform better on specific surfaces. For long-lasting adhesion, prioritize adhesives with strong adhesive longevity that resist moisture, heat, and handling. Testing small batches helps you gauge how well the adhesive performs in real conditions. Also, think about removal—if you need a temporary label, choose a removable adhesive; for permanent labels, opt for a stronger option. Making informed choices ensures your labels adhere smoothly and maintain their professional appearance, avoiding issues like peeling or wrinkling. Additionally, understanding adhesive categories can help you select the most suitable type for your project’s needs. Recognizing the environmental conditions your labels will face can further guide your adhesive selection process, especially when considering adhesive performance under varying conditions. Incorporating adhesive testing early in your process can save time and resources by preventing failed applications. Conducting compatibility tests with your specific surfaces can also help prevent unexpected issues during application.
How to Align Labels Perfectly for a Polished Look

Achieving perfectly aligned labels is essential for a polished, professional appearance, and it starts with careful preparation. First, verify your labels have consistent size and shape to promote label consistency. Use a ruler or guide to mark precise placement points on your packaging. When applying the label, align the edges carefully, checking that the top and sides match uniformly. Pay attention to font matching, choosing fonts and sizes that complement your branding and stay clear and legible. Take your time to position the label slowly, making adjustments as needed before pressing it down firmly. Consistent alignment not only enhances visual appeal but also demonstrates attention to detail, making your packaging look high-quality and trustworthy. Proper alignment is key to elevating your product presentation.
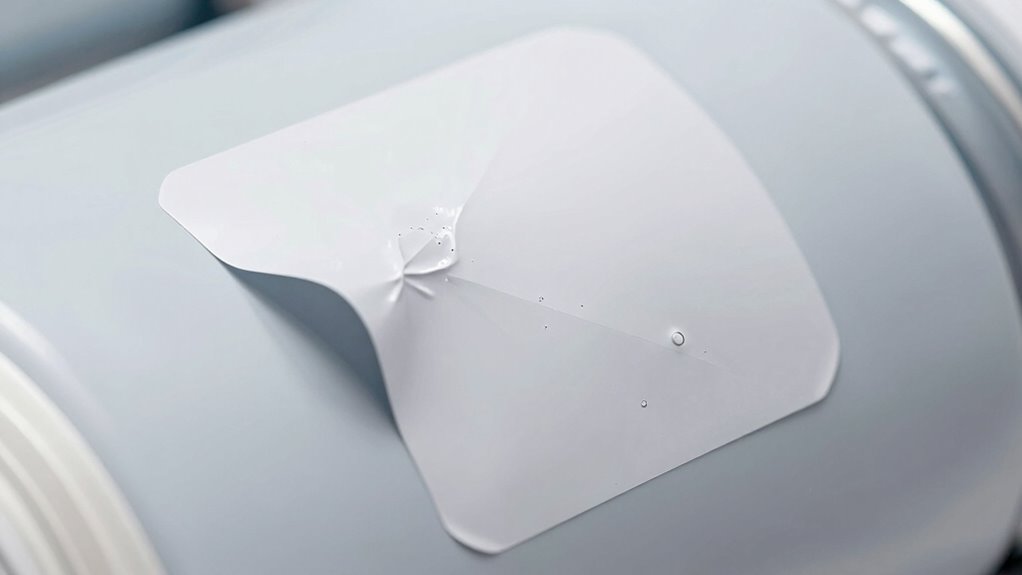
What Are Common Mistakes When Applying Labels on Curved or Irregular Surfaces
When applying labels to curved or irregular surfaces, skipping proper surface preparation can cause bubbles and misalignment. Choosing the right label material is essential, as some materials don’t conform well or stick properly on uneven shapes. Using the correct technique ensures the label adheres smoothly without wrinkles or peeling.
Proper Surface Preparation
Applying labels on curved or irregular surfaces often leads to mistakes if you skip proper surface preparation. Without this step, you risk poor label consistency and issues caused by surface texture. To ensure a smooth application, consider these points:
- Clean the surface thoroughly to remove dust, oil, and debris.
- Smooth out any surface imperfections or rough patches.
- Dry the surface completely to prevent bubbles and wrinkles.
- Test the label on a small area to check how it adheres and conforms.
- Recognize that surface texture can significantly impact label adhesion and appearance.
- Understanding surface preparation techniques is essential for achieving professional results.
- Paying attention to positive thoughts and intentions can help foster patience and precision during the application process.
- Using the right tools and techniques can make a notable difference in achieving a flawless finish.
- Developing a consistent application process can further improve the quality and appearance of your labels.
Neglecting these steps can cause uneven adhesion, misalignment, or wrinkling, making your packaging look cheap. Proper surface preparation ensures the label conforms well, maintains consistency, and enhances the overall appearance of your product.
Choosing Suitable Label Material
Choosing the right label material is essential for ensuring a smooth application on curved or irregular surfaces. Using unsuitable materials can lead to poor adhesion, wrinkles, or peeling, which diminish your product’s appearance. For curved surfaces, select labels with high flexibility and good label durability to conform seamlessly. Eco-friendly materials are also a smart choice, combining sustainability with performance. Consider the following options:
| Material Type | Flexibility | Eco Friendly | Best Use Cases |
|---|---|---|---|
| Vinyl | High | No | Curved bottles, jars |
| Paper | Moderate | Yes | Packaging with smooth surfaces |
| Polyester | Very high | Yes | Heavy-duty, outdoor use |
| Clear Films | Flexible | Yes | Transparent labels on curved surfaces |
Additionally, understanding label adhesion properties can help prevent issues related to material selection and surface compatibility. Proper surface preparation and choosing compatible adhesion techniques can further enhance the longevity and appearance of your labels. Being aware of environmental factors that affect adhesion can also improve label performance in various conditions.
Applying With Correct Technique
Even experienced label applicators can make mistakes when working on curved or irregular surfaces, which can compromise the label’s appearance and adhesion. To guarantee proper labeling techniques, follow these application tips:
- Clean the surface thoroughly to remove dust, oil, or moisture that can affect adhesion.
- Use a flexible squeegee or applicator tool to conform the label smoothly to curves.
- Apply pressure evenly across the label to prevent air bubbles and wrinkles.
- Work slowly, starting from the center and pressing outward, to ensure proper contact on uneven surfaces.
Mastering these labeling techniques minimizes mistakes and makes your packages look professional. Take your time, stay attentive, and adjust your approach based on the surface contours for best results.
How Using the Wrong Label Material Can Make Your Packaging Look Cheap
Choosing the wrong label material can instantly make your packaging look inexpensive. If the material isn’t high quality or suited for your product, it shows in the finish and durability. Using appropriate, premium labels helps your packaging appear professional and trustworthy.
Material Quality Matters
The material quality of your labels directly influences how your packaging is perceived. Poor-quality materials can lead to issues like peeling, smudging, or fading, making your product look cheap. To guarantee a premium appearance, focus on:
- Choosing materials with high label durability to withstand handling and environmental conditions.
- Selecting adhesives with strong adhesive strength to prevent peeling or lifting over time.
- Avoiding flimsy or thin labels that can tear easily or look tacky.
- Ensuring the material aligns with your product’s surface, whether smooth or textured, for a seamless look.
Investing in quality materials not only enhances the aesthetic but also extends the lifespan of your labels, maintaining a polished, professional appearance.
Inappropriate Label Types
Using the wrong label material can instantly diminish your product’s perceived value. Choosing an inappropriate label type, like flimsy paper on luxury items, sends the message that your product isn’t premium. The label material sets the tone—glossy vinyl looks sleek and high-end, while matte paper can seem cheap if not selected carefully. Adhesive selection is equally essential; a weak or overly sticky adhesive can cause peeling or damage, making your packaging look unprofessional. For products exposed to moisture or handling, opt for waterproof or industrial adhesives that hold well without damaging the label or packaging. Using the right label material combined with proper adhesive ensures your labels enhance, rather than detract from, your product’s image. Avoid cheap-looking labels by carefully matching material and adhesive to your brand’s quality standards.
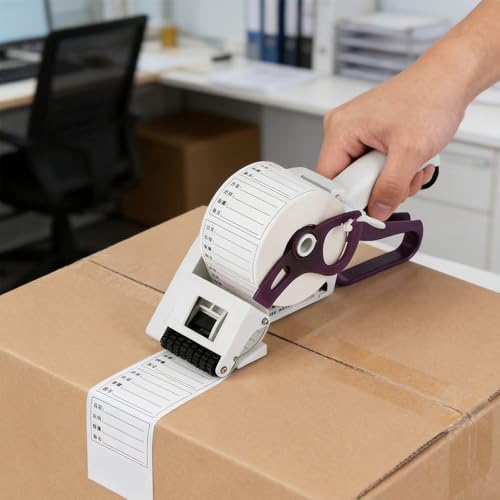
What Tools and Equipment Help Achieve Precise Label Placement
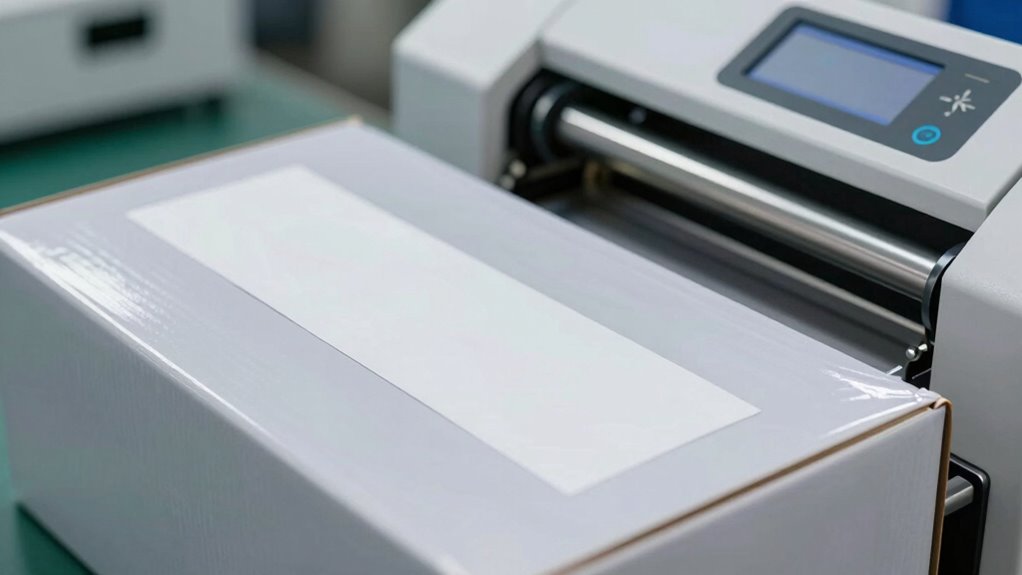
Achieving precise label placement often hinges on the right tools and equipment. The latest labeling technology and application techniques can dramatically improve accuracy and appearance. To get it right, consider these essentials:
Using the right tools and modern techniques ensures accurate, professional label placement every time.
- Automatic label applicators: These machines ensure consistent placement at high speeds.
- Alignment guides and jigs: They help position labels accurately on irregular surfaces.
- Precision rulers and templates: Use these for manual applications requiring extra control.
- Laser guides and sensors: These advanced tools assist in aligning labels perfectly before application.
How to Troubleshoot and Fix Common Label Application Problems
When you notice labels misaligned or peeling, start by carefully inspecting their placement to identify the issue. Make certain you’re using the right adhesive for your surface and conditions to improve sticking. Also, verify that the application temperature matches the label’s specifications to prevent problems.
Inspect Label Alignment Carefully
Are your labels consistently aligned? Proper inspection guarantees your packaging looks professional and enhances your label design. Misaligned labels can make your product seem cheap and poorly produced. To troubleshoot and fix alignment issues, focus on these key steps:
- Check for crooked placement on the packaging surface.
- Ensure your label applicator is calibrated correctly.
- Confirm labels are fed straight from the roll without wrinkles.
- Use guides or templates to maintain uniform placement.
Use Proper Adhesive Types
Using the right adhesive type is essential for guaranteeing your labels stick properly and stay in place during handling and storage. Choosing an adhesive with the right level of durability depends on your package material and environmental conditions. For example, high-traffic or outdoor items need stronger adhesives that resist moisture and temperature changes. To improve sticking techniques, ensure the adhesive matches the surface’s texture and cleanliness. Clean surfaces thoroughly before application to maximize adhesion. Test different adhesive types if you encounter peeling or lifting issues. Proper selection reduces the risk of labels falling off or looking cheap. Remember, using an adhesive suited to your packaging not only prevents common application problems but also enhances your product’s overall presentation.
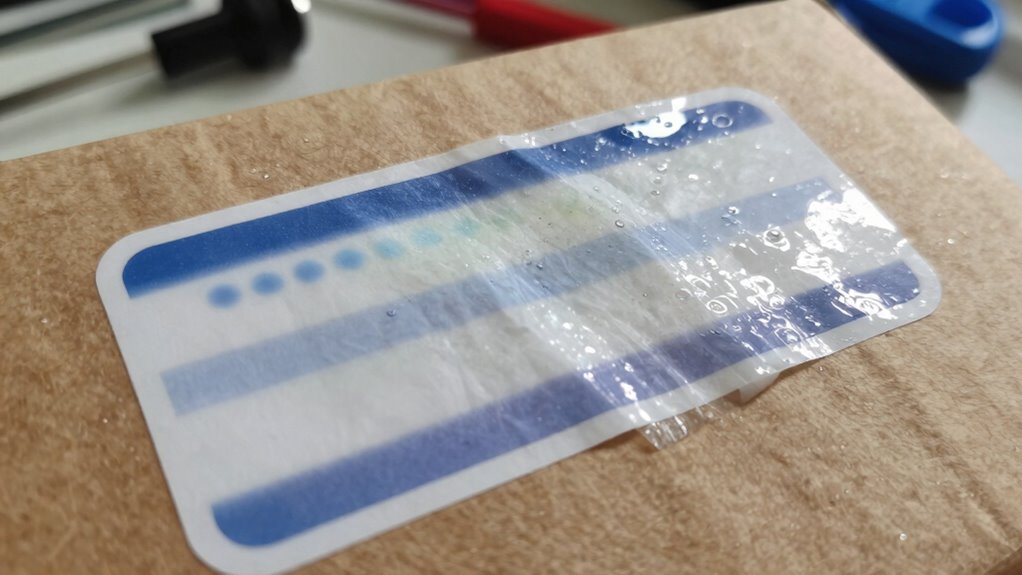
Correct Temperature for Application
Applying labels at the correct temperature is essential for guaranteeing they adhere properly and stay in place. If the label temperature is too high or low, it can cause wrinkling, bubbling, or poor adhesion. To troubleshoot and fix common application problems, consider these tips:
- Always check the manufacturer’s recommended application temperature before applying.
- Use a thermometer to monitor ambient and surface temperatures for consistency.
- Avoid applying labels during extreme weather conditions, such as very cold or hot days.
- Allow surfaces and labels to reach the ideal temperature range before application.
Maintaining proper application temperature ensures your labels stick well and look professional, preventing cheap-looking packaging. Proper temperature control is key to avoiding application issues and achieving a flawless finish.
What Are Best Practices for Inspecting and Maintaining Label Quality
To guarantee label quality remains consistent, you need to implement regular inspection and maintenance procedures. Start by closely examining labels for imperfections in label design, such as misalignments, tears, or fading. Check for adhesion issues, ensuring labels are securely applied without bubbles or wrinkles that can detract from packaging aesthetics. Maintain clean application equipment and ensure that label rolls are stored properly to prevent damage. Consistently compare labels against quality standards to catch deviations early. Regularly calibrate your printing and application machinery to ensure precise placement and crisp visuals. Proper inspection and upkeep help maintain professional-looking labels, which elevate your packaging aesthetics and reinforce your brand’s credibility. Staying vigilant prevents costly mistakes and preserves the package’s overall appearance.
Frequently Asked Questions
How Can I Ensure Labels Adhere Properly on Textured or Uneven Surfaces?
To make certain labels stick well on textured surfaces, clean the area thoroughly to remove dust and grease. Use labels with high flexibility to conform to uneven surfaces, preventing bubbles or peeling. Apply the label smoothly, starting from the center and working outward. If needed, gently heat the label with a heat gun or hairdryer to improve adhesion. This approach guarantees a professional look and long-lasting adherence on textured or uneven surfaces.
What Are the Best Storage Conditions to Maintain Label Quality Before Application?
To maintain label quality before application, you should focus on proper label storage and handling. Keep labels in a cool, dry, and dark environment to prevent damage from heat, humidity, and light. Store them flat, avoiding stacking or bending, and handle them carefully to prevent fingerprints or tears. Using appropriate packaging, like sealed containers, helps preserve adhesive quality and overall appearance, ensuring your labels look professional and adhere well when applied.
How Does Environmental Humidity Affect Label Adhesion and Appearance?
Ever wondered how humidity effects your labels? High humidity can weaken label adhesion and cause appearance issues like smudging or peeling, making your packaging look cheap. Low humidity might make labels crack or curl. To guarantee label durability and a professional look, control environmental humidity levels during storage and application. Proper humidity management keeps labels looking fresh, intact, and enhances your product’s overall presentation. Wouldn’t you want your packaging to stand out?
Are There Specific Label Types Recommended for Outdoor or Moisture-Prone Packaging?
For outdoor or moisture-prone packaging, you should opt for waterproof labels with UV resistant coatings. These labels resist water, humidity, and sun exposure, ensuring your packaging stays professional and attractive. Waterproof labels are designed to withstand harsh conditions, while UV resistant coatings prevent fading and damage from sunlight. By choosing these specialized labels, you enhance durability and maintain a high-quality appearance, even in challenging environments.
How Often Should Equipment Be Calibrated for Consistent Label Application?
A stitch in time saves nine, so you should calibrate your equipment regularly. For consistent label application, establish a calibration schedule—typically every 1 to 3 months, depending on usage. Incorporate consistency monitoring to catch issues early. Regular calibration guarantees your labels are applied accurately and professionally, preventing costly mistakes and maintaining a high-quality, polished look for your packages.
Conclusion
Remember, flawless label application elevates your brand image. Did you know that 60% of consumers judge product quality based on packaging alone? By avoiding crooked labels, bubbles, and peeling edges, and choosing the right materials and tools, you can boost perceived value and customer trust. Regular inspections guarantee consistent quality, helping your packaging stand out for all the right reasons. Don’t let simple mistakes make your products look cheap—pay attention to detail and elevate your packaging game.