To quickly calibrate your plotter for accurate colors, gather a reliable color management software and a quality colorimeter or spectrophotometer. Start by printing a test pattern and compare the results to your target colors. Use the software to analyze the print, make precise adjustments, and save the calibration profile. This streamlined process guarantees consistent, professional results fast. Keep going to discover more tips that will perfect your calibration routine.
Key Takeaways
- Use dedicated calibration software with automated analysis to quickly generate accurate color profiles for your plotter.
- Employ a high-quality colorimeter or spectrophotometer compatible with your software for fast, precise measurements.
- Print standardized test patterns at your target resolution and let the software analyze the results automatically.
- Save and apply the generated calibration profiles immediately to ensure consistent, accurate color output.
- Perform regular, quick calibration routines to maintain color accuracy without lengthy setup times.
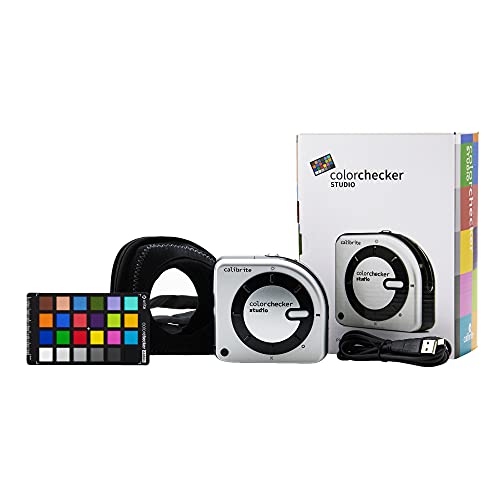
Calibrite ColorChecker Studio Spectrophotometer for Complete Color Management for Display, Projector, Printer and Scanner Profiling Software, w/ColorChecker Classic Mini for Custom Camera Profiling
SPECIFICATIONS: All in one spectrophotometer for camera to print color control, supports monitor display and projector profiling plus…
As an affiliate, we earn on qualifying purchases.
As an affiliate, we earn on qualifying purchases.
Understand How to Quickly Calibrate Your Plotter for Accurate Colors
To guarantee your plotter produces accurate colors, you need to calibrate it properly and efficiently. Start by understanding how color profiles influence output; these profiles define how your device interprets color data. Use calibration techniques that are quick yet effective, such as running built-in calibration tools or automated software that adjusts color settings automatically. Incorporating color management principles ensures your calibration process aligns with industry standards. Assuring your monitor and printer have matching color profiles minimizes discrepancies and streamlines the process. Keep your calibration data organized, and follow manufacturer instructions carefully to avoid errors. This approach saves time and ensures consistent, accurate colors in your prints. Regular calibration with proper techniques guarantees your plotter maintains color fidelity without the need for lengthy adjustments. Incorporating performance upgrades like high-quality calibration tools can further enhance calibration speed and accuracy.

Calibrite Display Pro HL Monitor Calibration Colorimeter for LCD Mini LED and OLED Displays, Measure up to 3000 Nits, PROFILER Software, USB C with Adapter, Validation/Color Uniformity Tools
SPECIFICATIONS: HL high luminance sensor colorimeter measures up to 3000 nits, calibrates and profiles LCD mini LED OLED…
As an affiliate, we earn on qualifying purchases.
As an affiliate, we earn on qualifying purchases.
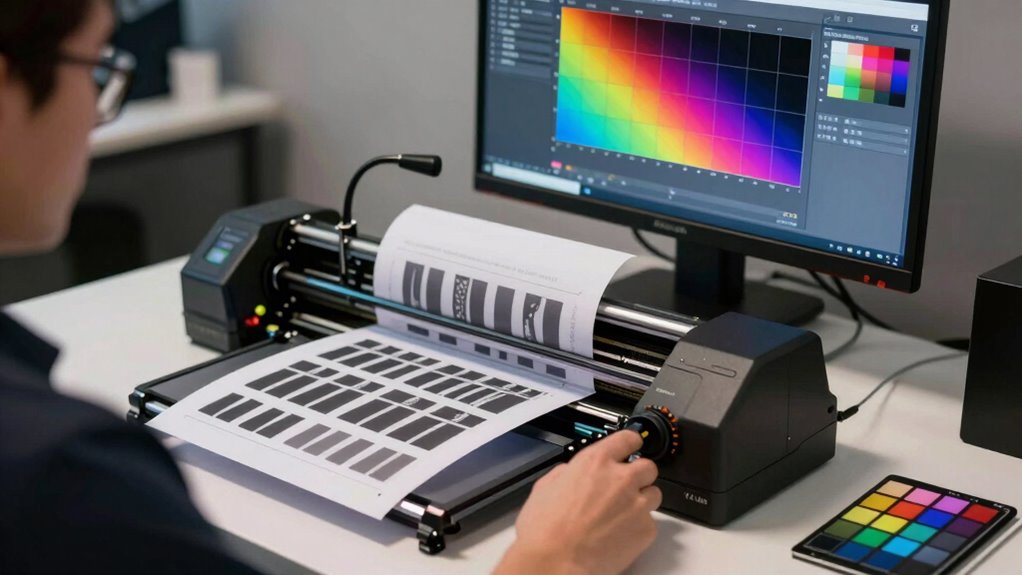
Gather the Essential Tools and Software for Fast Calibration

Having the right tools and software on hand is essential for a quick and accurate plotter calibration. Start with reliable color management software that allows you to create and analyze color profiles efficiently. Confirm your hardware setup is ideal: a calibrated monitor, proper printer drivers, and a high-quality colorimeter or spectrophotometer. These tools help you measure and adjust colors precisely, reducing guesswork. Use calibration software compatible with your hardware to streamline the process. Keep calibration charts and test patterns ready for quick reference. Having everything prepared minimizes delays and errors, ensuring your plotter produces consistent, accurate colors. Investing in the right equipment and software upfront saves time and effort during calibration, leading to better color fidelity in less time. Additionally, understanding the color accuracy requirements specific to your project can help you fine-tune your calibration process for optimal results. Understanding the importance of standardized calibration procedures can further enhance consistency and reliability in your color management workflow. Furthermore, staying informed about industry standards ensures your calibration process aligns with best practices for professional quality. Being aware of best practices in calibration can help you achieve more predictable and repeatable results across different projects.
Calibrite ColorChecker Studio Spectrophotometer for Complete Color Management for Display, Projector, Printer and Scanner Profiling Software, w/ColorChecker Classic Mini for Custom Camera Profiling
SPECIFICATIONS: All in one spectrophotometer for camera to print color control, supports monitor display and projector profiling plus…
As an affiliate, we earn on qualifying purchases.
As an affiliate, we earn on qualifying purchases.
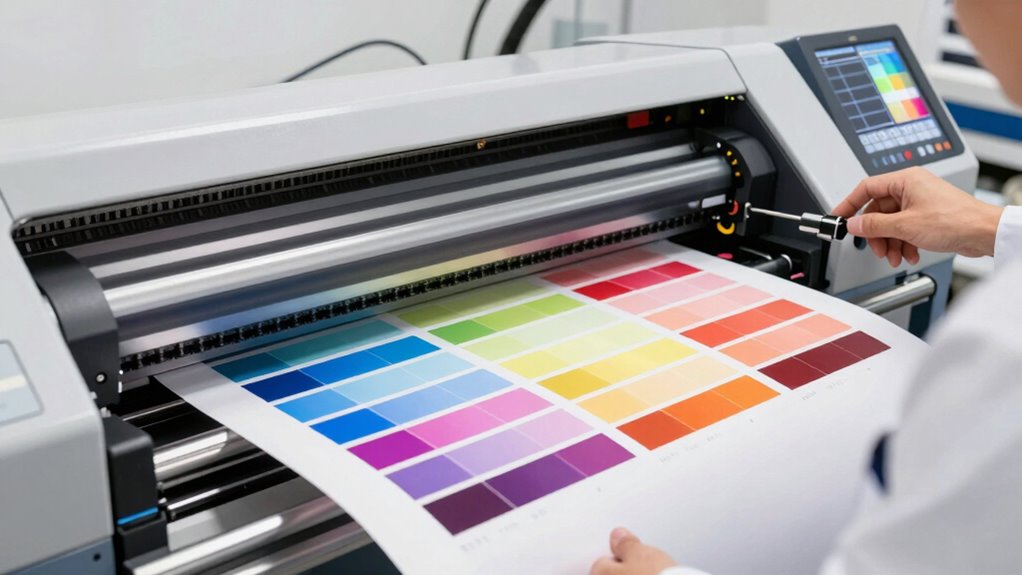
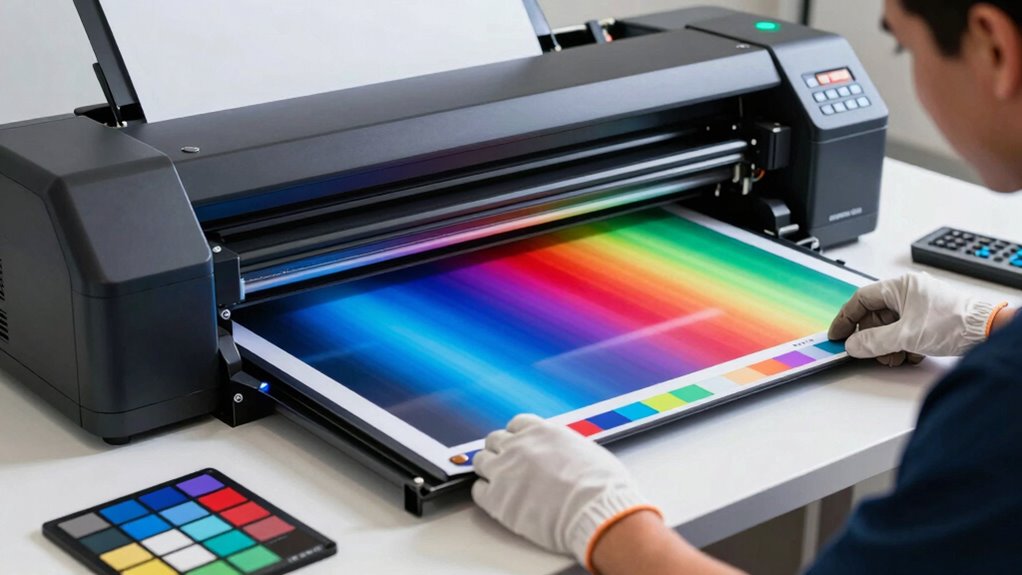
Print a Test Pattern and Check for Color Accuracy
Once you’ve gathered your tools and set up your software, the next step is to print a test pattern. This pattern reveals how accurately your plotter reproduces ink color and details at your chosen print resolution. Carefully examine the pattern for color consistency and sharpness. Look for any discrepancies in ink color, such as hues that appear off or faded. To interpret your results more clearly, consider this table:
| Ink Color | Ideal Outcome | Common Issue |
|---|---|---|
| Cyan | Bright, true to source | Fading or dull appearance |
| Magenta | Vivid and consistent | Bleeding or oversaturation |
| Yellow | Clear and vibrant | Under-coverage or dullness |
| Black | Sharp, deep black | Graininess or lack of depth |
Additionally, testing your color calibration ensures your plotter maintains consistent and accurate color output over time. Adjust your plotter settings based on these observations to improve color accuracy.

Check Board Calibrator Lens Focus Calibration Chart Checkerboard Pattern Calibrating PET Or Aluminium Oxide Chess Board 18×18 (100×100), Aluminium Oxide
Optical calibrator for film, lens, slide, projector etc.
As an affiliate, we earn on qualifying purchases.
As an affiliate, we earn on qualifying purchases.
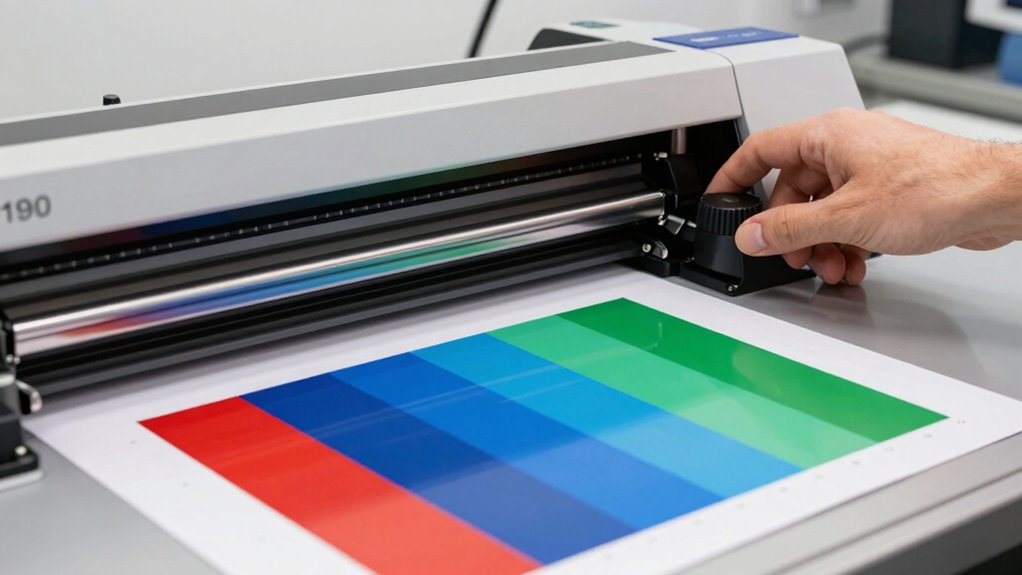
Use Calibration Software to Speed Up the Adjustment Process
Wouldn’t it be frustrating to manually adjust your plotter’s settings each time you calibrate? Calibration software simplifies this process by automating many adjustments, saving you time and effort. With advanced color management features, the software analyzes test prints and provides precise calibration recommendations. It streamlines color correction, ensuring consistent, accurate output without guesswork. Instead of fiddling with individual sliders or settings, you simply run the software’s calibration routine, which quickly identifies discrepancies and adjusts your plotter’s parameters accordingly. This approach minimizes errors, enhances color accuracy, and speeds up the entire calibration process. Using calibration software is especially helpful for maintaining reliable color management across multiple print jobs or devices, ensuring your colors stay true with minimal hassle.
Save Your Calibration Settings for Consistent, Accurate Colors
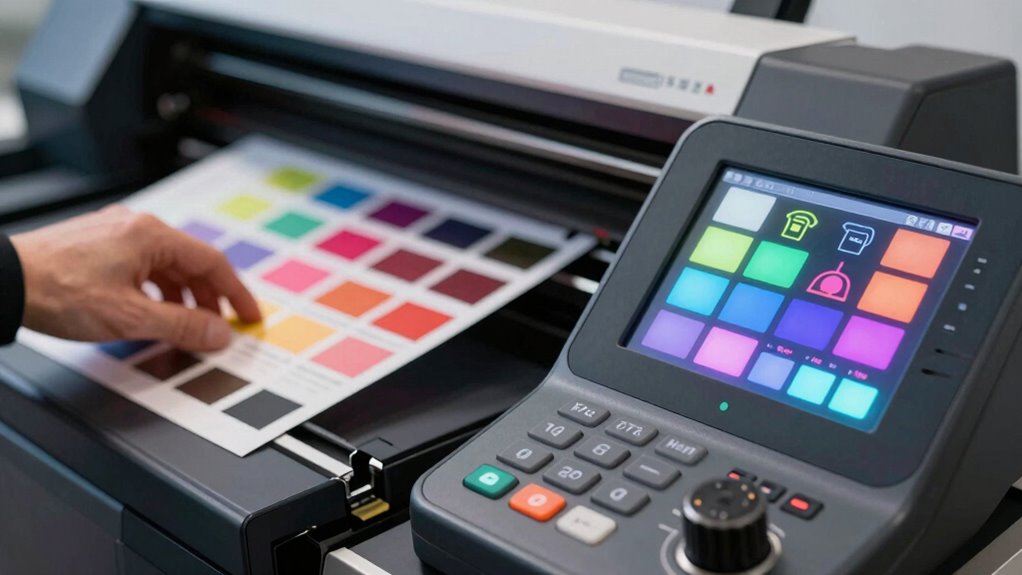
Saving your calibration settings guarantees you can quickly restore accurate colors without repeating the entire calibration process each time. This step is essential for maintaining consistent color management across different print jobs and days. When you save your calibration profile, the plotter’s precise color adjustments are preserved, ensuring calibration consistency. This not only saves time but reduces errors caused by re-calibrating repeatedly. By storing these settings, you can easily load them before each print, guaranteeing your colors stay true to your original intent. Regularly saving calibration profiles helps you avoid color mismatches and ensures uniform results, especially when working with multiple devices or long-term projects. Proper calibration practices are crucial for achieving accurate and reliable color output. Overall, this practice streamlines your workflow and keeps your plotter producing accurate, reliable colors every time.
Frequently Asked Questions
How Often Should I Recalibrate My Plotter for Optimal Color Accuracy?
You should recalibrate your plotter whenever you notice color inconsistencies or after changing media types, as calibration frequency depends on your workflows. Regularly updating media-specific settings guarantees ongoing color accuracy. It’s best to calibrate at least once a month for ideal results, but more frequent recalibrations might be necessary if you switch media often or if your environment’s conditions change. Staying consistent keeps your colors precise.
Can Ambient Lighting Affect the Calibration Process or Final Color Results?
Ambient light can definitely affect your calibration process and final color results. If your workspace has inconsistent or strong ambient light, it can cause color shifts and reduce color consistency. To guarantee accurate calibration, work in a controlled environment with neutral, consistent lighting. Avoid direct sunlight or fluctuating light sources, and use a light source that remains steady during calibration to maintain ideal color accuracy.
What Are Common Signs Indicating My Plotter Needs Recalibration?
Imagine your prints as a vibrant painting slowly fading into dullness. When you notice color inconsistencies, like mismatched shades or unexpected hues, it’s a sign your plotter needs recalibration. Print streaks or banding across your output also signal misalignments. These visual clues mean your device isn’t matching colors accurately anymore, so it’s time to run a calibration to restore the crisp, true-to-life colors you expect.
Is There a Difference Between Calibration and Color Profiling?
Yes, calibration and color profiling are different but related. Calibration procedures adjust your plotter to guarantee color accuracy by fine-tuning hardware settings, making sure it produces consistent colors. Color profiling, on the other hand, creates a profile that maps how your device reproduces colors, helping you match colors across different devices and media. Both steps are essential for achieving precise, reliable color output in your prints.
Are There Specific Calibration Settings for Different Media Types?
Yes, there are media-specific calibration settings you should utilize for different media types. You need to perform media type adjustments to optimize color accuracy and print quality. Start by selecting the correct media profile in your plotter’s settings, then run a calibration tailored for that media. This ensures consistent results, especially when switching between glossy, matte, or other media types, helping you achieve the best color fidelity every time.
Conclusion
By following these quick calibration steps, you’ll guarantee your plotter produces accurate colors every time. For example, imagine a designer needing precise hues for branding; with proper calibration, they saved hours avoiding reprints and got perfect results instantly. Keep your calibration settings saved, and you’ll enjoy consistent, professional-quality prints. So, take a few minutes now—your future self will thank you for the flawless, vibrant colors in every project.