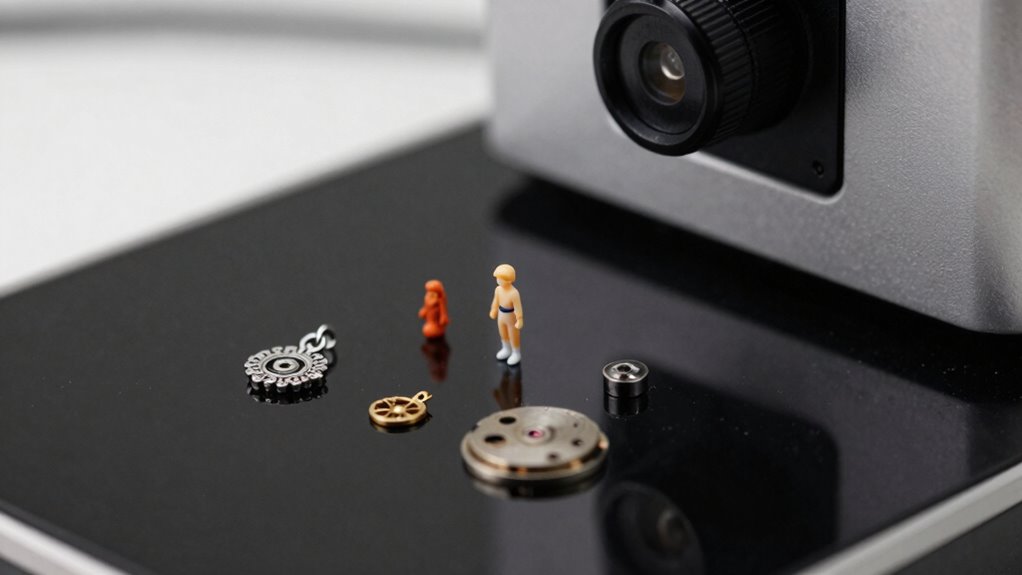

If you’re trying to scan small objects with a desktop 3D scanner, you’ll find it’s quite challenging. Tiny details require high precision and careful calibration to avoid distortions or missed features. Good sensor quality and high resolution are essential to capture fine surface nuances and complex geometries. Surface reflectivity and lighting also affect accuracy, and surface treatments might be necessary. Want to discover more tips to overcome these challenges and improve your scans? Keep exploring.

Get business pricing on monitors, keyboards and dev gear
- Business-only prices and quantity discounts
- Tax-exempt purchasing
- Multiple users, one account, clear invoices
Key Takeaways
- High precision and calibration are essential to accurately capture tiny details without distortion.
- Sensor quality directly affects the ability to record fine surface nuances in small objects.
- Adequate resolution is crucial to preserve minute features like engravings and pores.
- Complex geometries such as overhangs and recesses require precise alignment and high detail resolution.
- Surface reflectivity and shiny finishes can interfere with data accuracy, necessitating surface treatments.
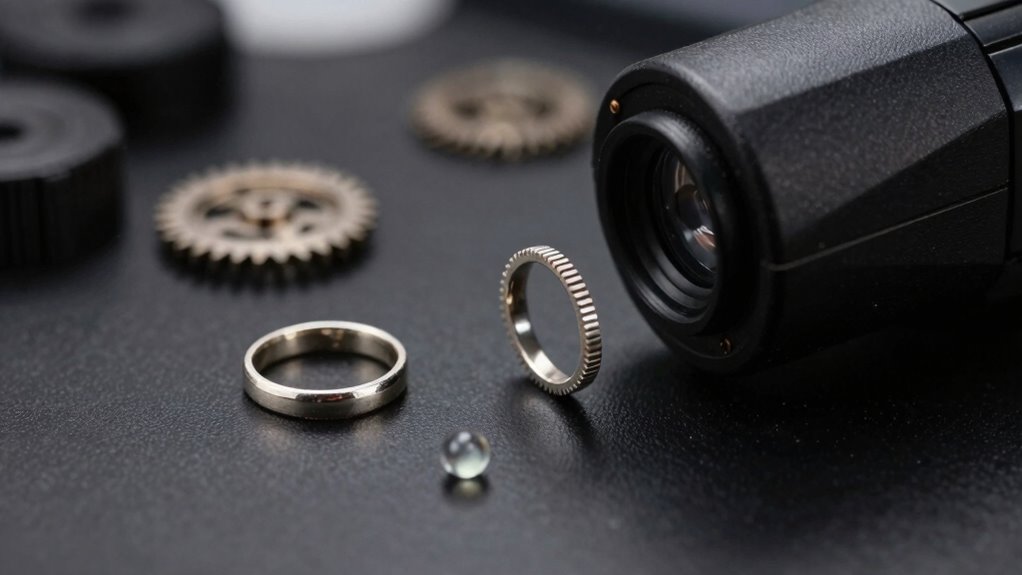
Small objects often have intricate textures and subtle features that demand high precision accuracy. Even slight deviations can distort the model or lose critical details. You’ll find that achieving this level of accuracy requires a scanner with advanced calibration and high-quality sensors. Cheaper or lower-end models might miss tiny grooves or diminish the clarity of delicate features, making them unsuitable for applications where detail matters. A high-quality sensor can significantly improve the ability to capture these minute details accurately, especially in challenging conditions. Additionally, understanding sensor quality is crucial, as it directly impacts the scanner’s capability to record fine surface nuances. When working with complex geometries, the ability of a scanner to interpret fine surface details accurately becomes essential for producing reliable models. Detail resolution is equally important. When scanning small objects, every millimeter counts. High resolution allows the scanner to capture surface nuances like tiny engravings, pores, or minute imperfections that can be essential for your project. If the resolution isn’t sufficient, these details may become smoothed over or entirely absent in the digital model. This can be frustrating, especially if you’re working on jewelry, miniature prototypes, or detailed collectibles. You’ll also need to pay attention to the scanner’s ability to handle complex geometries. Small objects often have overhangs, recesses, or fine projections that require precise alignment and high detail resolution to scan effectively. A scanner that struggles with these features will produce incomplete data, forcing you to do more post-processing or, worse, starting over entirely. Lighting and surface reflectivity are additional hurdles. Glossy or shiny small objects can reflect light unpredictably, corrupting the scan data. To combat this, you might need to apply matte coatings or use specialized scanning environments. These steps help guarantee that the scanner’s precision accuracy and detail resolution aren’t compromised by surface properties. Moreover, surface reflectivity can significantly impact scan quality and may require additional surface treatment to ensure optimal results.
high resolution desktop 3D scanner
As an affiliate, we earn on qualifying purchases.
As an affiliate, we earn on qualifying purchases.
Frequently Asked Questions
How Do Lighting Conditions Affect Small Object Scanning Accuracy?
Lighting conditions directly impact your small object scanning accuracy. Poor lighting consistency can cause uneven illumination, making it hard for your scanner to capture details correctly. Shadow management is essential; harsh shadows or reflections can distort the scan data. To improve results, use soft, diffuse lighting, guarantee consistent illumination, and minimize shadows. This approach helps your scanner accurately capture tiny details and reduces errors in the final model.
What Materials Are Best for Small Object 3D Scanning?
Material matters most when mastering small object scanning. You should opt for matte materials, minimizing surface reflectivity that can muddle measurements. Selecting surfaces like plastic, resin, or matte-painted finishes guarantees the scanner captures precise details without glare. Smooth, non-reflective surfaces help your scanner work wonders, providing consistent, clear scans. Prioritize materials that prevent light bounce and boost accuracy, making your small object scans sharp, seamless, and spot-on.
Can Desktop Scanners Detect Internal Features of Tiny Objects?
Desktop scanners struggle to detect internal features of tiny objects because they primarily capture surface textures and external details. You won’t get accurate miniature detail or internal structures with standard desktop scanners, as their technology focuses on surface scanning. For internal features, you’d need specialized equipment like micro-CT scanners, which can penetrate the object to reveal internal geometry. So, for internal details, desktop scanners aren’t the best choice.
How Long Does It Typically Take to Scan Small Objects?
Scanning small objects is like catching fireflies in a jar—timing varies. It usually takes a few minutes, but resolution challenges and scanner ergonomics can slow you down. Precise positioning is vital, so expect a slightly longer process if you’re aiming for high detail. When you’re careful, the scan can be quick, but rushed movements or awkward angles may extend the time. Patience guarantees better results.
Are There Specific Calibration Procedures for Small Object Scanning?
Yes, there are specific calibration procedures for small object scanning. You should use precise calibration techniques, like adjusting the scanner’s focus and alignment to guarantee accuracy. Make sure to perform detailed precision adjustments, especially for tiny details, to minimize errors. Regular calibration with a small calibration object helps maintain accuracy. By following these steps, you’ll improve scan quality and capture small objects more reliably.
small object 3D scanner calibration
As an affiliate, we earn on qualifying purchases.
As an affiliate, we earn on qualifying purchases.
Conclusion
So, next time you marvel at your sleek desktop 3D scanner, remember it’s really just a giant, high-tech magnifying glass—struggling with tiny objects like a toddler with a crayon. Sure, it can capture your mug or a fruit bowl, but ask it to scan a tiny gear or a delicate jewelry piece, and suddenly it’s utterly out of its depth. Small objects may be the real test, but hey, who needs precision when you’ve got futuristic gadgets?
matte surface spray for 3D scanning
As an affiliate, we earn on qualifying purchases.
As an affiliate, we earn on qualifying purchases.
3D scanner for intricate details
As an affiliate, we earn on qualifying purchases.
As an affiliate, we earn on qualifying purchases.
Fall Picks
fall essentials
As an affiliate, we earn on qualifying purchases.