
To determine the right DPI for blueprint scanning, consider how you’ll use the files. For detailed inspection or archiving, 300-600 DPI is recommended to capture fine lines and colors accurately. If you’re sharing digital copies or viewing on screens, 150-200 DPI often suffices. Using too high a DPI can create unnecessarily large files, while too low might miss essential details. To optimize your scan quality and efficiency, keep exploring the key factors that influence your choices.
Key Takeaways
- Choose 300-600 DPI for detailed inspection and archiving to preserve fine lines and color accuracy.
- Use 150-200 DPI for sharing or quick previews to balance quality and file size.
- Lower DPI (72-96) is sufficient for digital display, but not suitable for detailed blueprint analysis.
- Higher DPI increases file size and scanning time, so select based on project needs to avoid unnecessary data.
- Consider paper texture and detail complexity when setting DPI to ensure clarity without overspending on resolution.
CZUR ET MAX Book Scanner, 38MP High-Resolution Overhead Document Scanner with Curve-Flattening, Auto Page Detection, OCR, HDMI Output, Compatible with Windows/Mac/Linux
Professional Overhead Book Scanner for Bound & Fragile Materials Contact-free overhead design allows you to scan books, archives,…
As an affiliate, we earn on qualifying purchases.
As an affiliate, we earn on qualifying purchases.
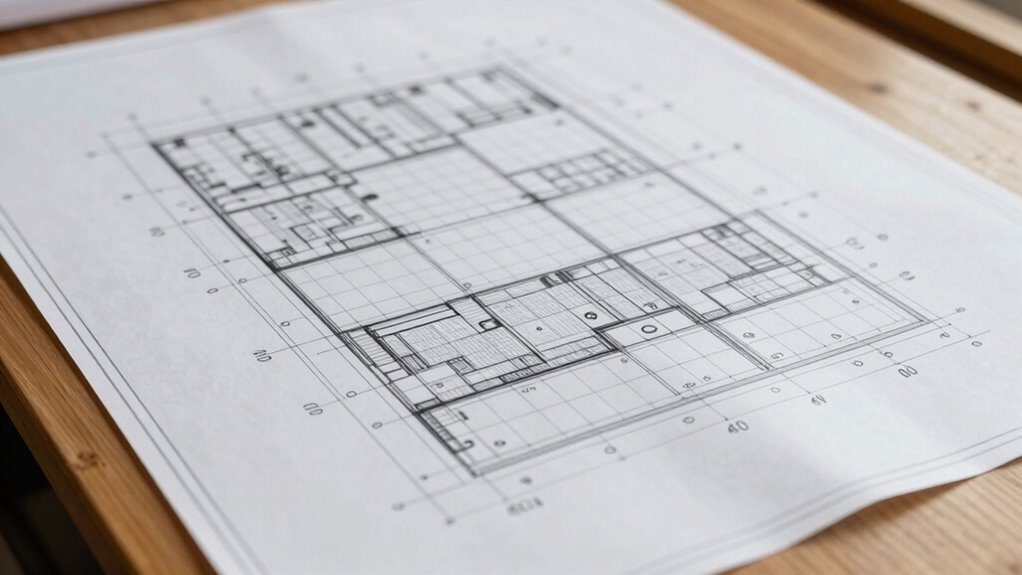
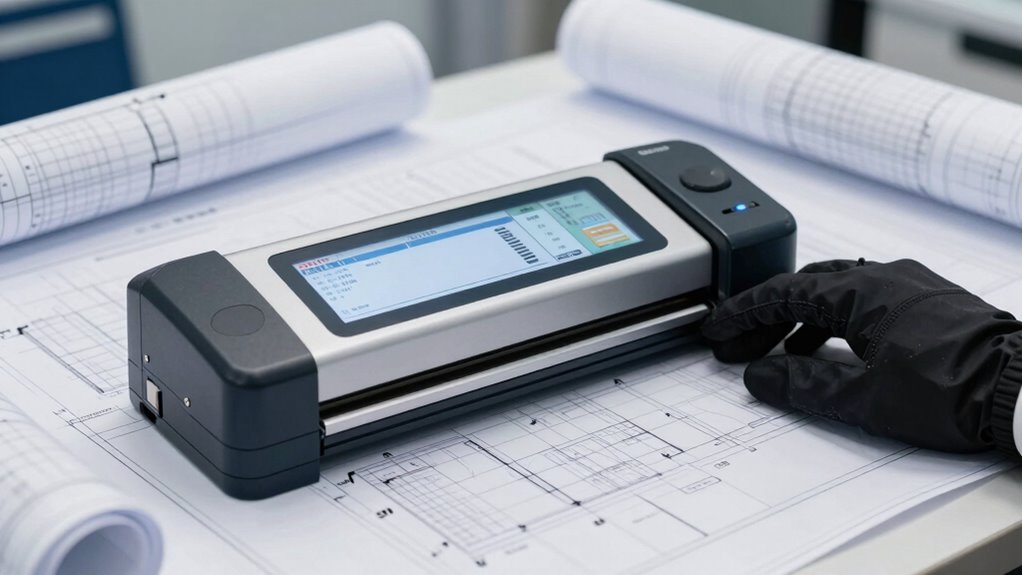
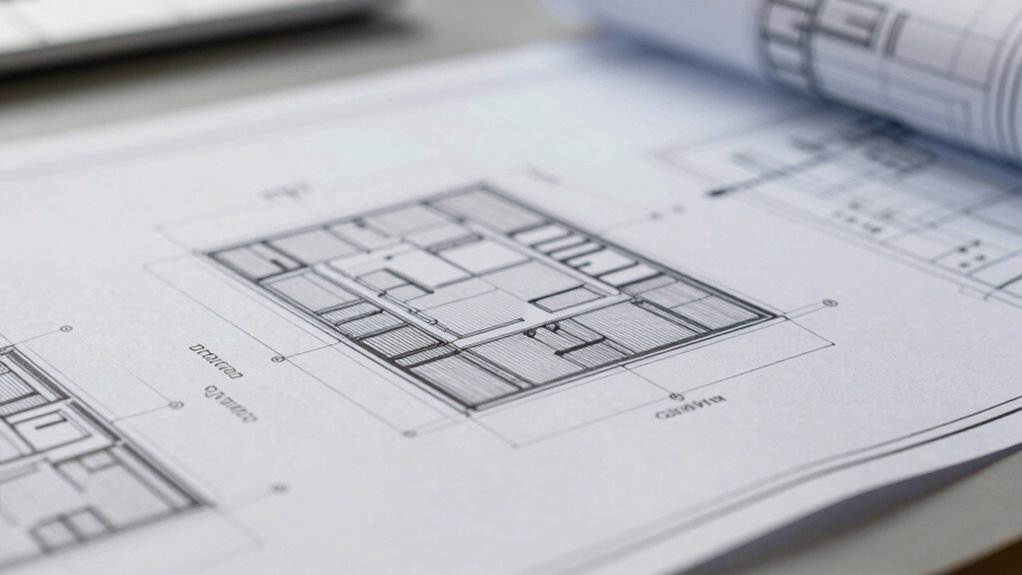
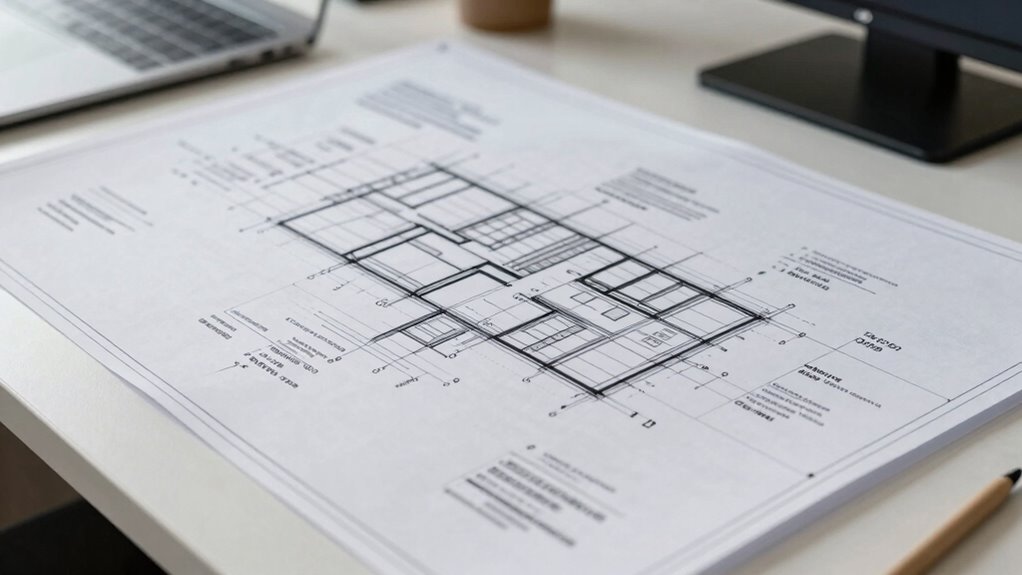
Understanding Blueprint Scanning Resolution
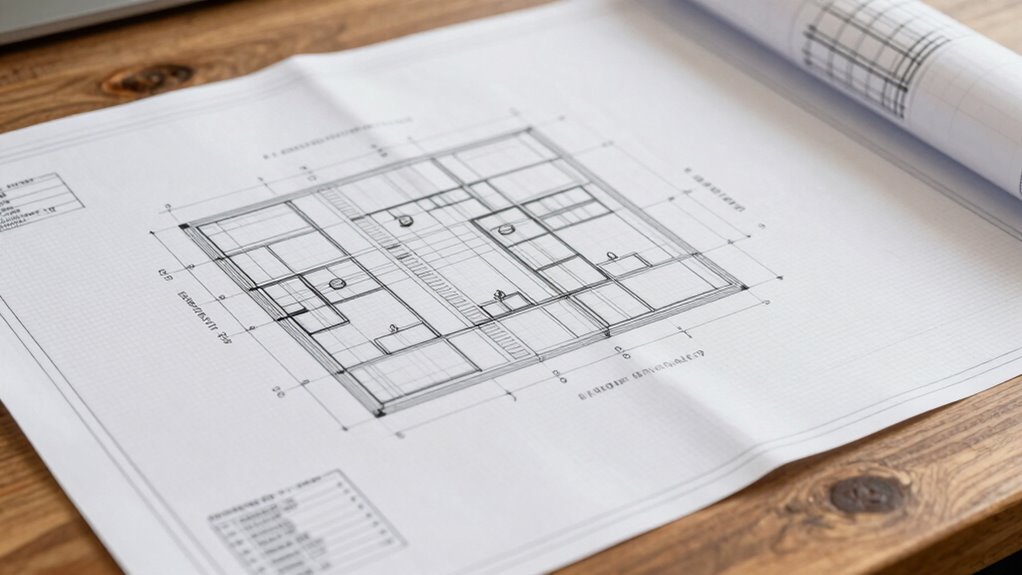
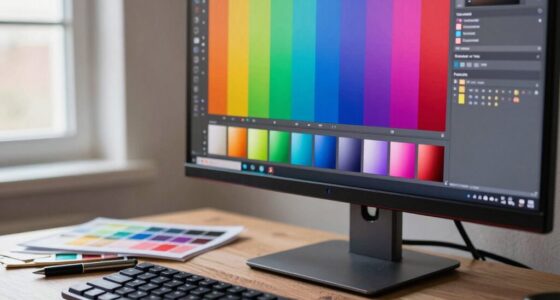
Have you ever wondered how detailed and accurate a scanned blueprint truly is? The key lies in understanding blueprint scanning resolution. Higher resolution ensures finer details are captured, preserving clarity and readability. But resolution isn’t just about pixel count; it also affects color fidelity, so the colors on your scanned blueprint match the original closely. Additionally, paper texture plays a role—rough or textured surfaces can cause blurring or distortions if the resolution isn’t high enough. A good scanner balances these factors, providing sharp lines, accurate colors, and faithful reproduction of the paper’s surface. Furthermore, understanding scanning resolution helps you determine the optimal settings to capture all necessary details without creating unnecessarily large files. Knowing the printer compatibility of your output device can also influence your chosen resolution for the best results. Understanding these elements and scan quality factors helps you choose the right scanning resolution for your blueprint needs. Considering digital image quality is essential to ensure your scans meet professional standards and long-term archival needs. Additionally, selecting the appropriate scanning hardware can significantly impact overall image fidelity and efficiency.
professional blueprint scanning service
As an affiliate, we earn on qualifying purchases.
As an affiliate, we earn on qualifying purchases.
Why DPI Matters in Blueprint Scanning
DPI, or dots per inch, directly influences the clarity and detail of your scanned blueprint. Higher DPI ensures you capture fine lines, text, and intricate details accurately. This is especially important when considering color calibration, as a higher resolution helps maintain accurate color representation, preventing dull or distorted images. Additionally, paper texture plays a role; a lower DPI may struggle to capture subtle surface variations, leading to loss of detail or uneven scans. Understanding why DPI matters helps you choose the right setting for your needs, whether for precise inspection, archiving, or sharing. Resolution quality is essential for ensuring your digital copies faithfully reproduce the original, reducing errors and making future edits or analysis more reliable. Moreover, selecting the appropriate DPI can also influence file size, impacting storage and transfer efficiency. Recognizing the impact of scanning resolution allows you to balance quality and practicality effectively, especially when considering the capabilities of different scanning devices and their market options.

Plustek Wide-Format Color Duplex Document Scanner S30, for Large-Format Document Scan, Scans Wide Up to 12" and Long Up to 200", 100-Sheet Duplex Auto Document Feeder
[Office-friendly] – The S30 can scan documents up to 12 inches wide, meeting a wide range of business…
As an affiliate, we earn on qualifying purchases.
As an affiliate, we earn on qualifying purchases.
Choosing the Right DPI for Inspection, Archiving, and Sharing

Choosing the right DPI depends on your specific needs for inspection, archiving, and sharing. You’ll need to contemplate ideal settings that meet quality standards while keeping file sizes manageable. By understanding these factors, you can select the best resolution for each purpose effectively. Additionally, understanding content resolution standards can help ensure your images meet industry or personal expectations for clarity and detail.
Optimal DPI Settings for Inspection
Selecting the right DPI for inspection is essential to guarantee you capture enough detail without creating unnecessarily large files. For accurate inspection, aim for 300 to 600 DPI, depending on the paper’s quality and complexity. Confirming proper color calibration helps reveal subtle differences in materials and markings, making defects or inconsistencies easier to spot. Additionally, consider paper compatibility; some papers may require higher DPI settings to accurately reproduce fine lines and textures. Proper inspection standards are crucial to ensure consistency and accuracy across different projects. Too low a DPI can miss critical details, while too high can slow down your workflow and produce unwieldy files. Balance is key—adjust your DPI based on the blueprint’s material and inspection needs. Proper calibration and understanding your paper’s characteristics ensure you get precise, reliable results without unnecessary data bloat. Incorporating AI-powered tools can further enhance your inspection accuracy by automating defect detection and analyzing large datasets more efficiently. Moreover, understanding the appropriate DPI range for different inspection scenarios helps optimize both image quality and processing efficiency. Being aware of blueprint resolution standards can also guide you in selecting the optimal DPI for various industry requirements, ensuring consistency across your projects. Additionally, familiarity with regional inspection regulations can help align your scanning practices with industry standards.
Archiving Quality Standards
When it comes to archiving blueprints, ensuring consistent image quality is essential for long-term access and retrieval. Selecting the right DPI helps preserve color accuracy and detail over time, which is crucial for digital archiving. Generally, a higher DPI—around 300 to 600—ensures that fine lines, text, and colors remain clear and accurate, preventing degradation during future access. However, balance is key: overly large files can hinder storage and retrieval efficiency. You should consider your archive’s purpose and storage capacity when choosing DPI. Maintaining consistent quality standards guarantees that archived blueprints retain their integrity, making them reliable references for years to come. Proper DPI selection ensures your digital archives remain accurate, detailed, and accessible without unnecessary file bloat. Additionally, understanding printmaking paper choices can help optimize the overall quality of physical and digital reproductions, and being aware of digital archiving standards can further enhance long-term preservation.
Sharing and Display Guidelines
To guarantee your blueprints are effectively shared and displayed, it’s crucial to use the appropriate DPI for each purpose. For sharing digital copies, aim for a DPI that balances file size with sufficient detail—around 150-200 DPI—ensuring color accuracy and clarity without risking unnecessary data bloat. When displaying on screens, a lower DPI, such as 72-96 DPI, often suffices, but ensure color fidelity to accurately represent the original. For paper displays or prints, choose a higher DPI, like 300 DPI, to preserve detail and paper quality, preventing damage over time. Using the correct DPI helps maintain color accuracy and reduces wear on physical paper. This approach ensures your blueprints look professional, are easy to interpret, and remain preserved for future reference. Additionally, understanding the resolution requirements for different mediums can help optimize your blueprint quality for each specific use.
Plustek A3 Scanner Carrier Sheet (Scan A2 by Folding) – Protects Flimsy, Wrinkled or Torn Papers, for Old Blueprint, Report, Newspaper, Crinkled Photos.
Carrier Sheets – For delicate A3 document or folded sheets
As an affiliate, we earn on qualifying purchases.
As an affiliate, we earn on qualifying purchases.
How to Adjust Scanner Settings for Optimal Resolution
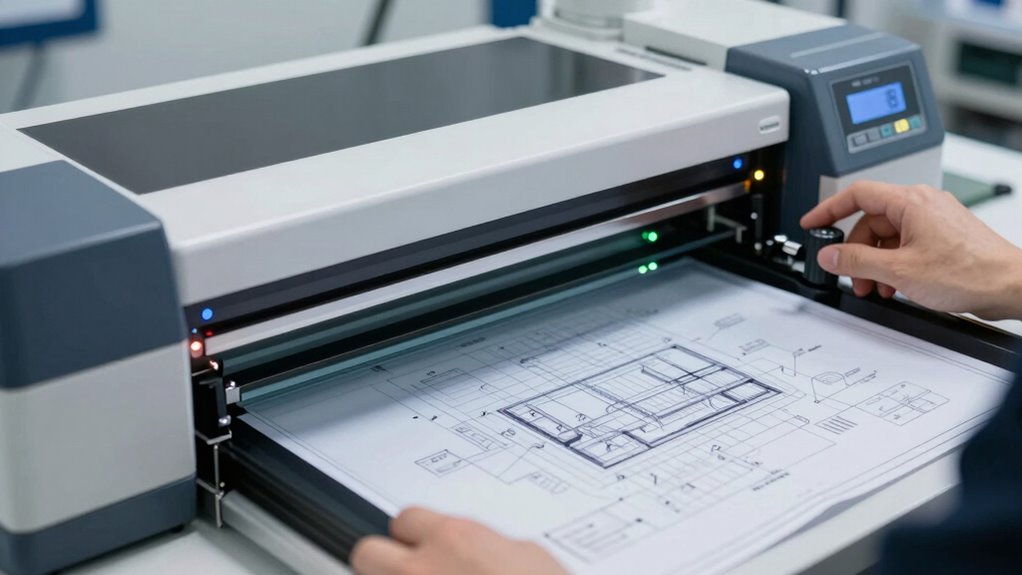
Adjusting your scanner settings for essential resolution is crucial to capturing clear and detailed images of your documents or artwork. Begin by calibrating the color settings to guarantee accurate color reproduction, especially for color-rich blueprints. Next, consider the paper type you’re scanning; thicker or textured paper may require different settings for maximum clarity. Set the DPI based on your needs—higher DPI for detailed work, lower for quick scans. Guarantee the scanner’s color calibration matches your project’s requirements to prevent color distortion. Always preview your scan before finalizing to check for any adjustments needed. Properly configuring these settings helps you achieve sharp, true-to-life images, saving time and avoiding unnecessary rescans. Additionally, selecting the right flywheel and engine upgrades can enhance your overall performance and image quality during digital restoration or reproduction tasks.
Common Mistakes When Selecting Blueprint Scan Resolutions

Choosing the wrong blueprint scan resolution is a common mistake that can lead to wasted time and poor-quality images. Many fall into resolution misconceptions, assuming higher DPI always equals better quality, which isn’t true. This scanning pitfall results in unnecessarily large files or blurry images. To avoid this, consider the intended use: detailed plans need higher DPI, but simple drawings don’t. Here’s a quick comparison:
| Use Case | Recommended DPI | File Size Impact |
|---|---|---|
| Detailed plans | 300-600 DPI | Larger files |
| Basic drawings | 150-300 DPI | Manageable files |
| Large prints | 200-400 DPI | Balanced quality |
| Archival storage | 600+ DPI | Very large files |
| Quick previews | 72-150 DPI | Small files |
Avoid resolution misconceptions and scanning pitfalls by matching DPI to your needs. Understanding the appropriate resolution for your project can significantly improve your workflow and output quality. Additionally, employing the right digital resources and understanding sound healing science can streamline your scanning process and ensure consistent results. Recognizing how astrology influences perceptions of attractiveness may also boost confidence in your work presentations. Proper knowledge of floating on water principles can help you stay calm and focused during complex scanning tasks.
Balancing Quality, File Size, and Cost in Blueprint Scanning
Balancing quality, file size, and cost is essential when scanning blueprints, as focusing solely on high resolution can lead to unnecessary expenses and storage challenges. To optimize results, consider color calibration to guarantee accurate color reproduction without increasing file size excessively. Pay attention to paper texture, which influences scan quality; rough or textured paper may require higher DPI to capture details clearly, but excessive resolution adds to costs. Finding the right balance means selecting a DPI that captures necessary detail without creating unwieldy files. Efficiently managing this balance helps keep costs down while maintaining sufficient image quality for analysis, reproduction, or digital archiving. Additionally, understanding scan resolution requirements for different projects ensures you avoid overspending on unnecessary resolution or file storage issues. By making informed choices, you streamline your scanning process and avoid overspending on unnecessary resolution or file storage issues.
Tips for Saving Files Without Losing Detail
To save blueprint files without sacrificing detail, start by selecting the appropriate file format. Use formats like TIFF or PNG that support high color accuracy and preserve details. Avoid compressed formats like JPEG, which can reduce quality. Properly managing your settings ensures paper preservation and maintains color fidelity.
Consider these tips:
| Tip | Explanation | Benefit |
|---|---|---|
| Use lossless formats | Preserve detail and color accuracy | Paper preservation |
| Save at high DPI | Maintain sharpness without enlarging files | Detail retention |
| Regular backups | Prevent data loss and ensure quality integrity | Long-term paper preservation |
This approach helps balance file size with quality, keeping your blueprints clear and true to the original.
Final Thoughts: Making Smart Choices for Your Blueprints
When choosing how to scan your blueprints, you need to weigh quality against cost to get the best value. Picking the right DPI is key, as it impacts detail and file size without overspending. Making smart choices now will ensure your digital copies serve your needs efficiently and effectively.
Balancing Quality and Cost
Choosing the right scanning resolution for your blueprints involves finding a practical balance between image quality and cost. Higher resolutions improve details like materials durability and color accuracy, but they also increase storage needs and scanning time. If you prioritize long-term preservation, investing in slightly higher resolution scans makes sense to preserve intricate details. However, if your goal is quick sharing or basic reference, lower resolutions can suffice, saving on costs. Consider the type of project and how you’ll use the scanned files—premium quality isn’t always necessary. By weighing these factors, you can make smart choices that ensure your blueprints remain clear and accurate without overextend. Finding this balance helps you optimize both your budget and the value of your digital archives.
Choosing the Right DPI
Selecting the appropriate DPI for your blueprints guarantees you get clear, detailed images without unnecessary expense or storage burdens. When choosing, consider your needs for color accuracy and paper preservation. Higher DPI settings improve color fidelity and detail but can cause more wear on fragile paper and increase file sizes. Lower DPI saves space but might sacrifice essential details. To make smart choices:
- Opt for moderate DPI (150-200) for general archiving
- Use higher DPI (300+) for detailed reproductions or color-critical projects
- Balance resolution with storage capacity
- Prioritize gentle handling to preserve delicate paper
- Match DPI to your intended use, whether digital viewing or printing
Frequently Asked Questions
How Does Scanner Type Affect Resolution Choices?
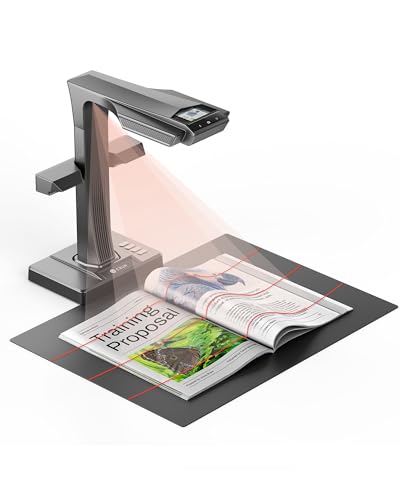
Your choice of scanner type directly affects resolution flexibility because different scanner technologies offer varying capabilities. For example, flatbed scanners often provide higher, more consistent resolutions suitable for detailed blueprints, while handheld or sheet-fed scanners might have limited resolution options. Understanding how scanner technology impacts resolution choices helps you select the right device for your needs, ensuring clear, accurate scans without unnecessary detail or file size.
Can Higher DPI Improve Blueprint Clarity for All Projects?
Higher DPI can improve blueprint clarity, especially for detailed projects, but it doesn’t always guarantee better color accuracy or reduce file compression issues. When you increase DPI, you might see sharper lines, but it can also lead to larger files that are harder to manage. Focus on choosing the right DPI based on your project needs, balancing clarity with file size, and verify your scanner settings preserve color fidelity for accurate reproductions.
What Software Features Help Optimize Scan Resolution?
They say “a picture is worth a thousand words,” so choosing software with features like color calibration and file compression can truly optimize your scan resolution. These tools guarantee your blueprints are clear and detailed, reducing color inaccuracies and file sizes without sacrificing quality. Look for software that offers advanced image enhancement and resolution adjustment options—these features help you get the most precise scans, no matter the project size.
Is There a Standard DPI for Legal or Engineering Blueprints?
You typically want around 300 DPI for legal or engineering blueprints to balance detail and file size. Higher DPI ensures better color accuracy and captures fine lines, especially on thicker paper. If you need precise detail, go for 600 DPI, but for general use, 300 DPI suffices. Adjust based on paper thickness and the level of detail required, guaranteeing your scans are clear and accurate for future reference.
How Does Resolution Impact Long-Term Blueprint Preservation?
Resolution plays a vital role in long-term blueprint preservation because higher DPI guarantees detailed, clear images that withstand future reproduction and analysis. Using preservation techniques that prioritize archival quality helps prevent degradation over time. When you scan blueprints at an ideal resolution, you maintain accuracy and detail, making your digital copies more durable. This proactive approach ensures your blueprints remain legible and useful for decades, safeguarding your valuable data for the future.
Conclusion
Choosing the right DPI guarantees your blueprints stay clear and useful. Did you know that 300 DPI is often enough for most professional needs, saving you storage and time? By understanding your project’s purpose, you can avoid costly mistakes and preserve detail without bloating your files. Make smart choices now, and you’ll keep your blueprints sharp, accessible, and ready whenever you need them—without breaking the bank.